My Outdoor Studio & Landscaping Project!
Choose the right paint colour
the first time Let me show you how in just 5 easy steps!
BONUS: The Top 15 Shades of Gray by Benjamin Moore
Bringing the ‘Indoors Out’ is a phrase we hear frequently these days. To connect with nature, feel a soft breeze in our hair and smell various fragrances from our gardens is a beautiful thing! This was a big part of what motivated us to undergo a large scale landscaping project in May of 2015.
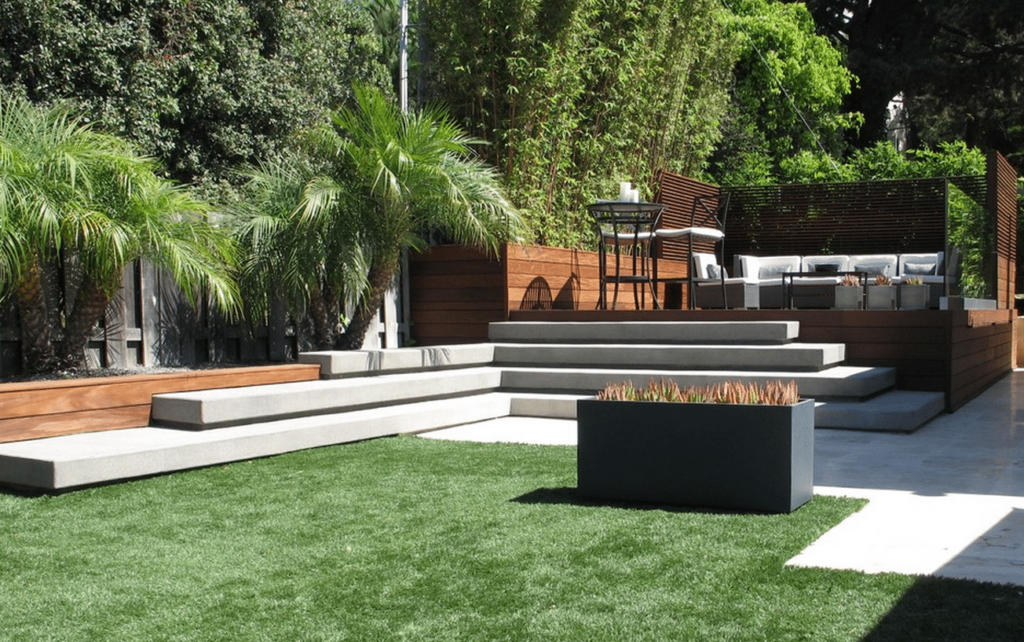
We also wanted to create an outdoor studio for my Interior Design business here in my home town of Burlington, Ontario and thought this would be a great opportunity to bring the two elements together.
Planning is key to any successful design – this is my mantra! Therefore, our landscaping project began with the interior layout of my studio in order to determine what space would be remaining in the backyard for the patio section.
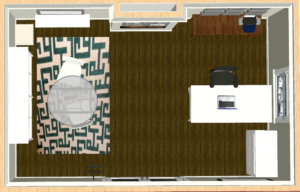
I had outgrown my small, dark office in our basement. It no longer functioned in a way that was productive to my needs nor was it even a pleasant working environment if I’m honest. Also, as I often bring home samples and items that I’ve purchased for clients, to bring these items into my home, down the stairs and through the basement was not practical. If I wanted my business to continue to grow, implementing a change was necessary. Below is one of my first drawings for the new studio layout.
First I measured out my current office space to evaluate how much bigger I require my new studio to be. With function being a priority, all new furnishings were necessary. I also wanted a completely different look with a more ‘clean’ and fresh colour palette so it was a good excuse to start from scratch. (Any excuse for new furniture!)
I sent the drawings and dimensions to my landscaping company along with some inspiration photographs from my houzz studio ideabook that I created to share with them. (This is a great tool that I use with clients all the time) Below is the drawing that they came up with based on the information and inspirational pictures that I provided them with.
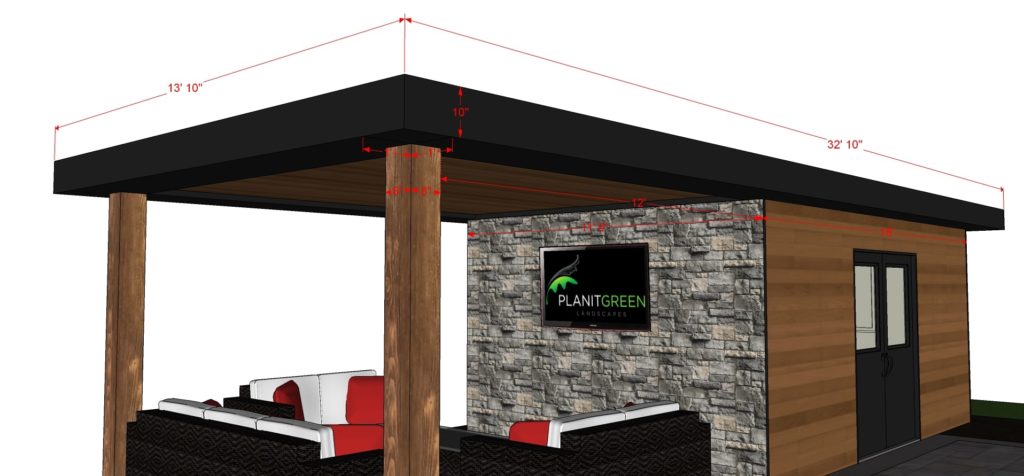
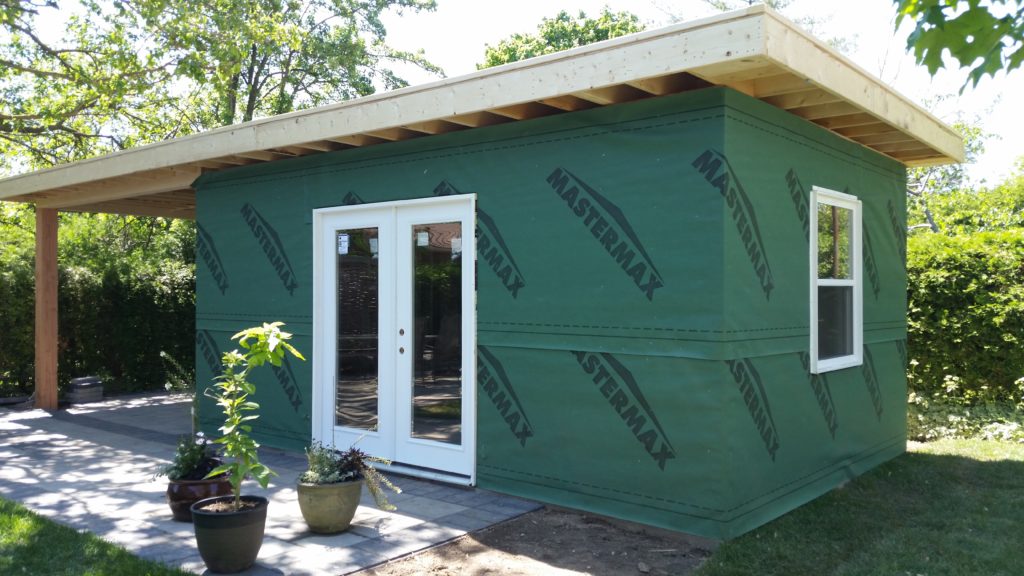
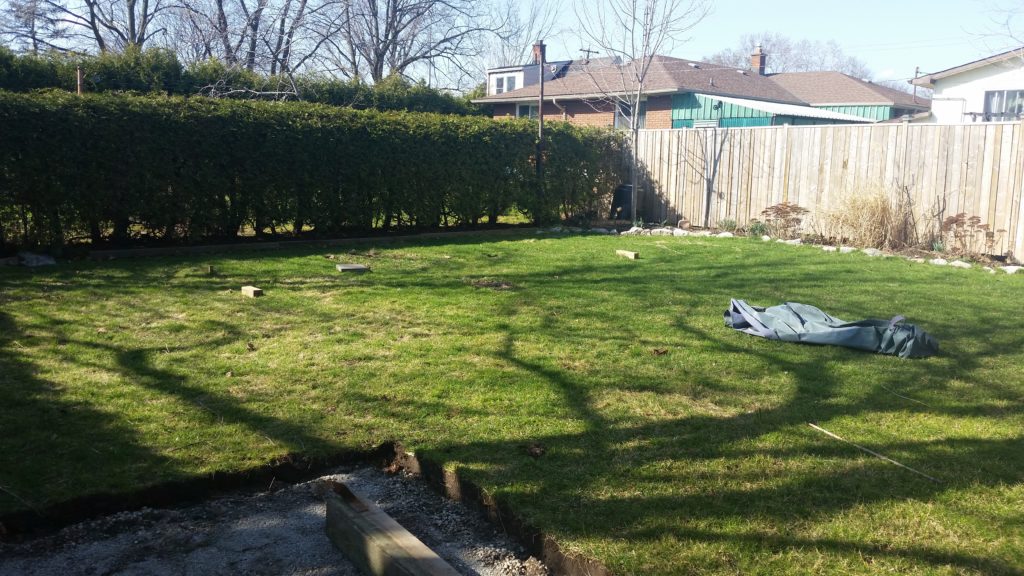
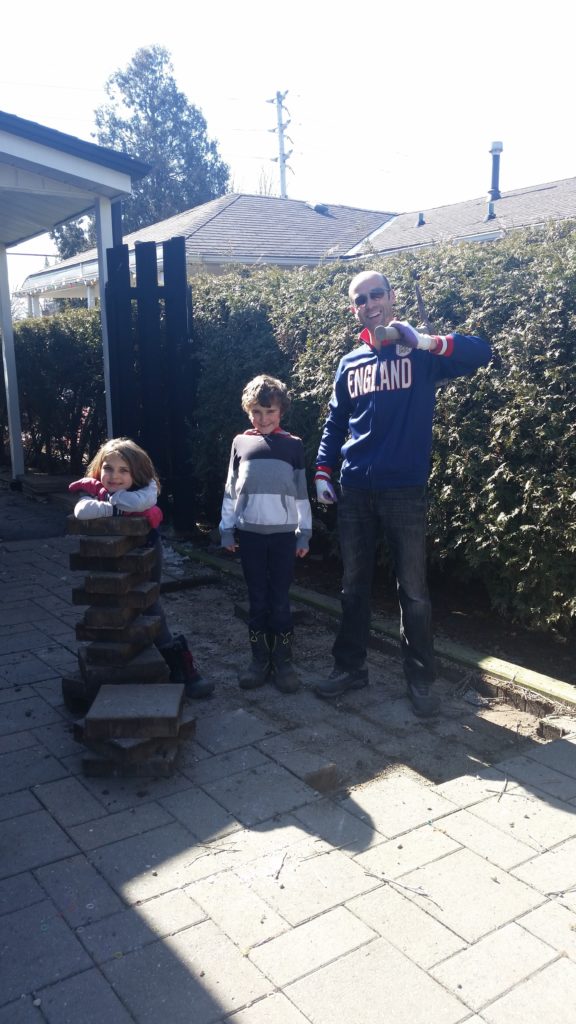
After some slight tweaking and minor revisions, we broke ground in March of 2015. I took plenty of photographs to document the project before and during the renovation. It’s interesting now to look back and see how the work progressed over time.
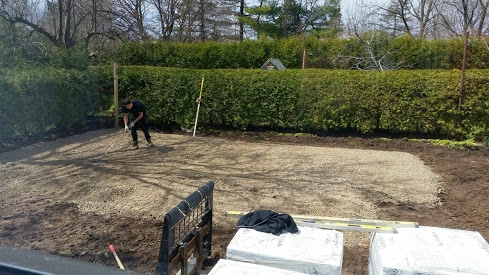
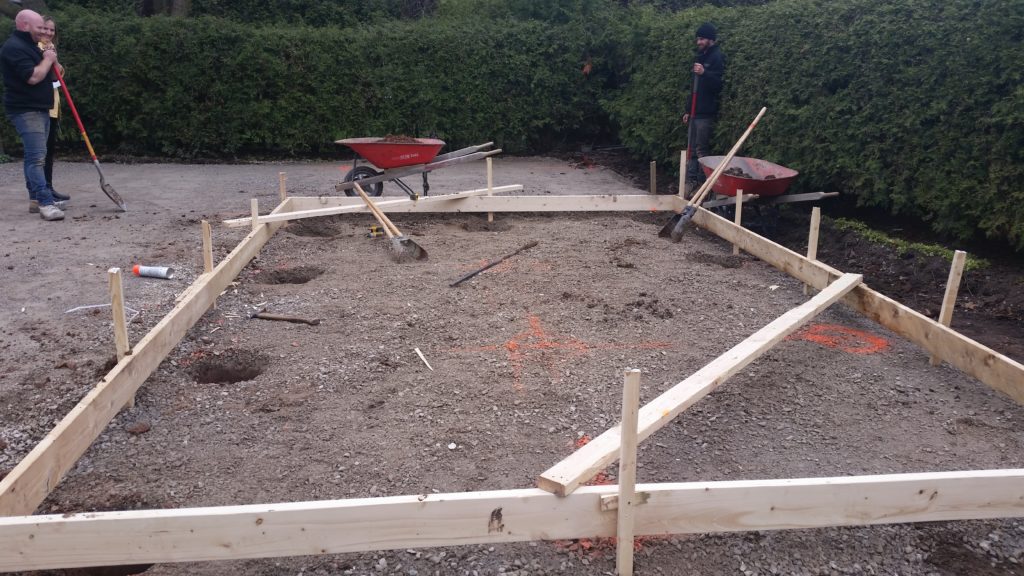
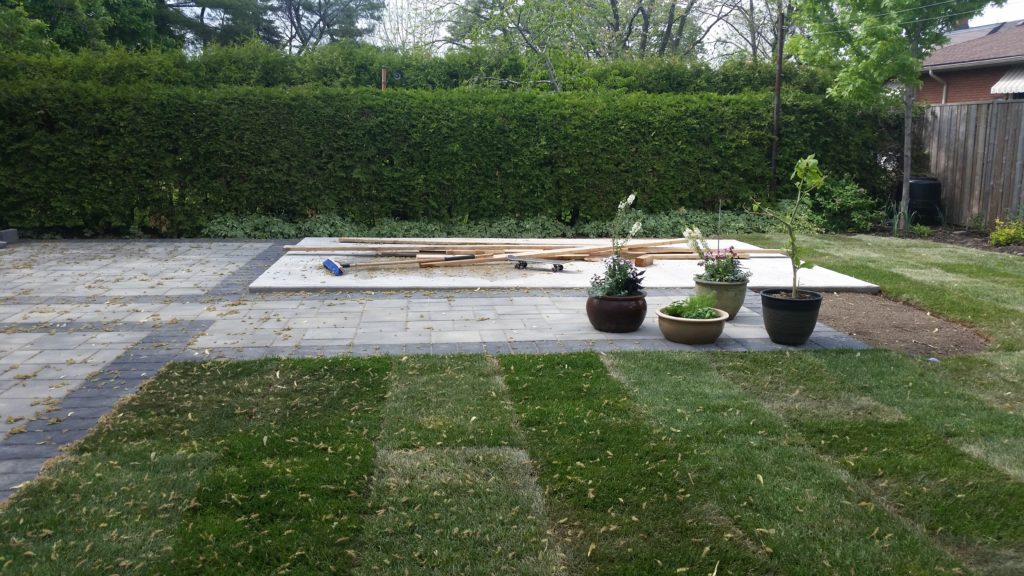
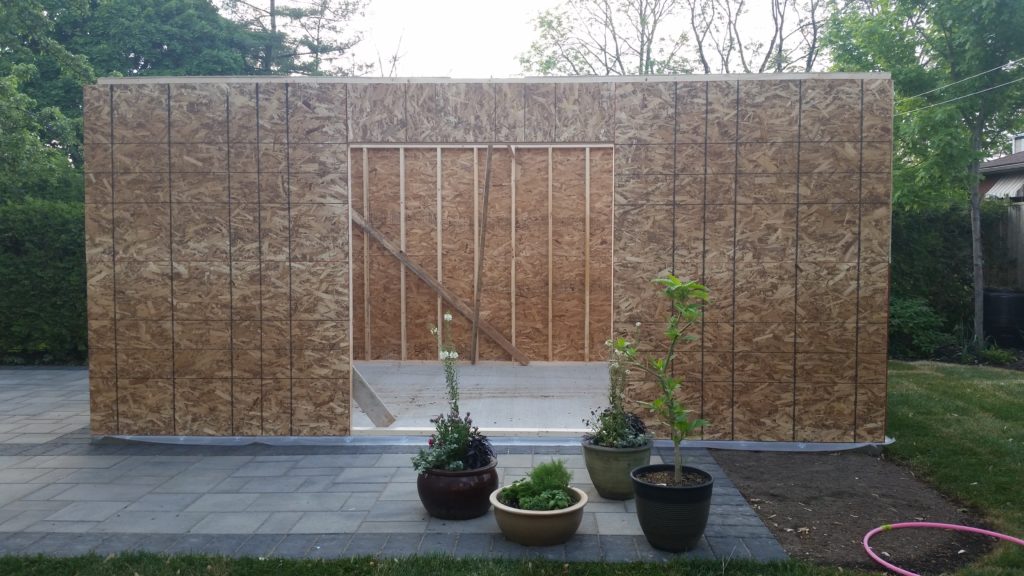
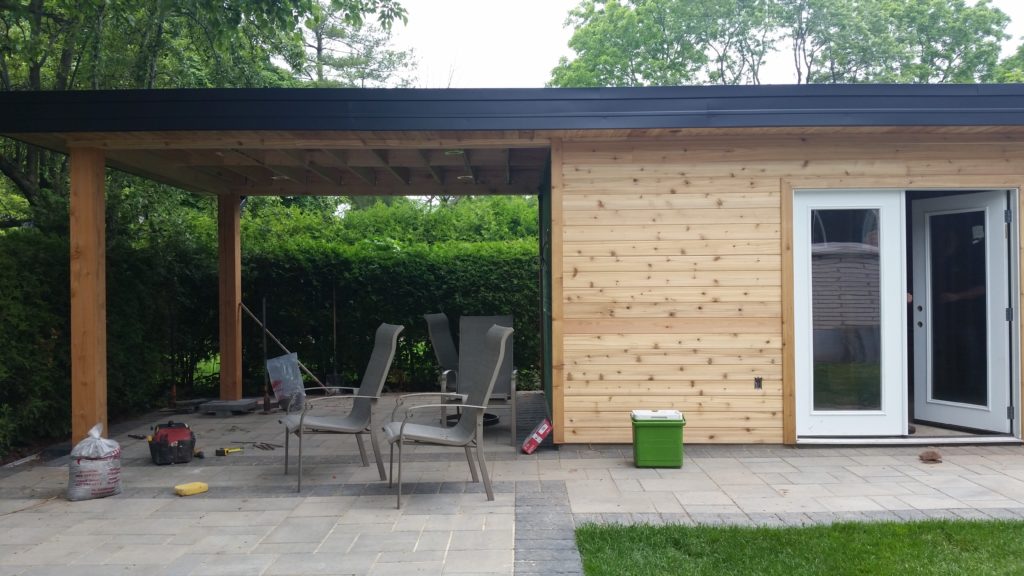
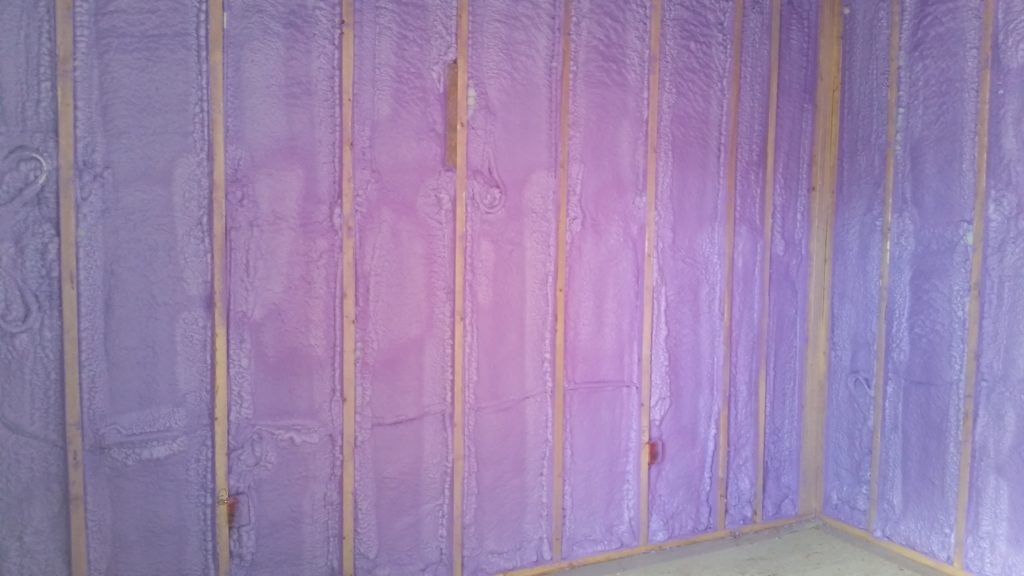
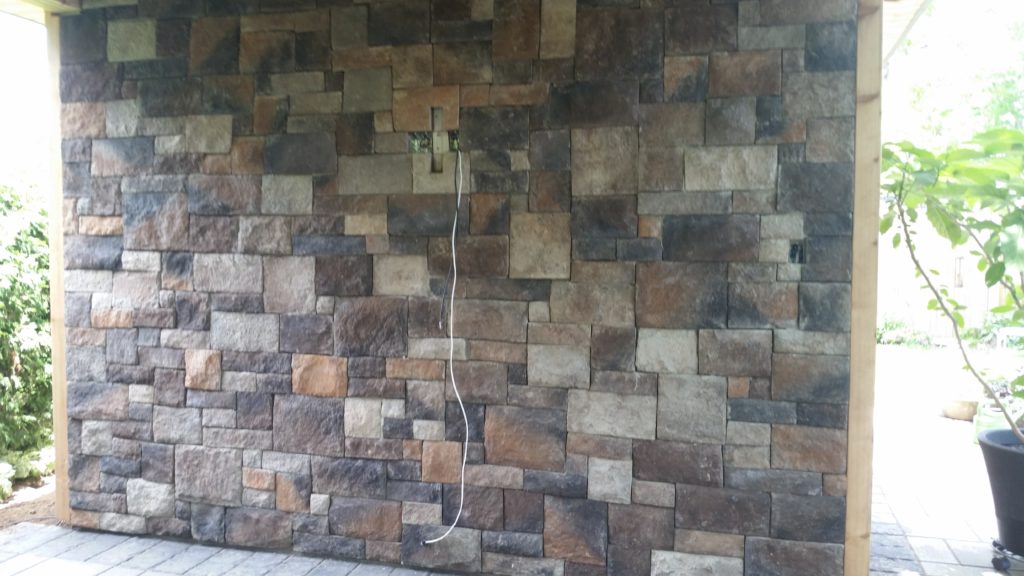
I decided on this natural brick with individual stones for our focal wall that would house the TV in our seating area. The stones incorporated both the cooler tones of the grays we used on the patio and the warmer hues which tied in nicely with the final stain of the cedar and the overall decor.
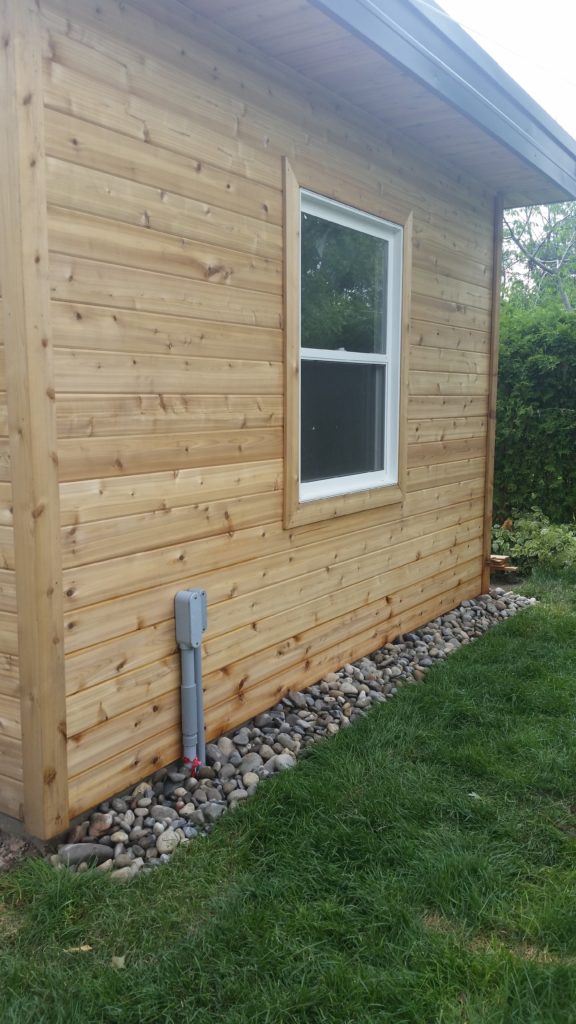
So once again, here is the original rendering…

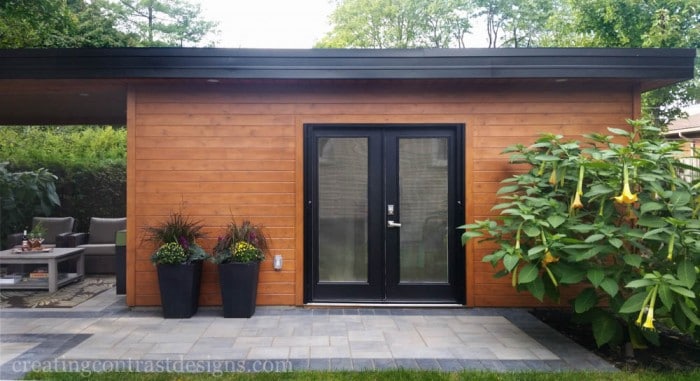
And here is our outdoor studio structure! (sorry the image is so small…grr!!)
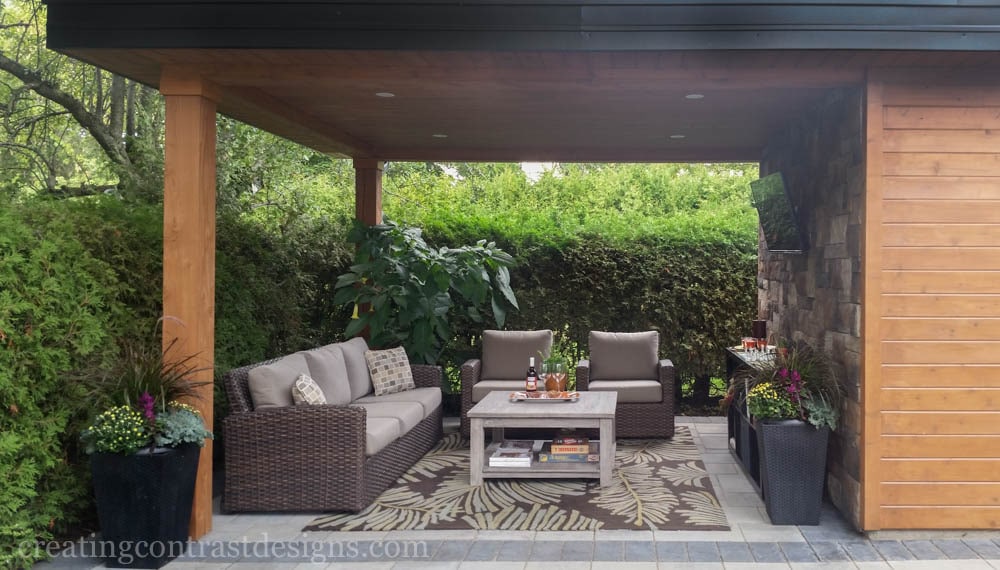
I can’t tell you how much we love our new space! The outdoor living area is fabulous and a truly beautiful new ‘room’ of our home. We play games with the kids, watch movies and sporting events (Coronation Street too) and relax with wine and friends!
Although I have been working from my studio since late July last year, it’s not fully finished with artwork and custom built ins. However, I will definitely share with you when I am ready for the final reveal! (see the video here, it tours the insdie of my studio, but please note that it’s not yet finished)
Have you brought the ‘Indoors Out’? Comment below and share how you have extended the life of your backyard living season.
Not subscribed to my Youtube channel yet? What’cha waitin for? Click here to subscribe & let’s do this!

