How to Organize Client Folders
Design Services and Rates Guide A FREE Resource for Your Interior Design Business

Today I am sharing How to Organize Client Folders.
Yes, that’s right, the old-fashioned, hold in your hand, physical folders.
Perhaps you have everything stored digitally and think I’m very old – I mean, ‘old school’. 😉
Well, I am a little ‘old school’. I still love something tangible that I can touch and carry with me. I know many of you feel the same way too.
In addition to physical folders, we use online programs to store and organize different aspects of our interior design client project files. This way, my entire team can easily access everything as needed.
In this video, I show you exactly how I organize a client’s folder and what goes in them.
How to Organize Client Folders
I want to go through my interior design client folders with you and share how we organize them. We have different files within the main file folder and I will explain what I keep in each of those.
To Start:
We start with the main file folder. The ones that we use I’ve had forever. Sadly the original style folders I loved so much are no longer available!
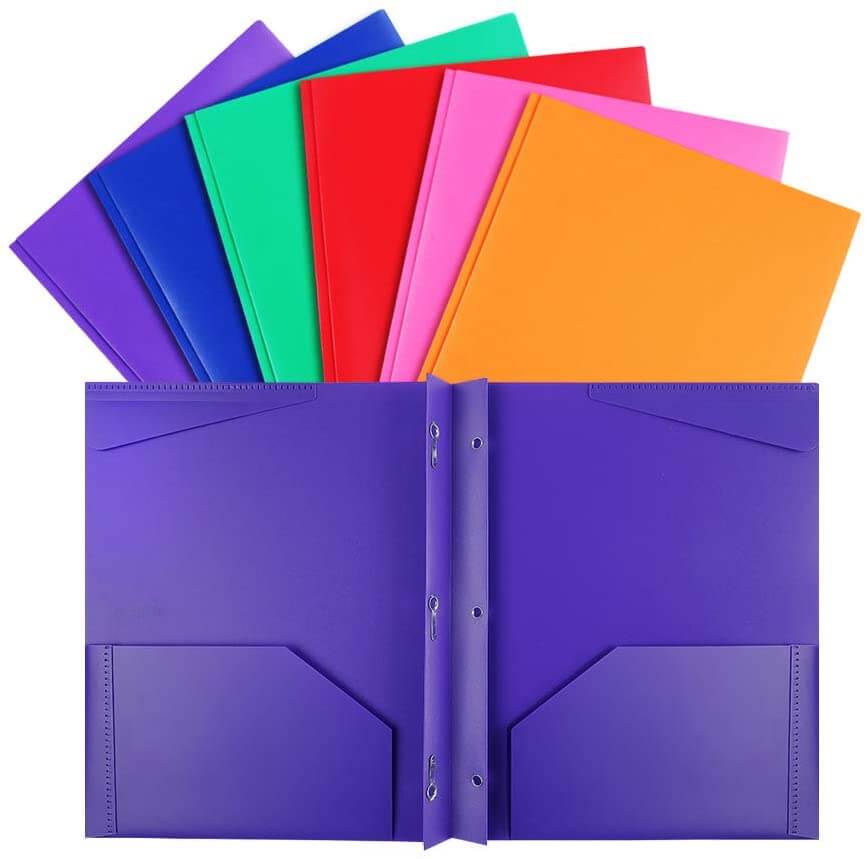
The folder with a sleeve and a pocket has worked beautifully for organizing our interior design project files for years. Within the main folder, I have 4 colour-coded individual pockets that I slot into the sleeve side.
In the pocket side I keep all my samples for that project such as fabric swatches, wallpaper samples, paint chips, etc.
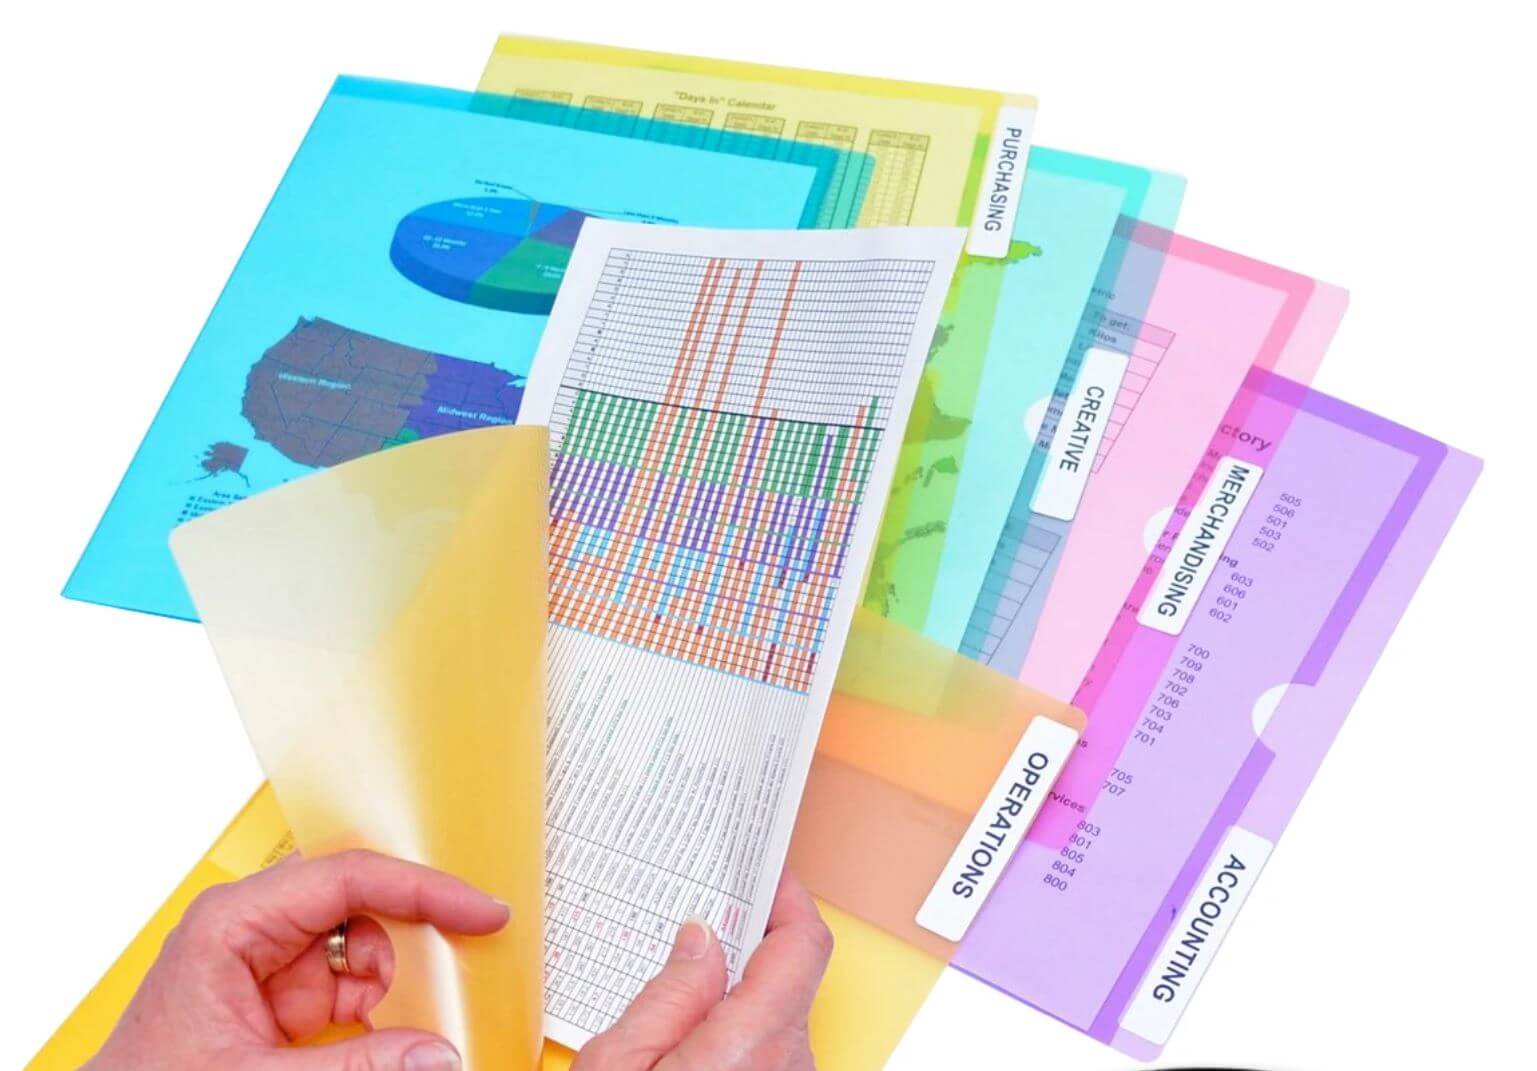
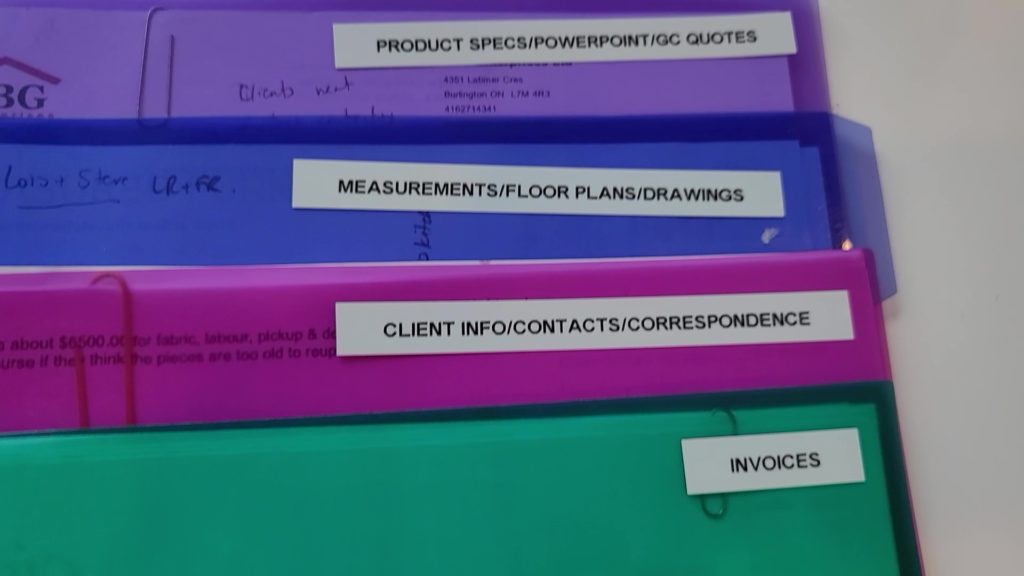
Each Colour Project Pocket has a purpose:
Project Pocket #1
The first project pocket contains product specifications.
This includes any relevant product information for the interior design project such as materials or furnishings. Along with those specs are any quotes we have received from fabulous trades we work with regularly, such as our contractor, cabinet maker, drapery workroom, wallpaper installer, etc.
If we do 3D Design Plans for a project or any mood boards, the printed copies will also go within this folder.
Project Pocket #2
Next comes a pocket for any measurements and drawings. This can include the floor plans done on graph paper, original house plans a client may have given us that they have from the builder, any CAD drawings, elevation documents and 3D renderings.
Project Pocket #3
Pocket 3 is for keeping all our client information neatly organized. We add our completed Discovery Call form and New Client Checklist that you can find in my ROCK the Initial Consultation Processes Package to this folder. We also add any important correspondence such as emails that we think are necessary to have easily at hand, as well as a copy of the signed contract.
Project Pocket #4
This is the green one so it makes sense to house all of the invoices we’ve issued to the clients in this folder.
Project Pocket #5
Here’s where we change it up a bit. The final of the project pockets is not kept in the main client folder. This last pocket is kept separate as it contains our invoices from vendors, suppliers, and the trades for items or services that we paid for on the client’s behalf for the project.
As this is confidential and not shared with our clients, we always keep this information in our interior design studio.
On the Pocket side I put:
In my current folder, there is a large clear plastic pocket that has a flap so that everything can stay nicely contained. It’s an ideal spot for storing fabric swatches, plus samples of perhaps flooring, tile, and maybe even a countertop piece or two.
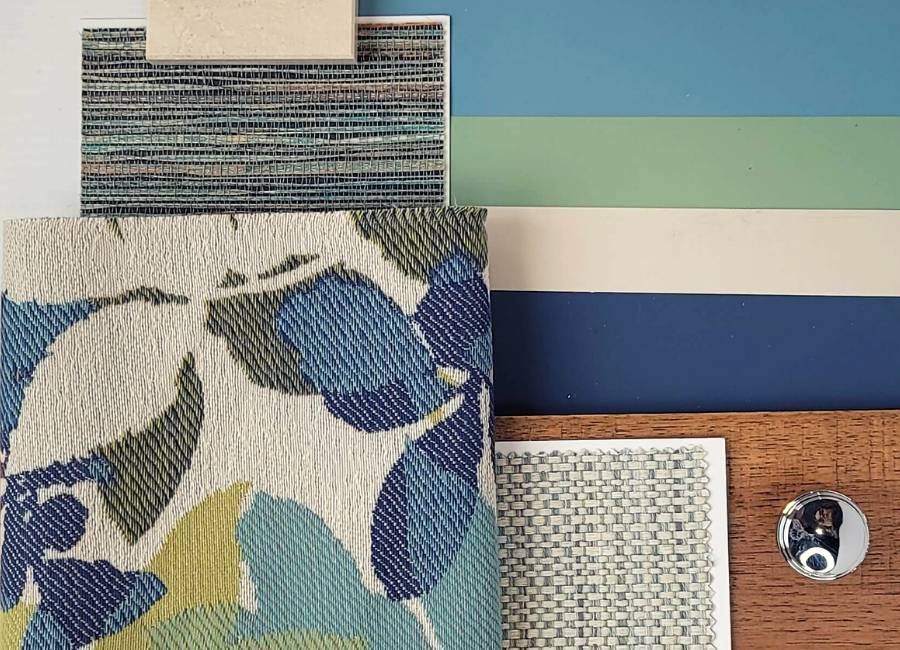
Depending on the size of the project this built-in pocket may not be nearly big enough to hold everything you need.
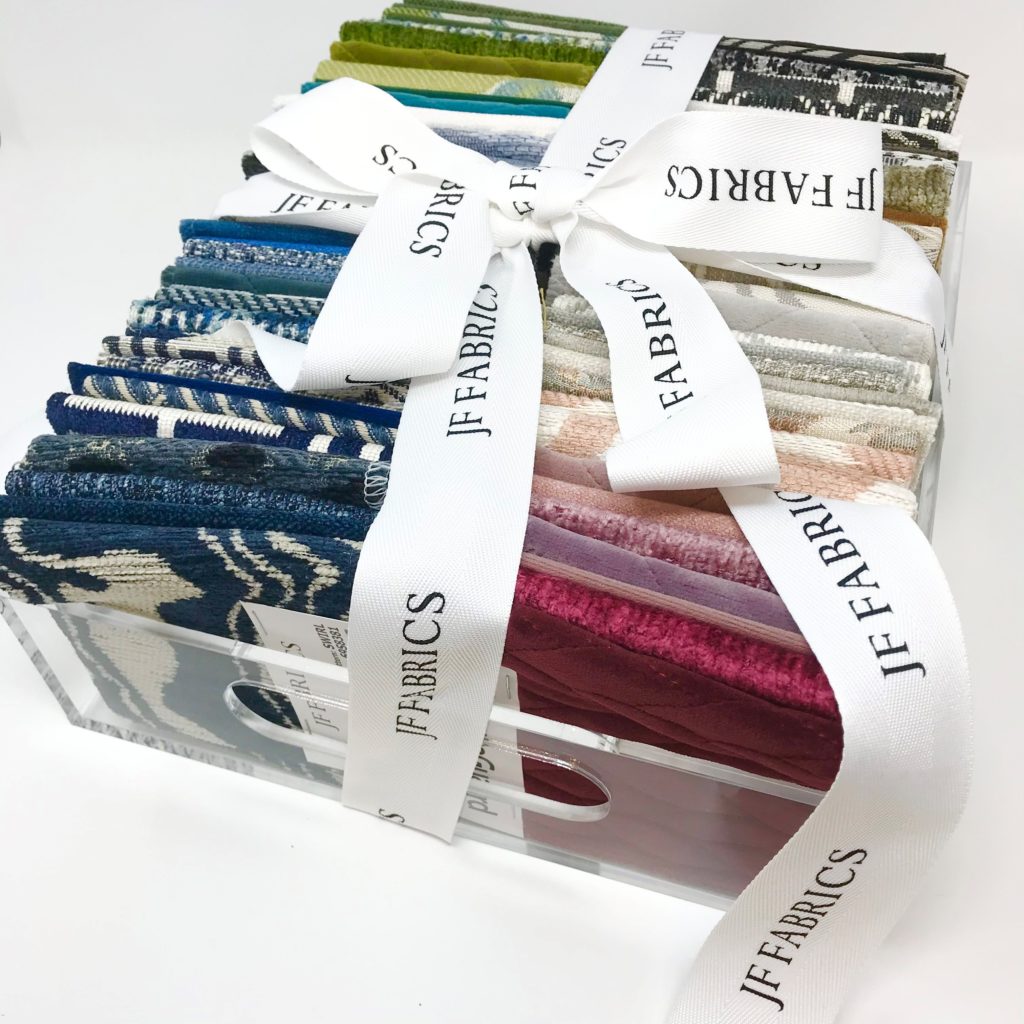
In this case, we use a larger tray or container. You may even need multiples of these, depending on the size of the project and how many different rooms you are doing within a home. For a commercial project, I imagine you would need a larger-sized container.
There’s nothing I like more than being super organized in my business!
What do you do to stay organized in your interior design business? Do you use only digital storage for each client project or are you more like me, a bit old school with file folders as well?
Pin for Easy Reference!
