Anyone else tired of hearing references to ‘designer discounts’ and people worrying about how to be more ‘transparent’ with clients about the costs of furnishings?
Running a profitable business means making money on the items you sell. Period.
In this industry, why do so many people feel the need to overshare this information with their clients?
Turning the Tables
When you go to your mechanic to have them fix an issue with your car, do you expect them to disclose their costs for parts and ask what percentage of their trade pricing they are passing on to you?
As they explain the anticipated fees for labour and provide you with an estimate for parts to fix your car, do you ask if they mark up those parts and then accuse them of ‘double dipping’?
Once your car is ready for pick up and they hand you the final invoice, do you ask to see the receipts issued to them by their suppliers for parts?
OMG, could you imagine?
I just want my car fixed and have peace of mind knowing that it’s been done right so that my family and I will be safe. End of story!
Please, please please, flip the switch on your mindset to Forget the Discounts and Focus on Value.
This is BLACK AND WHITE. You run a business, you have margins on the items you sell.
Sure, you offer competitive pricing, but more importantly, you offer an incredibly valuable service that involves making HUGE decisions on a homeowner’s BIGGEST investment.
Newsflash!
Your ideal client is not hiring you because of the discount you can get them on a sofa.
Client reviews talk about the amazing service we provided and the immense value we brought to their project.
They rave about the final result and how they never imagined that their home could look so well put together!
They tell us how they loved our reliable team of trades who did an outstanding job and the peace of mind they had throughout the project knowing that we were taking care of every detail.
You see where I’m going with this, right? VALUE. VALUE. VALUE!
Here if you need it
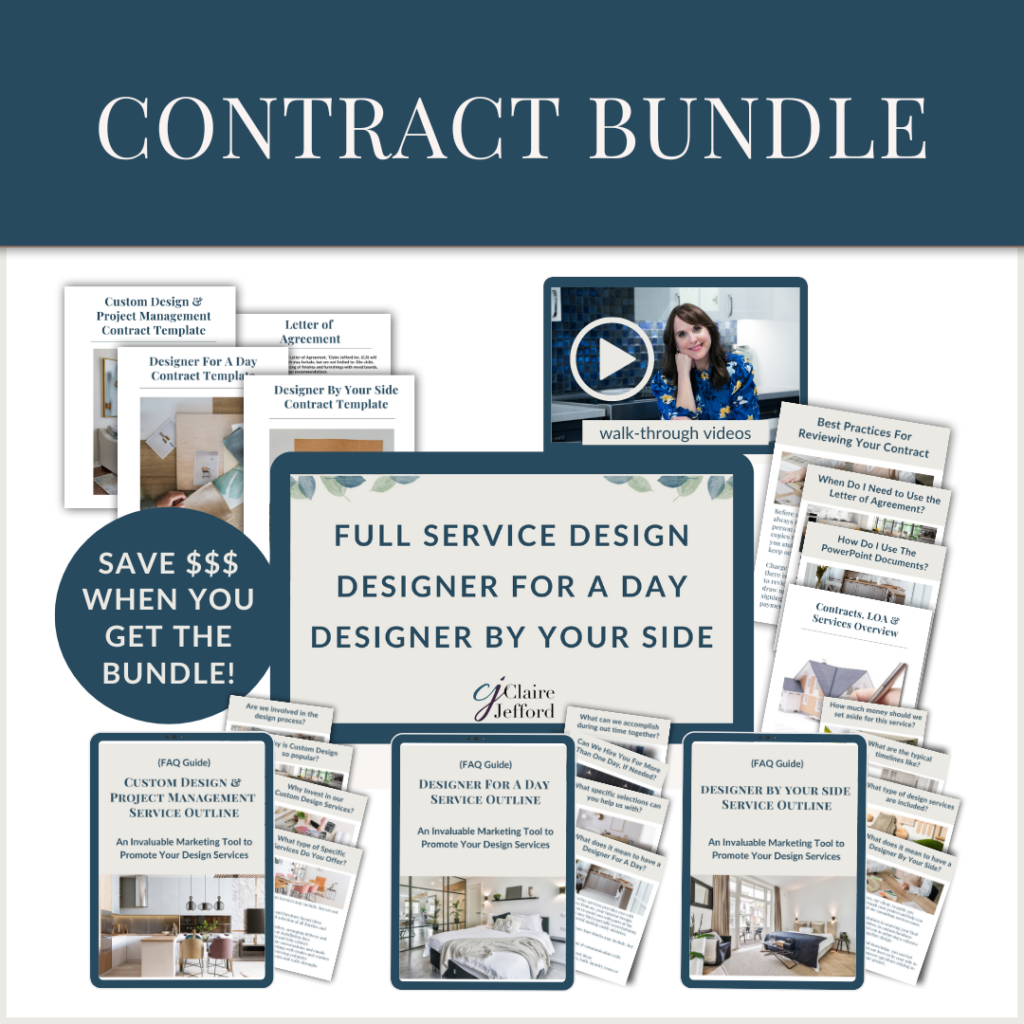
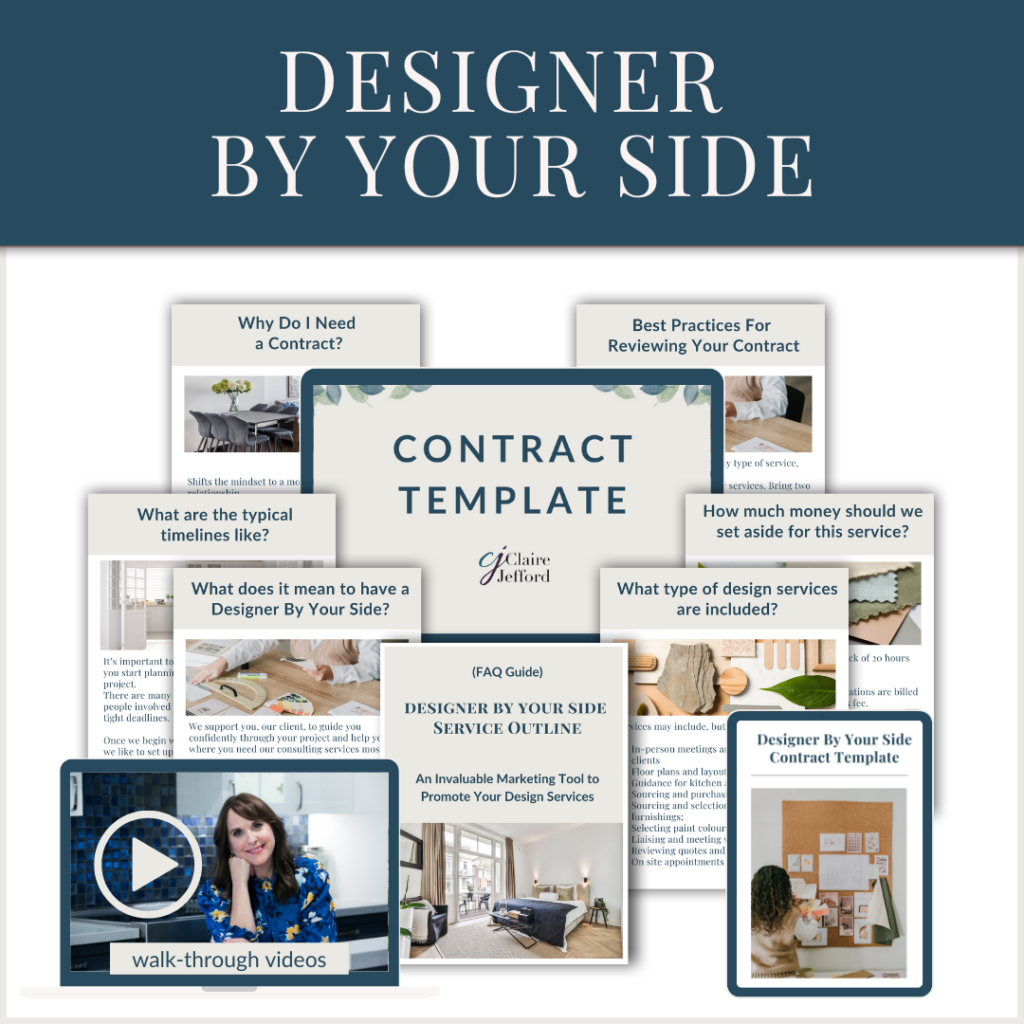
If you aren’t sure how to do this effectively, I have a detailed service outline included with each of my contracts that will help you confidently go through with your client the value you bring to the table if they hire you for that service.
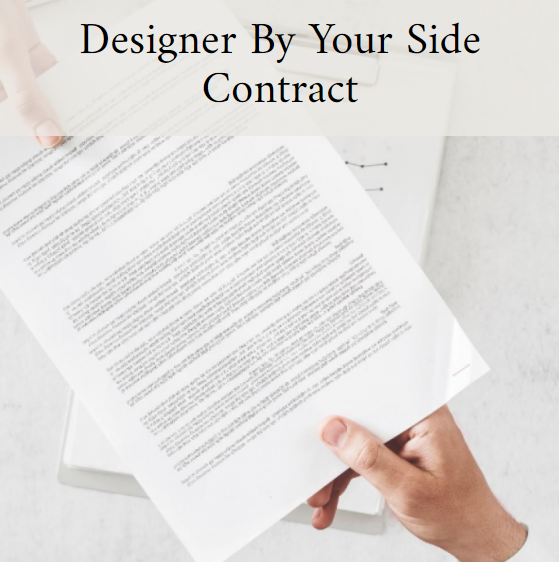
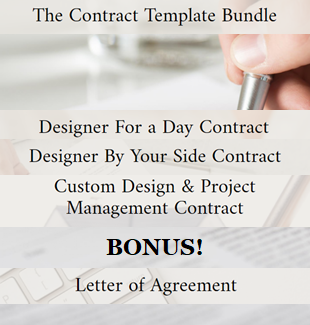
All three of the above contracts are available in my Contract Bundle package. They also come with walk-through videos.
Don’t minimize the value you bring to a project, be confident and be prepared. Have the hard conversations up front and after a while, they aren’t hard because you believe it yourself.
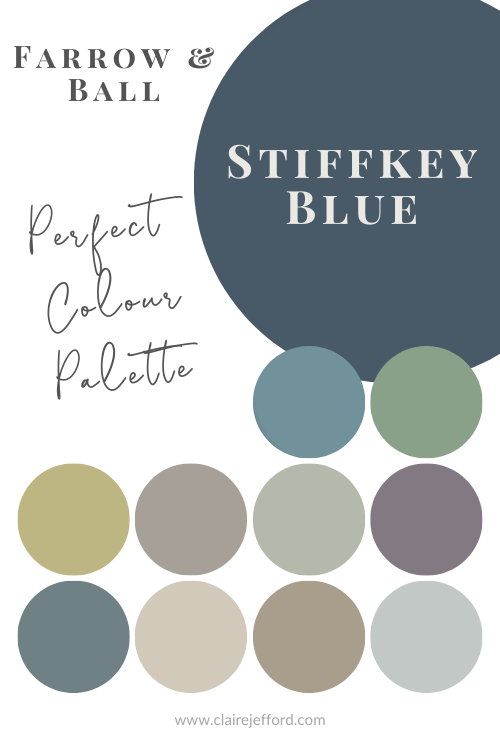
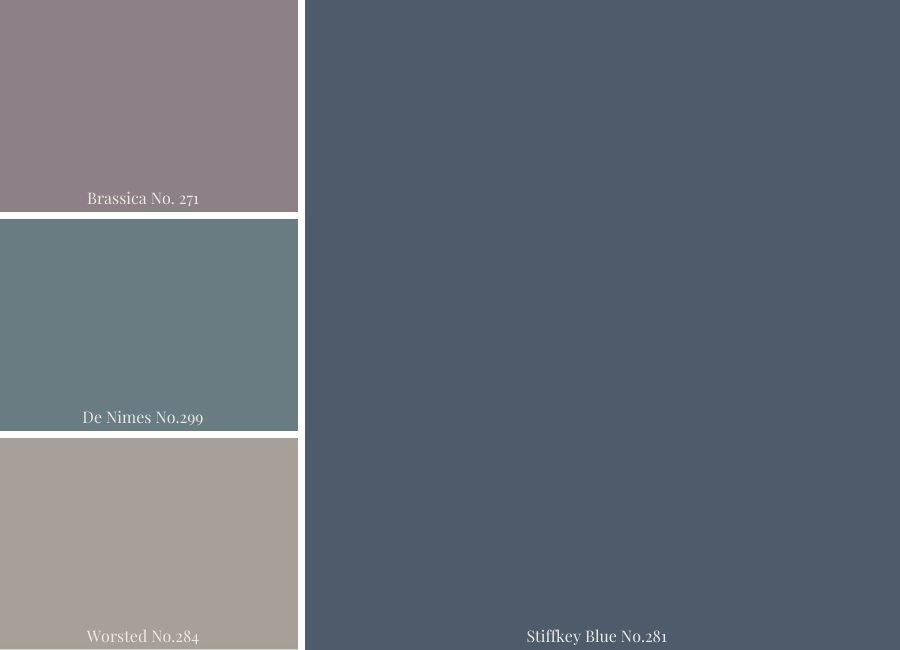
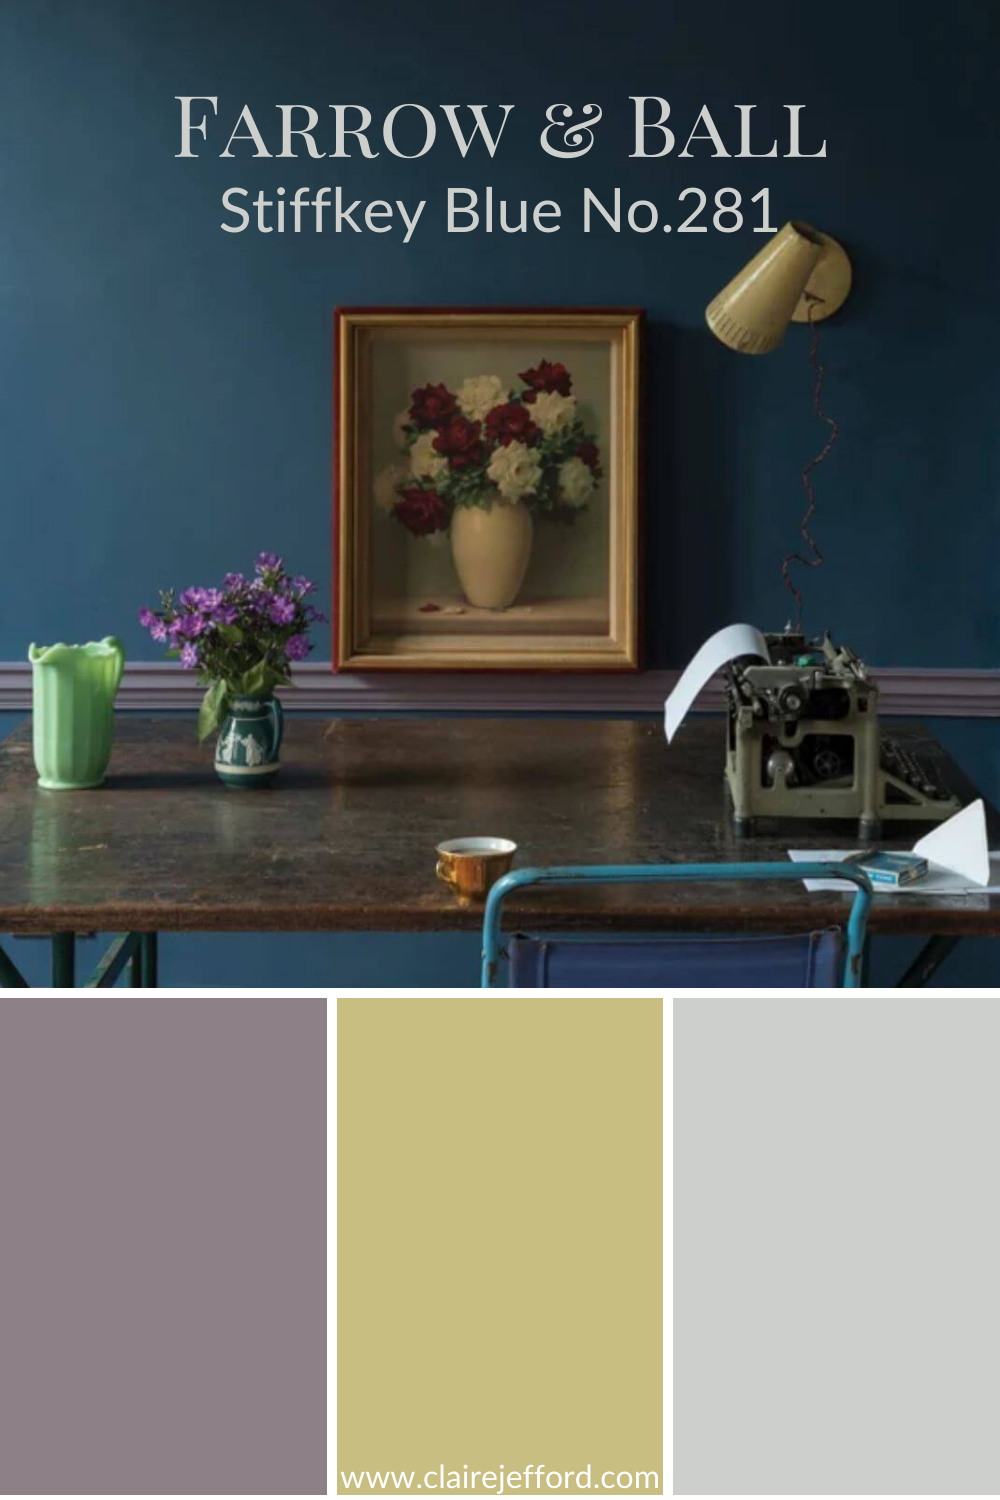
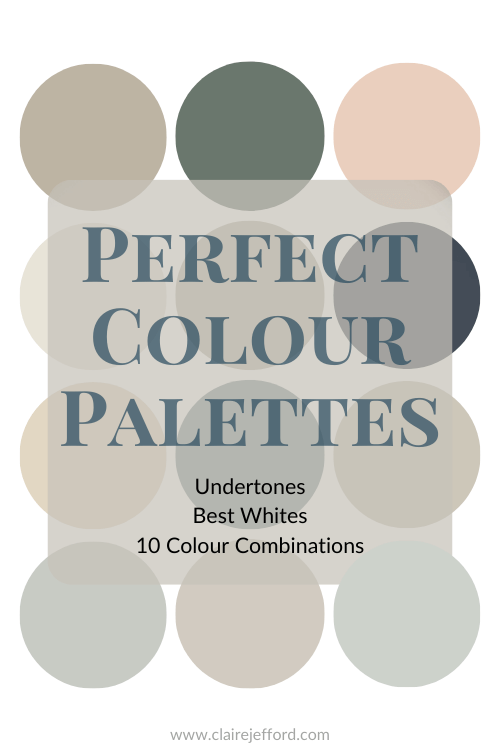
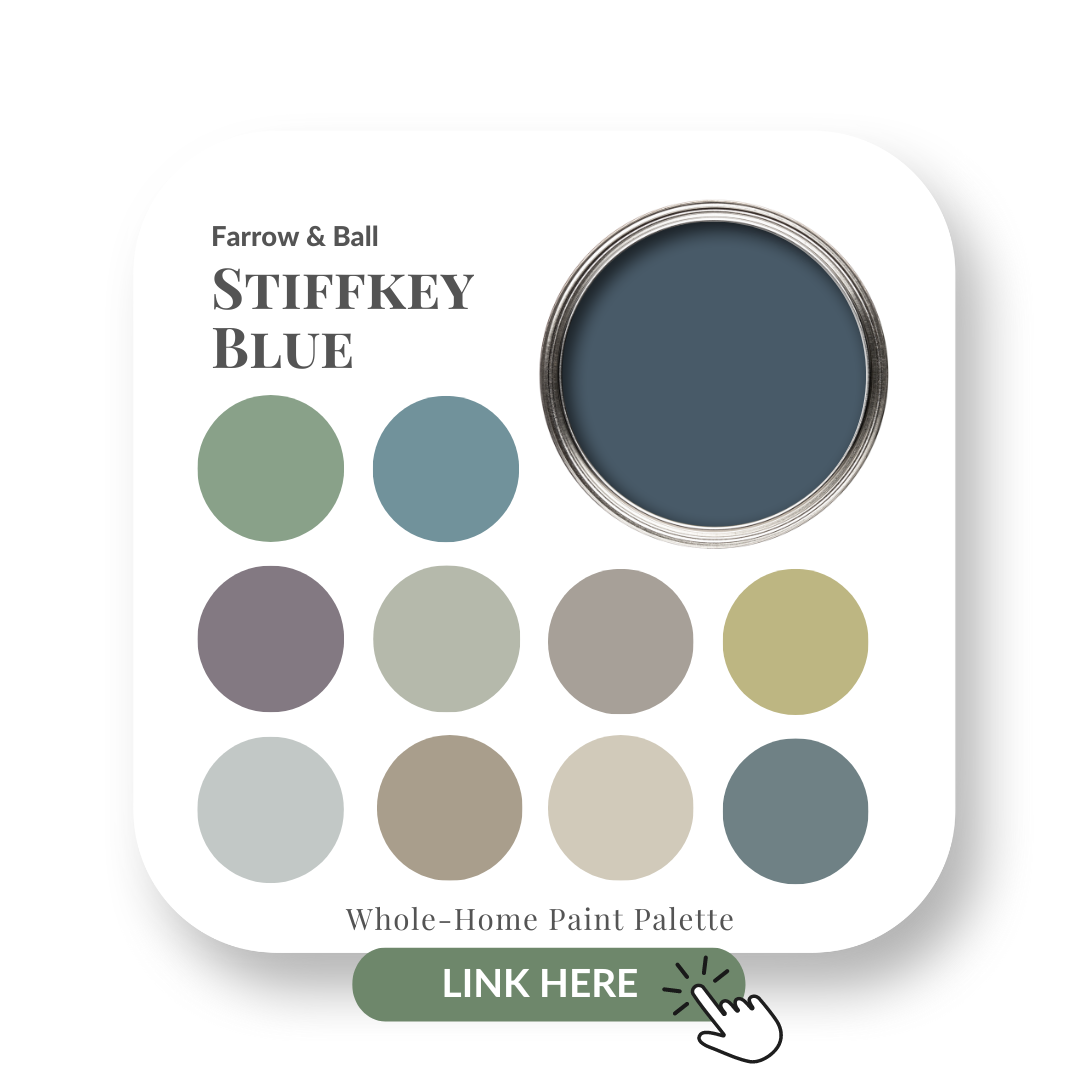
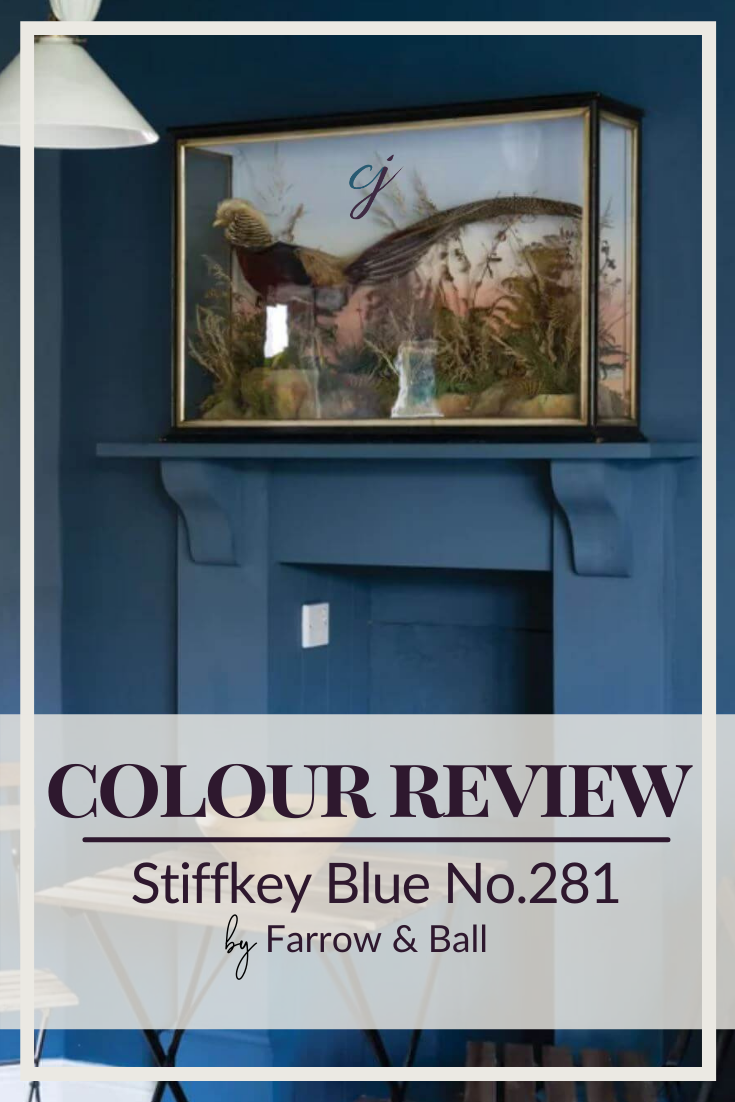
My most recent colour review was for Stiffkey Blue by Farrow & Ball. Today I have pulled together three gorgeous Stiffkey Blue colour palette designs to inspire you with some ideas on how to use this gorgeous rich blue to put together a complete look for your home.
In this video, I demonstrate how to use the colours from my Stiffkey Blue Perfect Colour Palette as inspiration for creating beautiful interior design palettes with fabrics, wallpaper, hardwood, countertops and more, for your home.
All the colours I use are included in my Stiffkey Blue palette. I have come up with three exquisite combinations for you, but there are many more ways that you could mix and match to create a design palette that is perfect for your home.
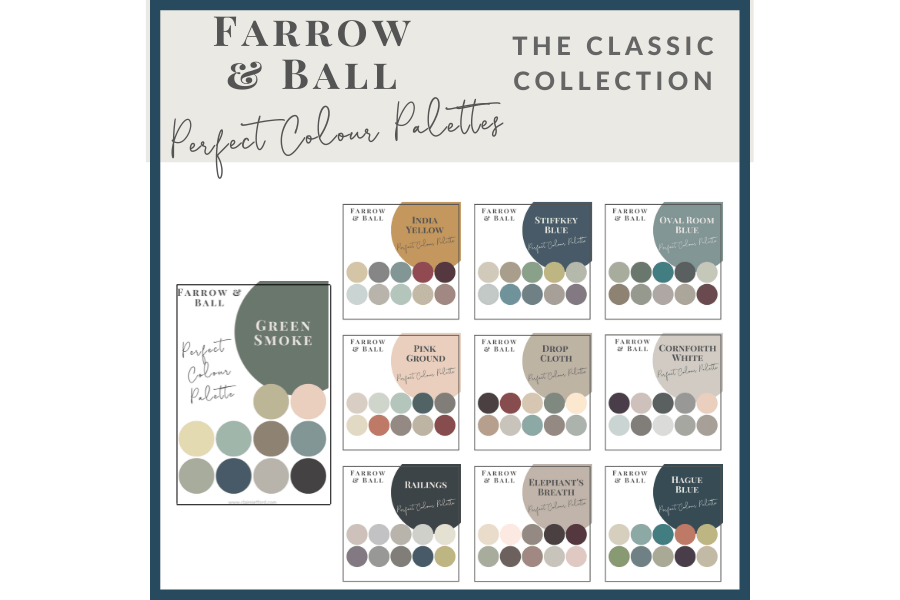
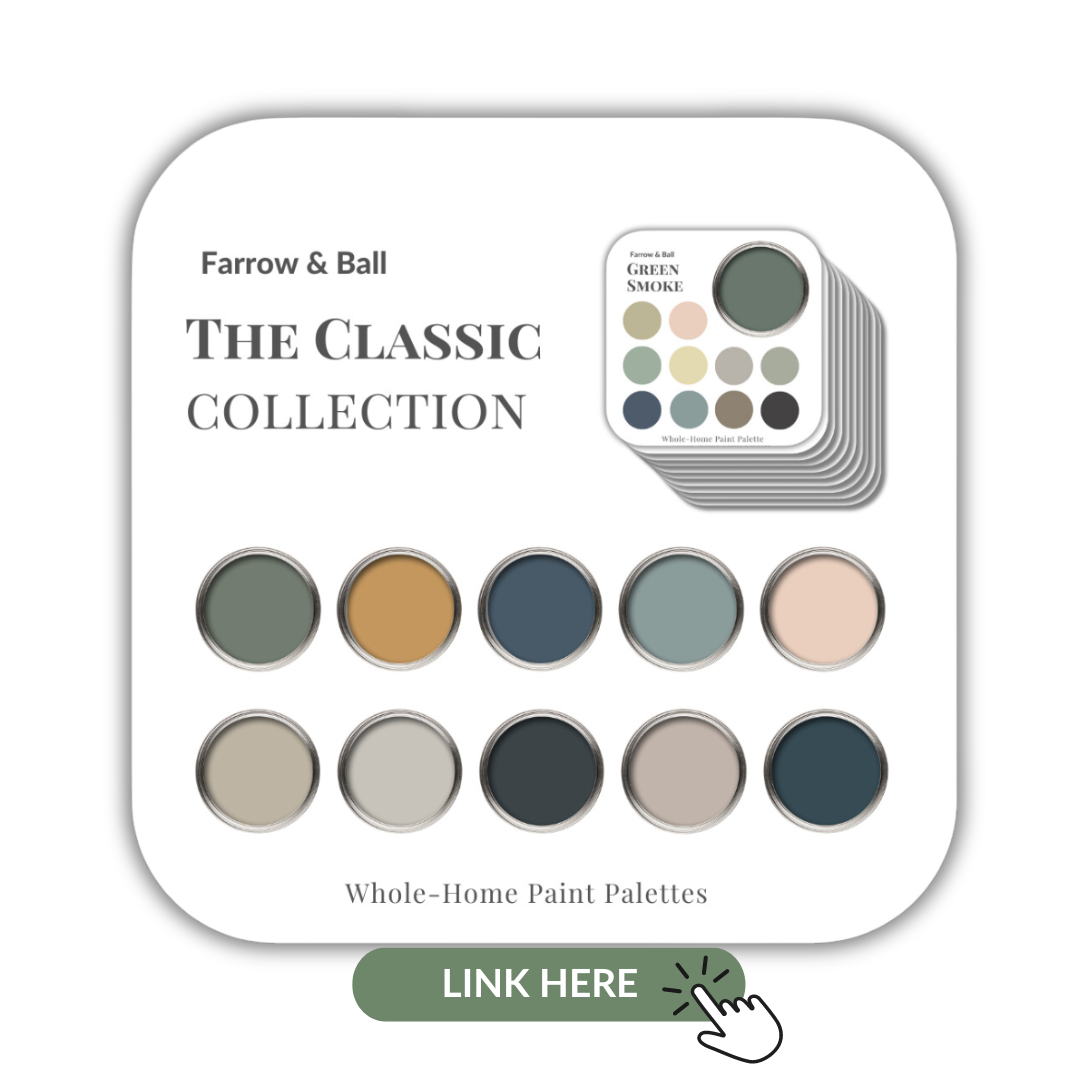
Stiffkey Blue is just one of the colours in my Farrow & Ball Classic Collection which showcases 10 popular Farrow & Ball paints. Just think of the inspiration waiting to be tapped.
Stiffkey Blue Colour Palette Designs
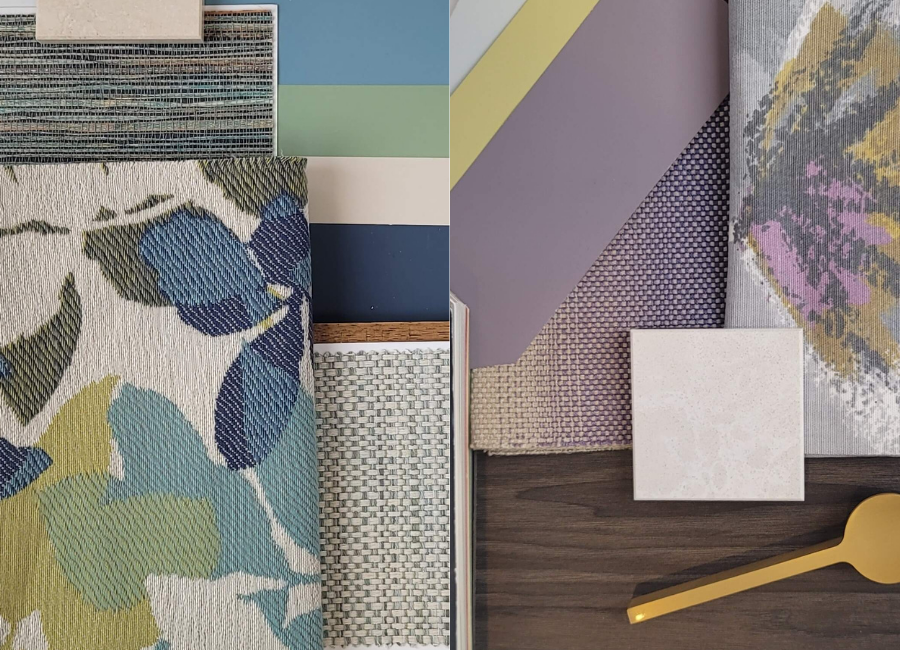
1st Fabulous Colour Combination
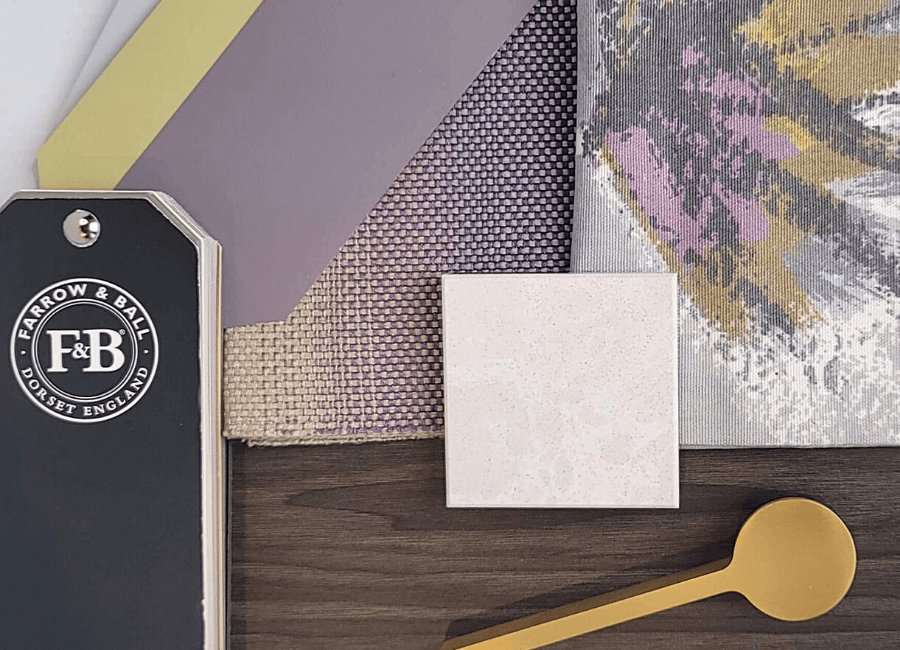
Talk about a fabulous paint palette! This combination of colours with the featured Stiffkey Blue by Farrow & Ball would make for quite a dramatic look. Bold, and beautiful.
These three colour tones look stunning together, a real rich, luxe feel.
You can easily use the colour combinations I put together in my Perfect Colour Palette digital downloads to find inspiration for fabrics and other home décor finishes.
Am I suggesting you need to use all three of these paint colours in one space? Not necessarily. The idea is to use them to guide and inspire you for pulling together an entire interior design palette.
Here are two lovely fabrics that tie into our colour combination wonderfully. The one on the left is from JF Fabrics – pattern Parlor – and would look so great as drapery.
The second fabric on the right is also a JF Fabric, pattern code AW-ZINIO, from the Ashley Wilde designs collection. It has a beautiful purple tone and a lovely greeny-yellow that is very similar to the Churlish Green. An accent pillow in this fabric would look so great on a dark gray sofa or chair.
If we bring the colour combination into a kitchen design for the same home, I found a Cambria counter called Newport that would tie in nicely and keep the flow going from the living room. You aren’t limited to using the fabrics only in the living room, but you could incorporate them into your kitchen space as well on a bench seat or a window valence.
To top off the look I found this striking pull from Richelieu that looks amazing with the colours and materials in this palette. Imagine kitchen cabinetry painted in Stiffkey Blue with these pulls…absolutely gorgeous!
Make sure to watch the video to see a few more elements I selected for this palette, including a white picket tile that I used in my own bathroom remodel.
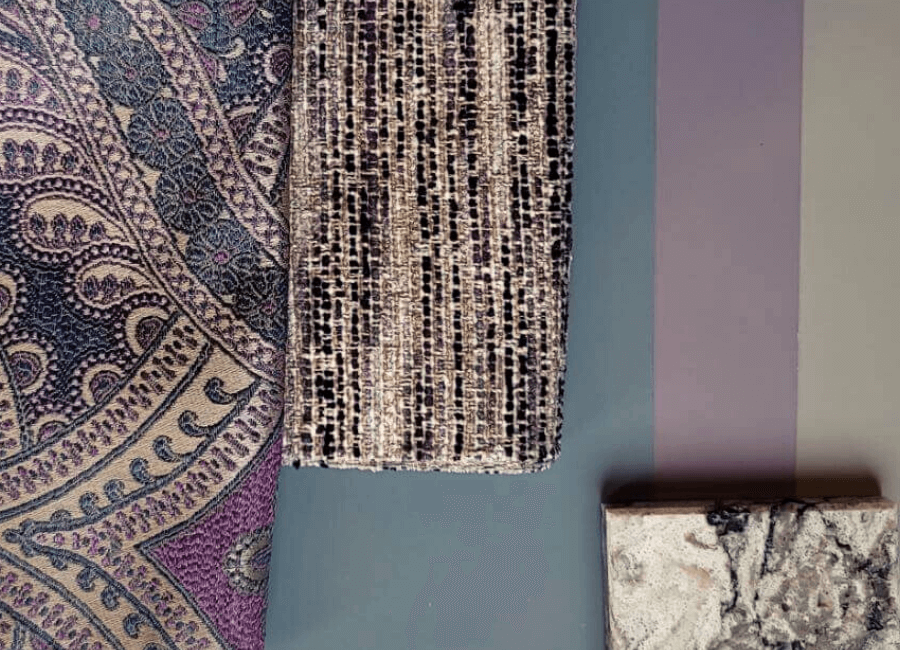
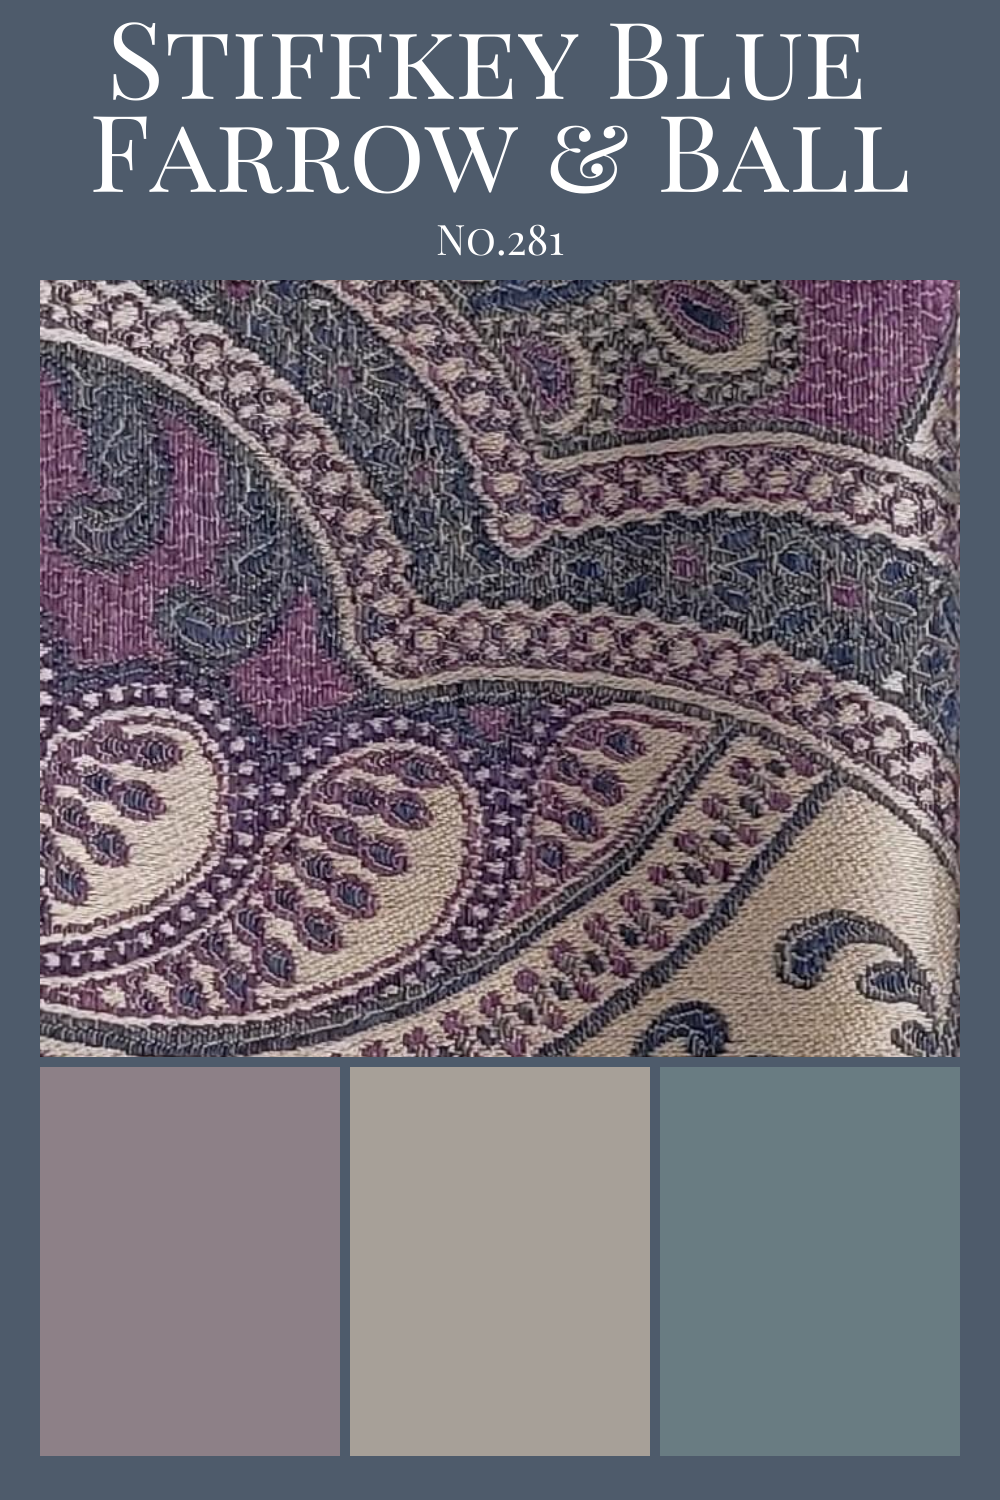
2nd Palette, Upping the Elegance
The second palette has slightly more muted tones and I found a fabric I adored that looks striking against this combination.
This paisley fabric is called Turnout and is part of the Color Concepts Coral Sky Collection from JF Fabrics. Are the two purples an exact match? No. And they don’t have to be, yet they complement each other beautifully.
The second fabric shown would look fantastic on a couple of occasional chairs. The Cambria quartz shown above in the bottom right corner is Bellingham. Notice how it picks up a couple of colours from our palette, which would allow you to repeat the colours as you move through to the kitchen.
Your home should always flow from room to room. It should be obvious that your design choices are purposeful. To do this successfully, repeat the same tones into other areas of your home.
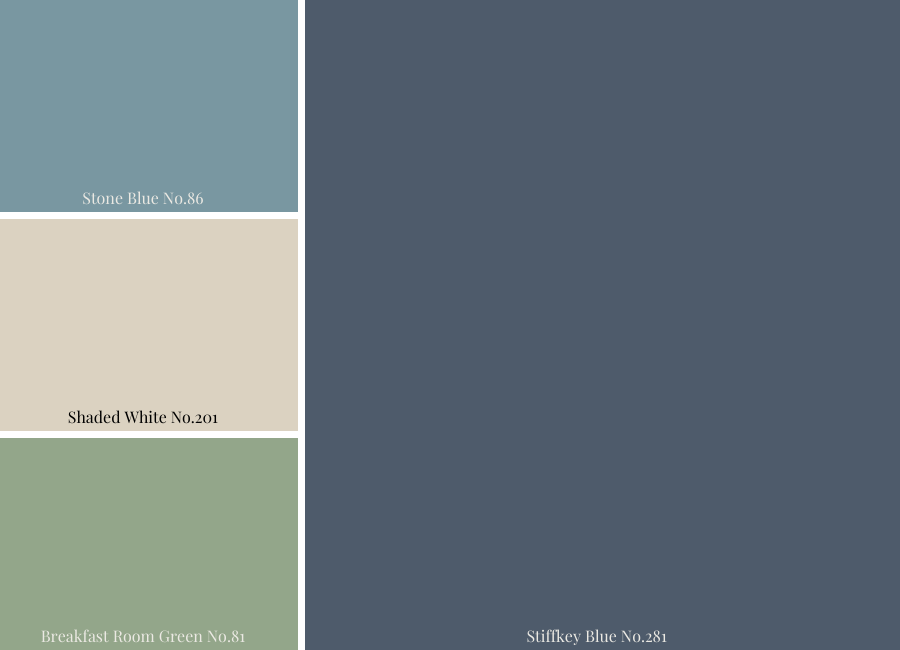
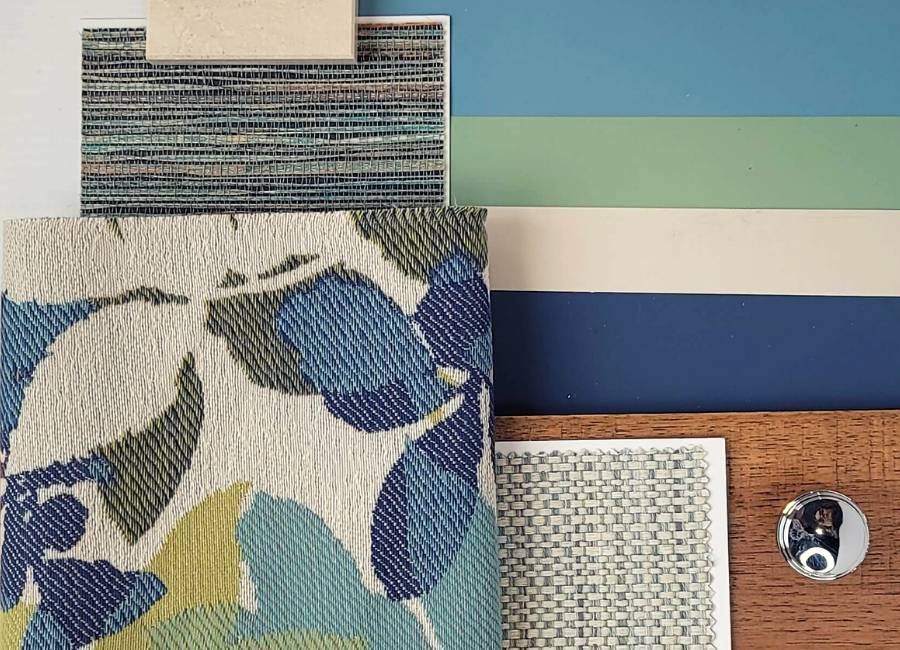
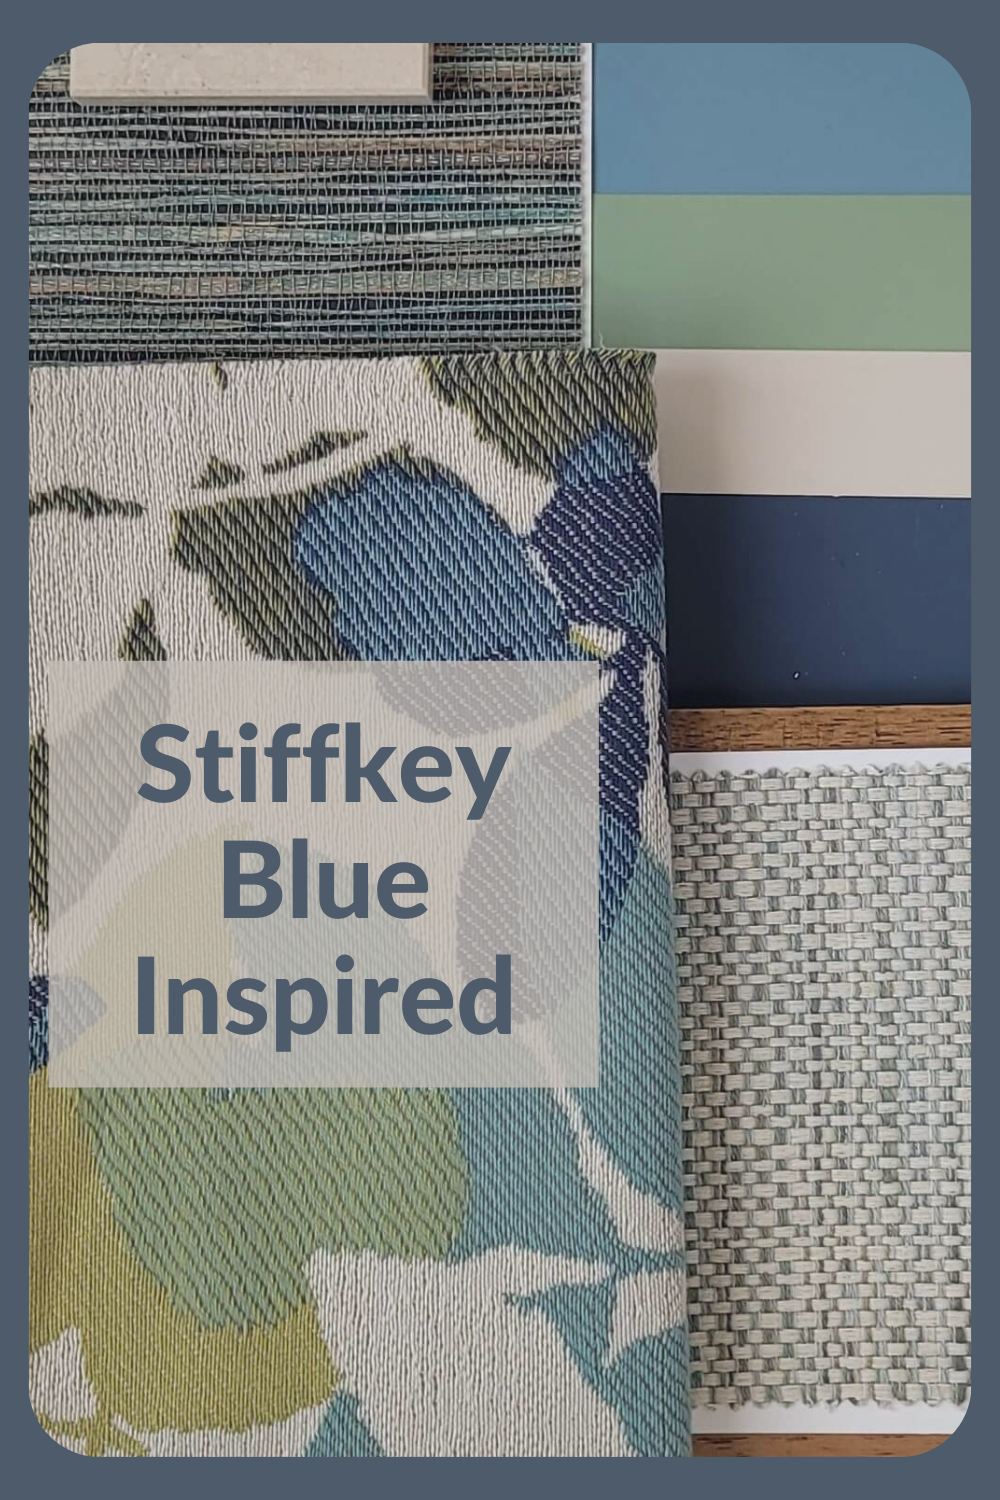
Fresh with Blues and Greens for the 3rd Colour Combination
For the final Stiffkey Blue colour palette design, I went with slightly fresher shades of blue and green.
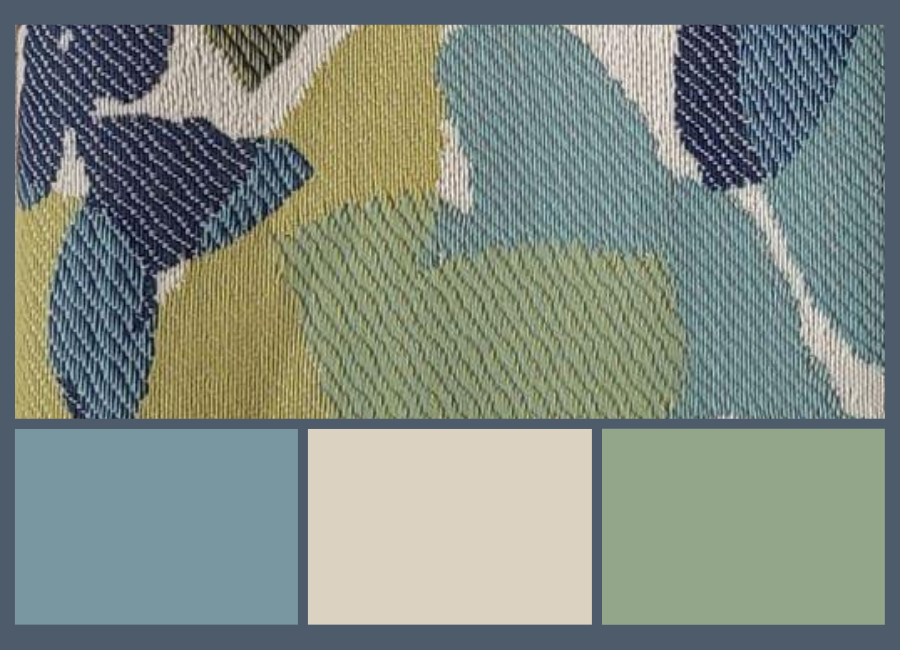
It is such a great feeling when that perfect fabric jumps right out at you. That’s how I found the jumping-off fabric for this 3rd colour combination. Seriously, it looks like it was made with these colours in mind. Jackpot!!!
This JF patterned fabric is called Leaflet and it’s from the Morning Glory Inside Out collection.
I worked off this one fabric to build my palette and when I was done I had fabrics that could potentially be used for pillows, drapery, and furniture. They all tied in so well and were all inspired by my Stiffkey Blue Perfect Colour Palette.
Not only did I find amazing fabrics to colour match with my palette, but I came across a fabulous grasscloth wallpaper that you see in the video.
Grasscloth wallpaper 52063, upper left
As an example, a main floor powder room could be papered in this paper which would flow nicely from the front room where two occasional chairs might be covered in one of the coordinated fabrics. Cohesiveness throughout the living space demonstrates that all your design choices have been deliberate.
Putting together palettes combining colour, textures, patterns and materials was made easier using the colour combinations from my Perfect Colour Palette.
During my 10 years as a professional, award-winning interior decorator, I have created and changed the services I offer and the contracts that go along with those services.
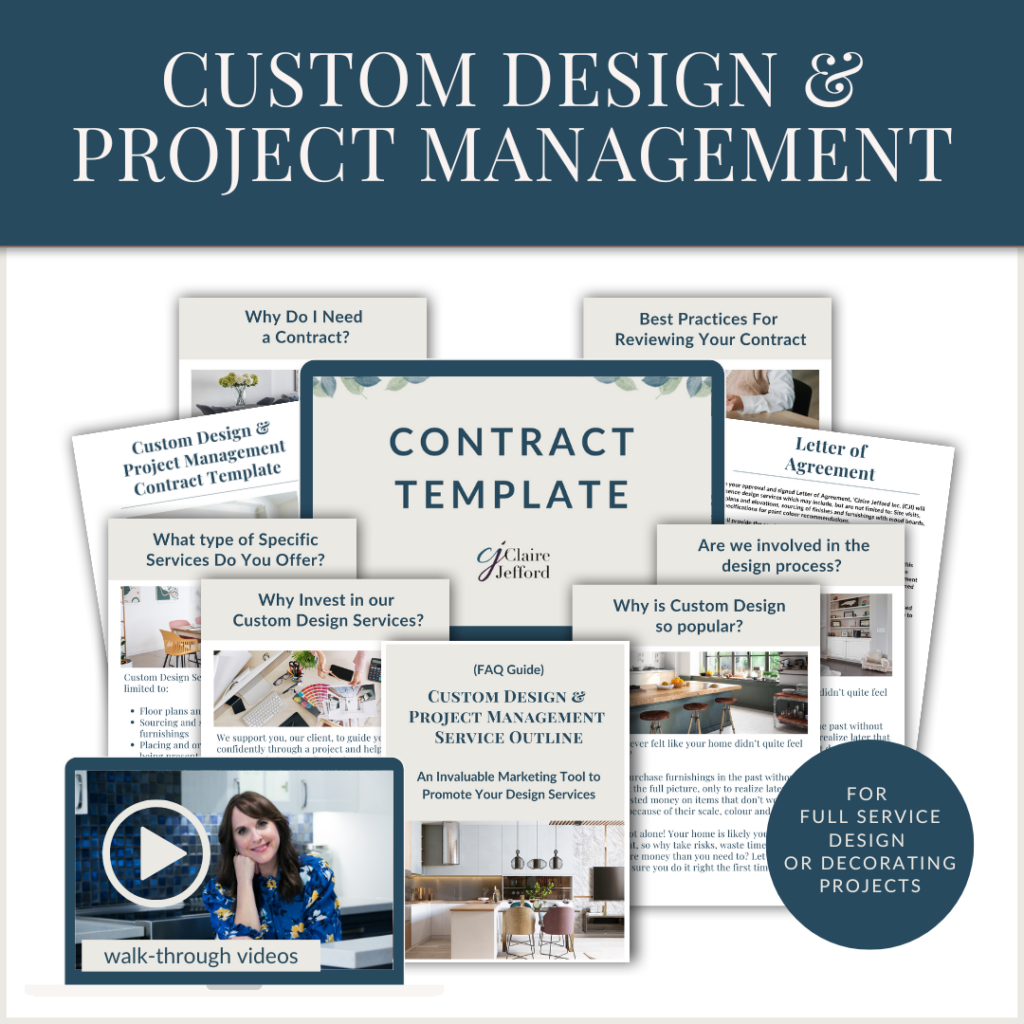
Instead of starting from scratch as I did, I have created contract templates so you can hit the ground running in your Interior Design Business. You can edit these interior design contracts and use them when signing up new clients.
Each template comes with a service outline to assist you in explaining the specific service that the contract relates to. There is also a walk-through video showing you how to use the template.
So, it’s imperative to have a contract with you at the consultation but what’s in it? Watch the video to learn about the must-have elements to include in your contract.
This is an overview of just some of the terms you need in a contract for your interior design business. A contract is often quite a lengthy and detailed legal document. Some of my contracts are 4-5 pages long depending on which service they are referring to.
Whether you create your interior design contracts on your own or invest in my templates that are already done for you, you must consultwith a lawyer in yourlocal area and get them to review them very carefully. Also, make sure you go into greater detail for each of the terms that you include so that you properly cover yourself. I’m sharing an overview only in this post.
Terms to Include in Your Contract
1. Deliverables
What exactly can a client expect from you? Deliverables are what you are providing the client with in terms of tangible services. This means floor plans, a list of product selections, mood boards, etc.
Let them know exactly what you’re going to be including in your presentation and in the service that they are hiring you for. The more detailed you are here, the less possibility of issues arising as the project progresses.
2. Scope of project
It is critical that the areas of the house or if it’s a commercial project, the spaces that you are responsible for, are very clearly defined. If you’re hired solely for a kitchen renovation, all things pertaining to that room should be outlined in the contract.
You’re familiar with the term ‘scope creep’, right? This is when additional requests are added by the client that were not listed in the initial scope of work. Before you know it, you could be designing and sourcing for areas of the home that were not identified at the start of the project.
Any space that you are working on needs to be covered in the contract.
3. Timelines
A third crucial element to include in your contract is timelines. Are you taking the project to the finish line? To that big exciting reveal? Or, are you working with a client for a limited number of specified hours?
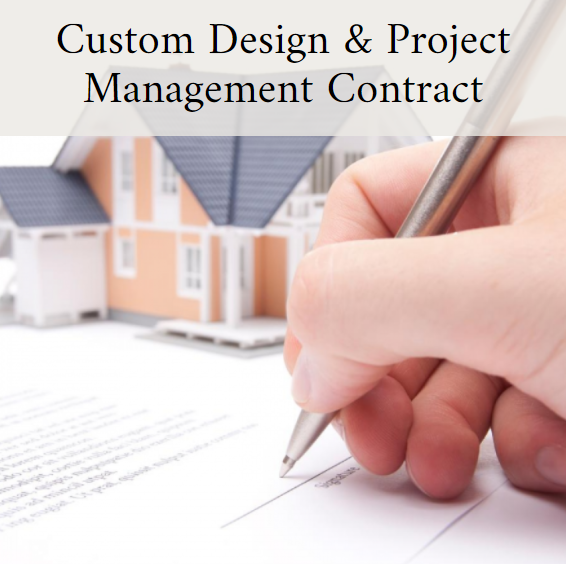
The Custom Management service is a full service where we will do the design, order all products, oversee the trades, and arrange installations. For the other services, we work in specified blocks of time. These differing timelines must be clearly defined in your contract.
4. Fees & Fee Schedule
If you know me, you know that I never shy away from talking about money. So, of course, your fees and your fee schedule need to be clearly laid out in the contract.
What are the fees for your services? What is the frequency of your billing? When are payments due?
We never chase our clients for outstanding invoices, we always take payment before any interior design or decorating work begins.
Unfortunately, so often in my private Facebook group for interior design professionals, we hear stories about designers who are chasing clients for money. It’s a terrible feeling and is unnecessary when you have set your business up with organized processes.
This is NEVER AN ISSUE when you get paid upfront before you start working on a new project. More advice on this all-important topic can be found in a recent blog I posted about 5 Mistakes to Avoid at the Consultation.
If your friends and family respect what you do, this will not be an issue. Don’t stray because you know someone well. Stick to your processes.
5. Terms for Non-Payment
Continuing from #4 you need to make sure your contract stipulates terms for non-payment. These terms should also include what happens if payments are late.
We don’t move forward with purchases of any products unless we have been paid 100%. This is clearly stated in our contracts so our clients are completely aware of the consequences of late or non-payments.
In your design business if you state that your designs are your intellectual property and that your designs cannot be implemented without you, then you need to ensure this is outlined clearly in your contract. You also need to consider what legal action you will take and if you will actually enforce it, should you find out a client has taken your plans and implemented them on their own.
7. Backorders and Discontinued Products
As professional interior designers and decorators who work in this industry daily, we are well aware of back orders or items being discontinued.
This can be a real issue! You need to have a clause in your legal agreement pertaining to how you handle this, should it arise during the design process. We let clients know that the swifter they are at making decisions and giving us approvals for product purchases, the more chance we have at minimizing delays.
If products become back-ordered or discontinued, will you re-source products at no charge? If you charge, what are your rates for doing so?
It is crucial that these scenarios are communicated with your client in the contract ahead of time.
8. Damaged Products
If a product that you have specified arrives and is damaged or is the wrong item altogether, who is responsible for rectifying this? This is not uncommon and happens way more often than it should as far as I’m concerned.
This is why you need your contract to cover details on how this situation will be handled and by whom.
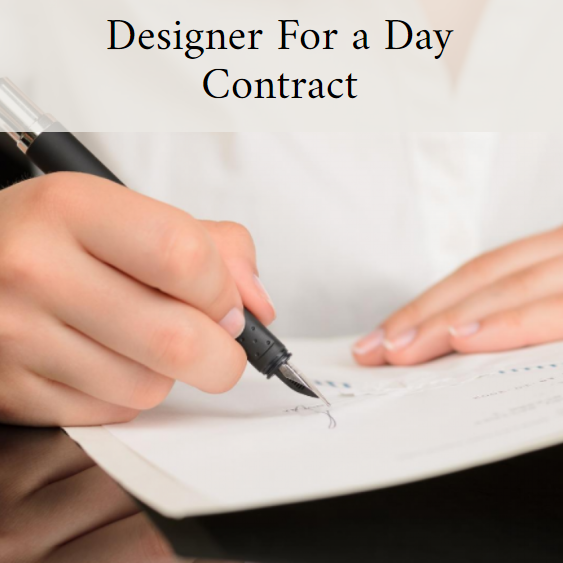
It’s possible that your terms for damaged products will differ depending on the type of service the client hired you for. For example, with our Designer For Day service, we are not responsible for products and we clearly state this in the contract.
However, for Custom Design projects, we typically oversee all deliveries, and our role is detailed in this type of contract should problems occur with any item that we have ordered and received.
9. Managing the Trades
It is fairly likely when providing any type of interior design or decorating service that a tradesperson will be required to be on-site at some point during the project. Therefore, how you work with the trades, whether they are hired by you or by your client, needs to be one of the key elements that you include in your contract.
I have only touched on some of the key clauses that you need to include in your legal agreements. My contract templates are much more comprehensive and each one includes a walk-through video and editable PowerPoint to help you confidently market and sell your valuable interior design services.
Don’t underestimate the importance of having solid contracts to protect both you and your clients. I highly recommend you review any agreement with your clients in person and collect a deposit for services at the same time. Good clients appreciate when you present yourself as a business owner as confident and organized.
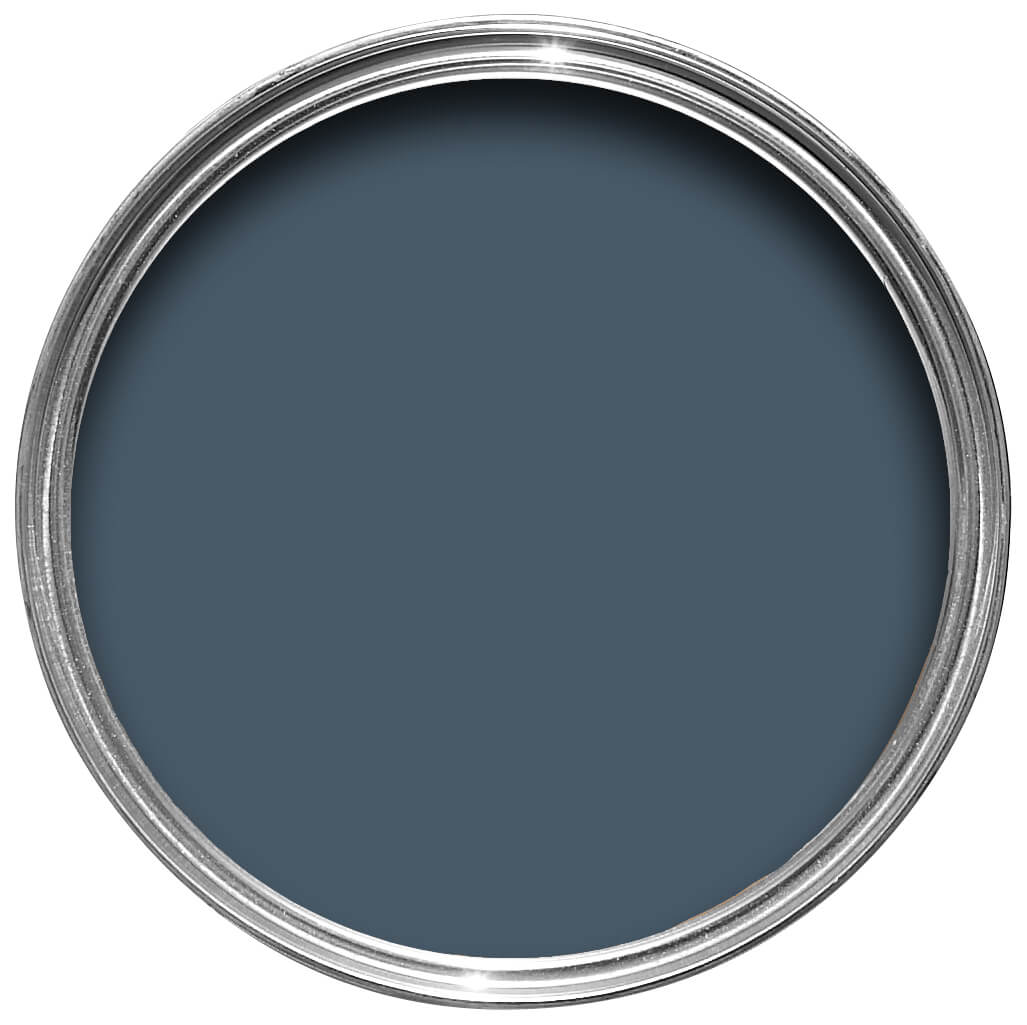
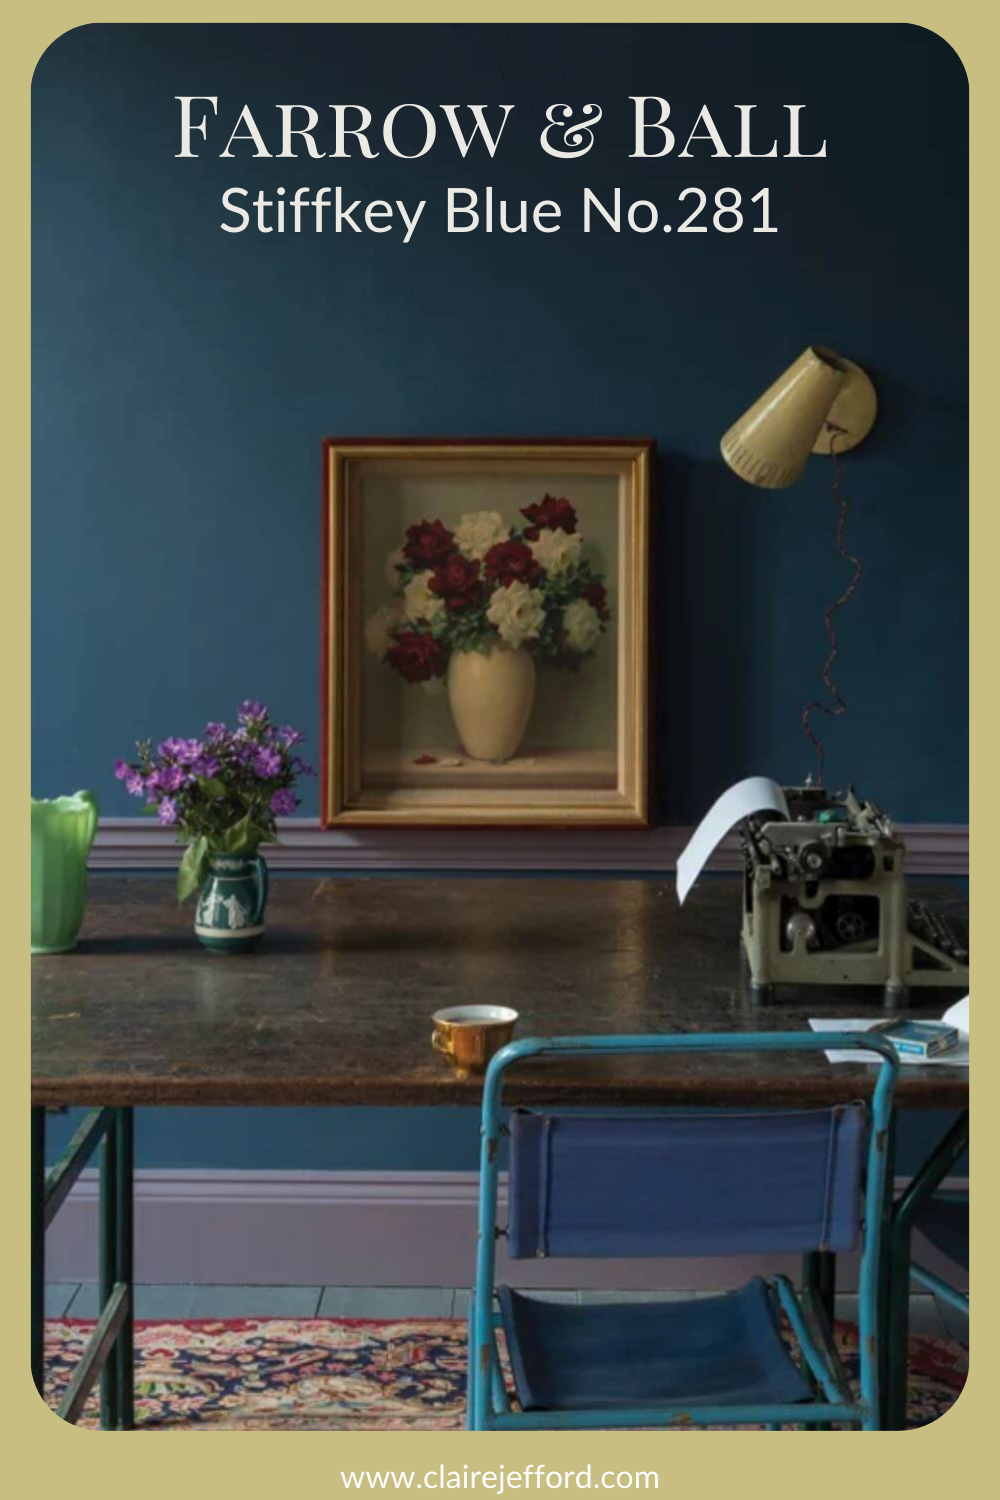
A rich blue, Farrow & Ball’s Stiffkey Blue can be used in traditional spaces or to give a more dramatic look to a contemporary design.
If you’re new here, welcome! Below you will see what I cover in every colour review post.
In this colour review video, I share:
The undertone of my featured colour
Colour comparisons in order to easily see the different colour tones
Best white paint colours for the trim and ceilings
Beautiful colour combinations to inspire you for your decorating project
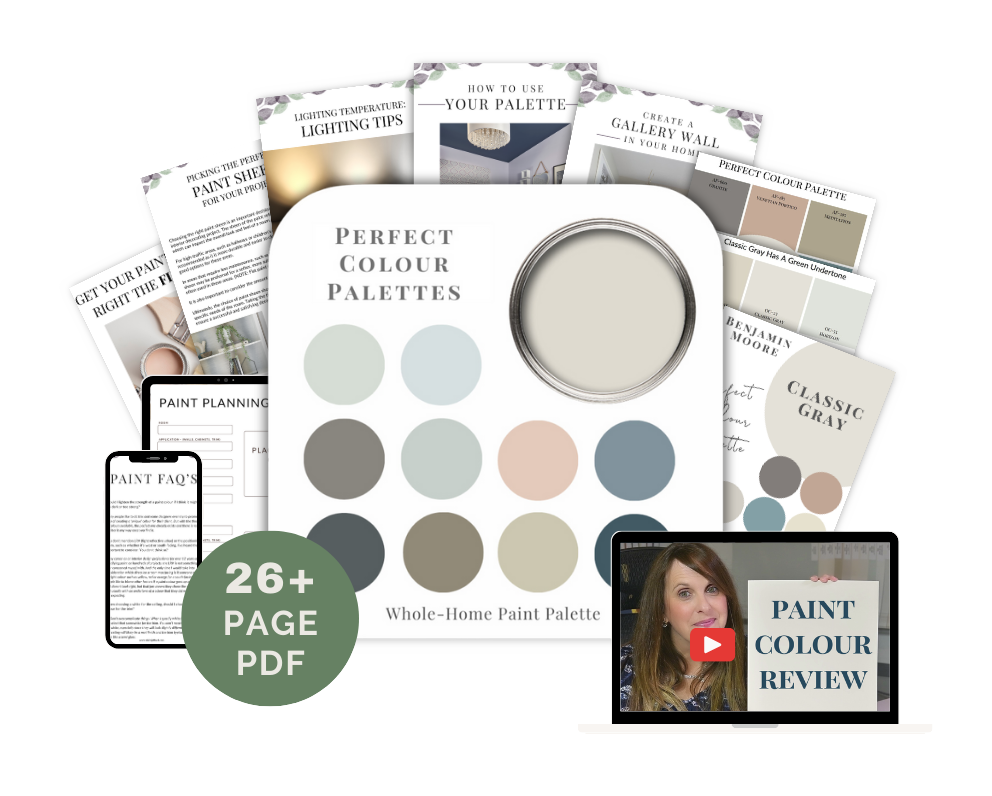
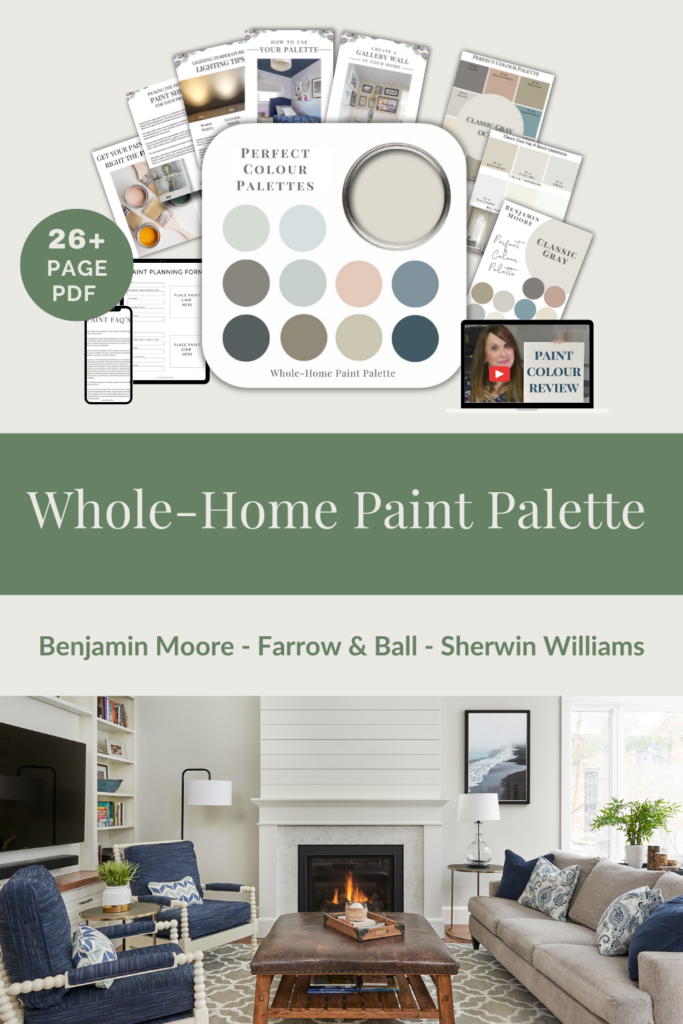
If you prefer to have all these palettes conveniently to hand, plus see all 10 colour combinations to use with Stiffkey Blue, I’ve got that ready for you here in my Perfect Colour Palette.
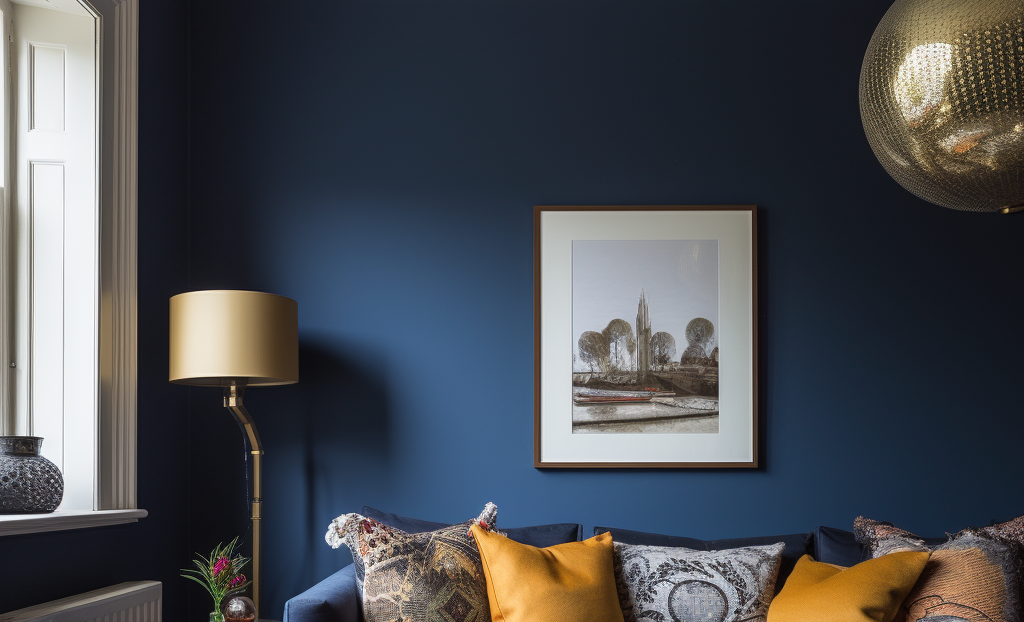
This rich depth of this ‘inky navy’ may appear more or less blue, depending on the lighting and what other decorative elements you pair with it in your interior decorating project.
As you can see below when we look at comparisons to other paint colours, that fact becomes more eye-opening.
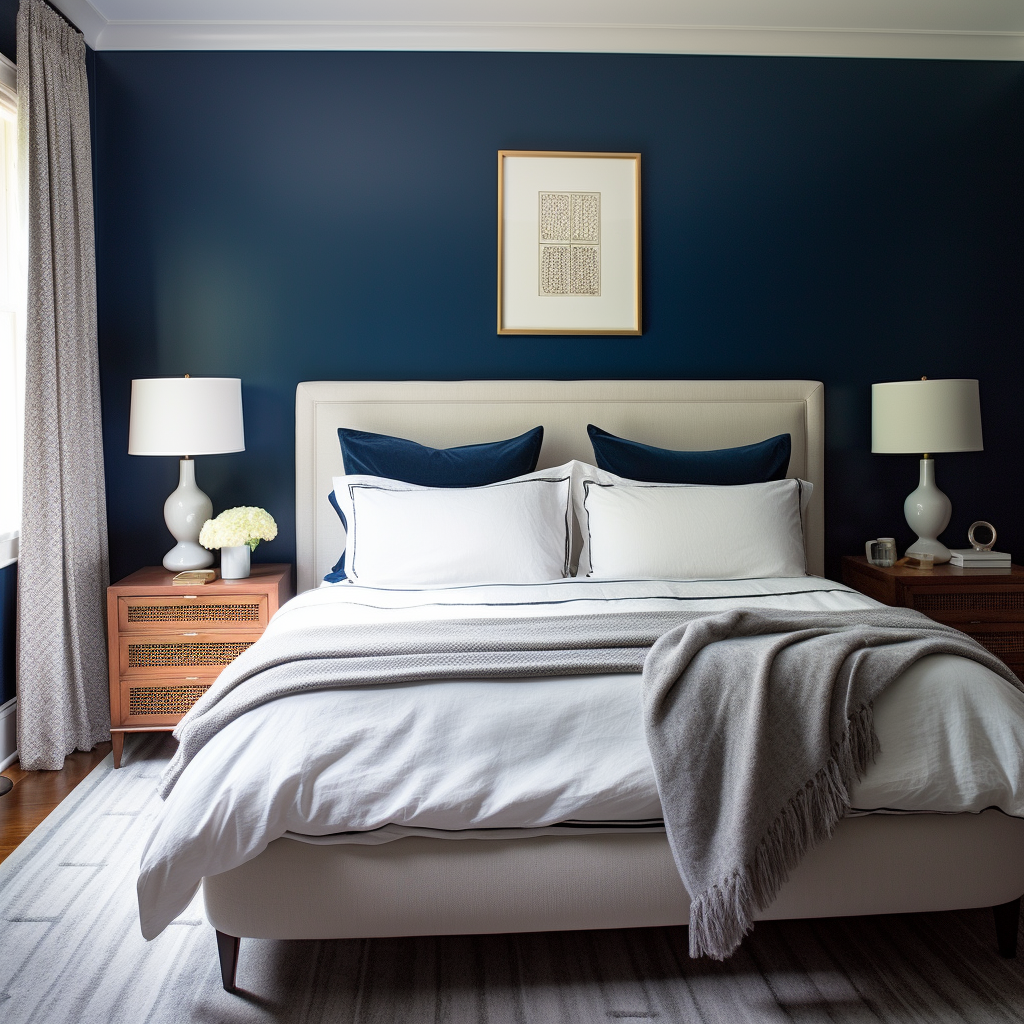
Bedroom Walls in Stiffkey Blue by Farrow & Ball
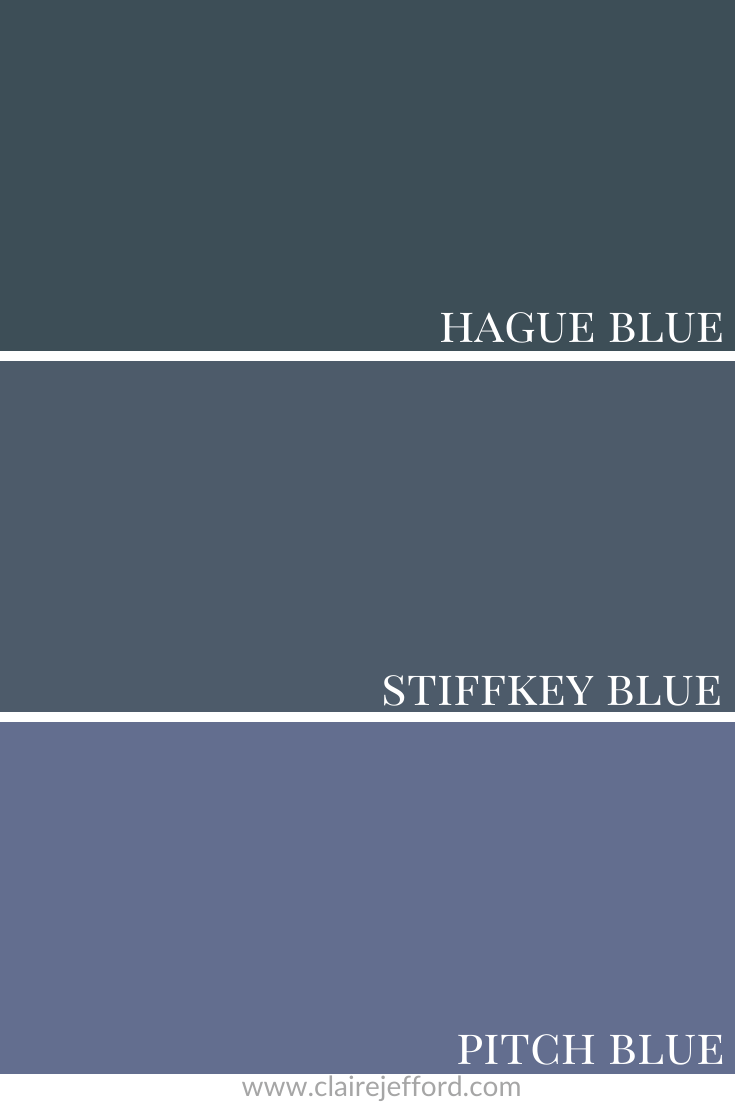
Colour Comparisons
Hague Blue No.30 & Pitch Blue No.220
It’s only when we compare colours that we can truly understand the tones and whether they lean more one way or another on the colour spectrum.
When I do Colour Consultations in a client’s home, I am always comparing colours so they too can easily see the differences.
When I hold my large paint boards up to decorative elements such as fabrics, wallpaper or subway tile and then swap out one board with another board, it becomes much more evident as to which colour will work best.
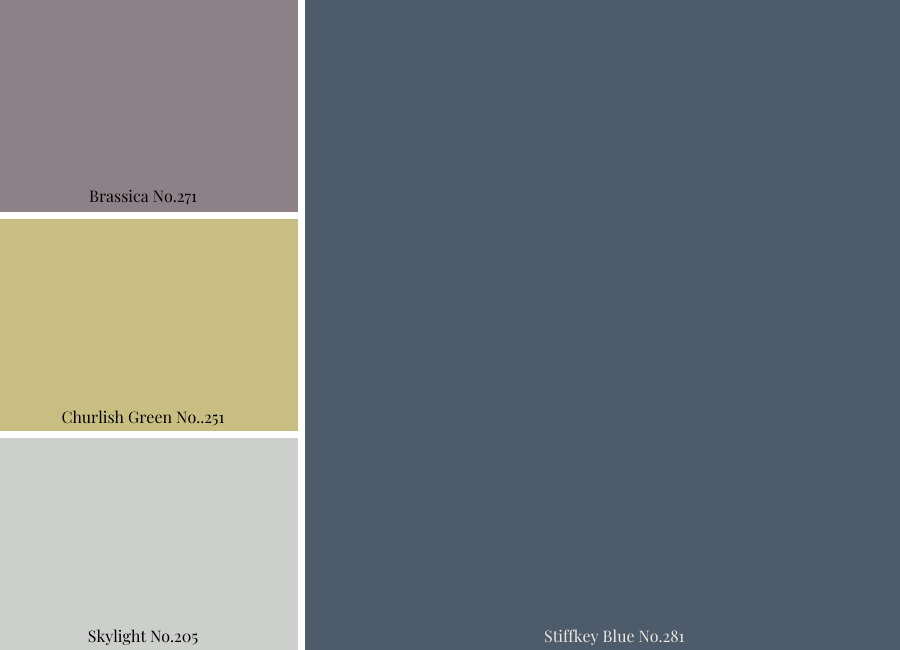
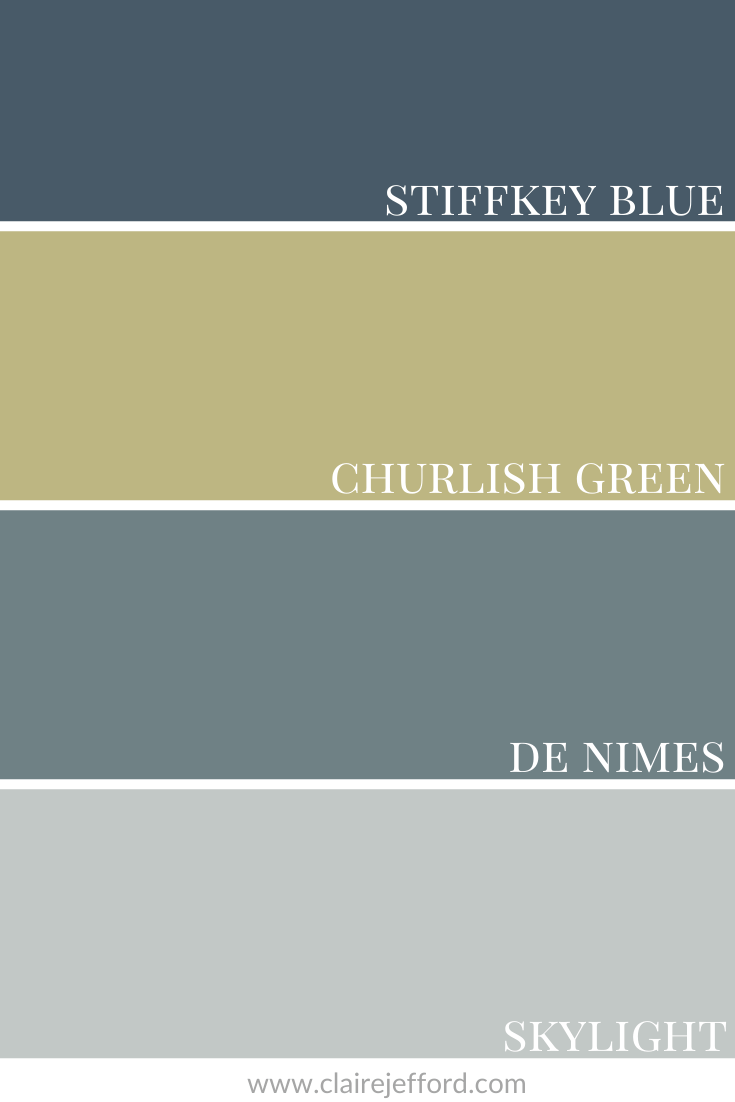
Stiffkey Blue with Churlish Green, De Nimes & Skylight
Churlish Green No.251 – MY FAVOURITE OF ALL THESE PAIRINGS!
De Nimes No.299
Skylight No.205
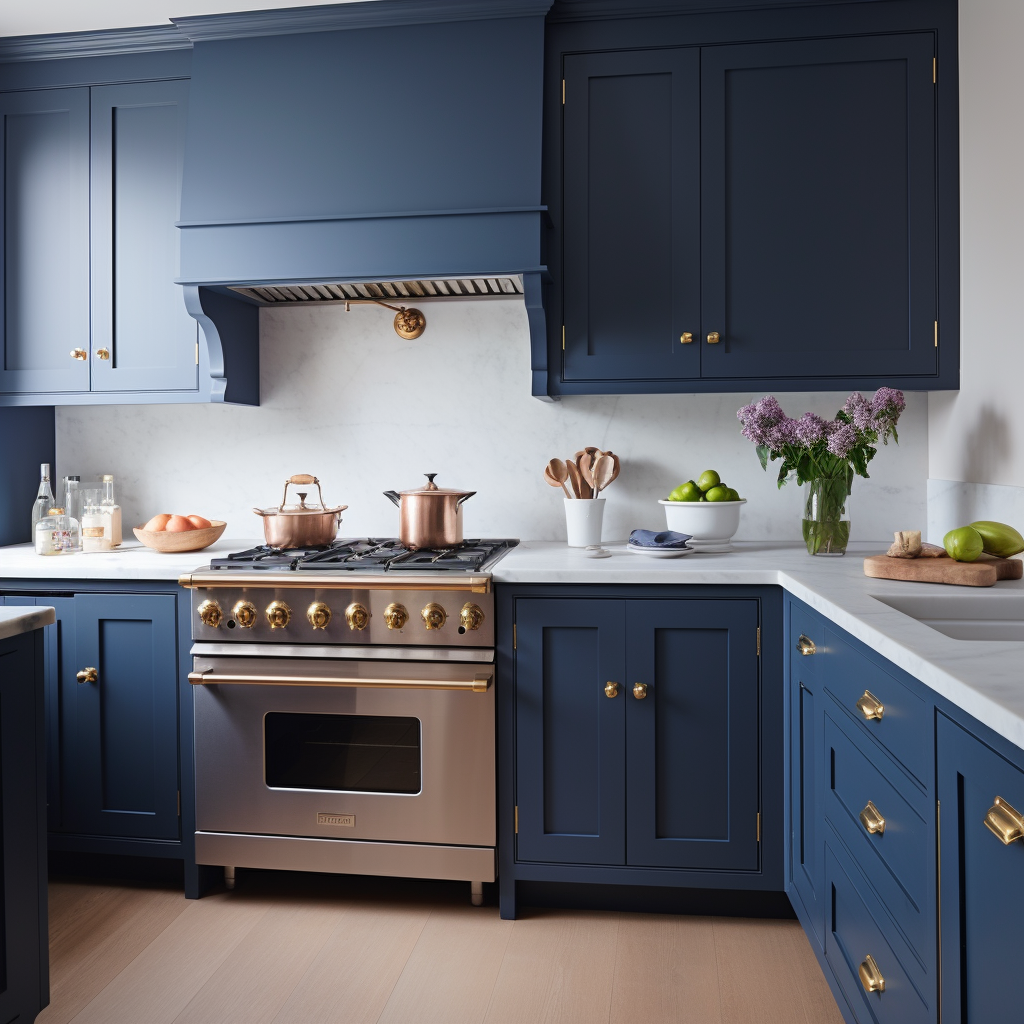
Where would you use this striking paint tone? I would love to use Stiffkey Blue by Farrow and Ball for kitchen or bathroom cabinetry and to create a dramatic mood in a dining room.
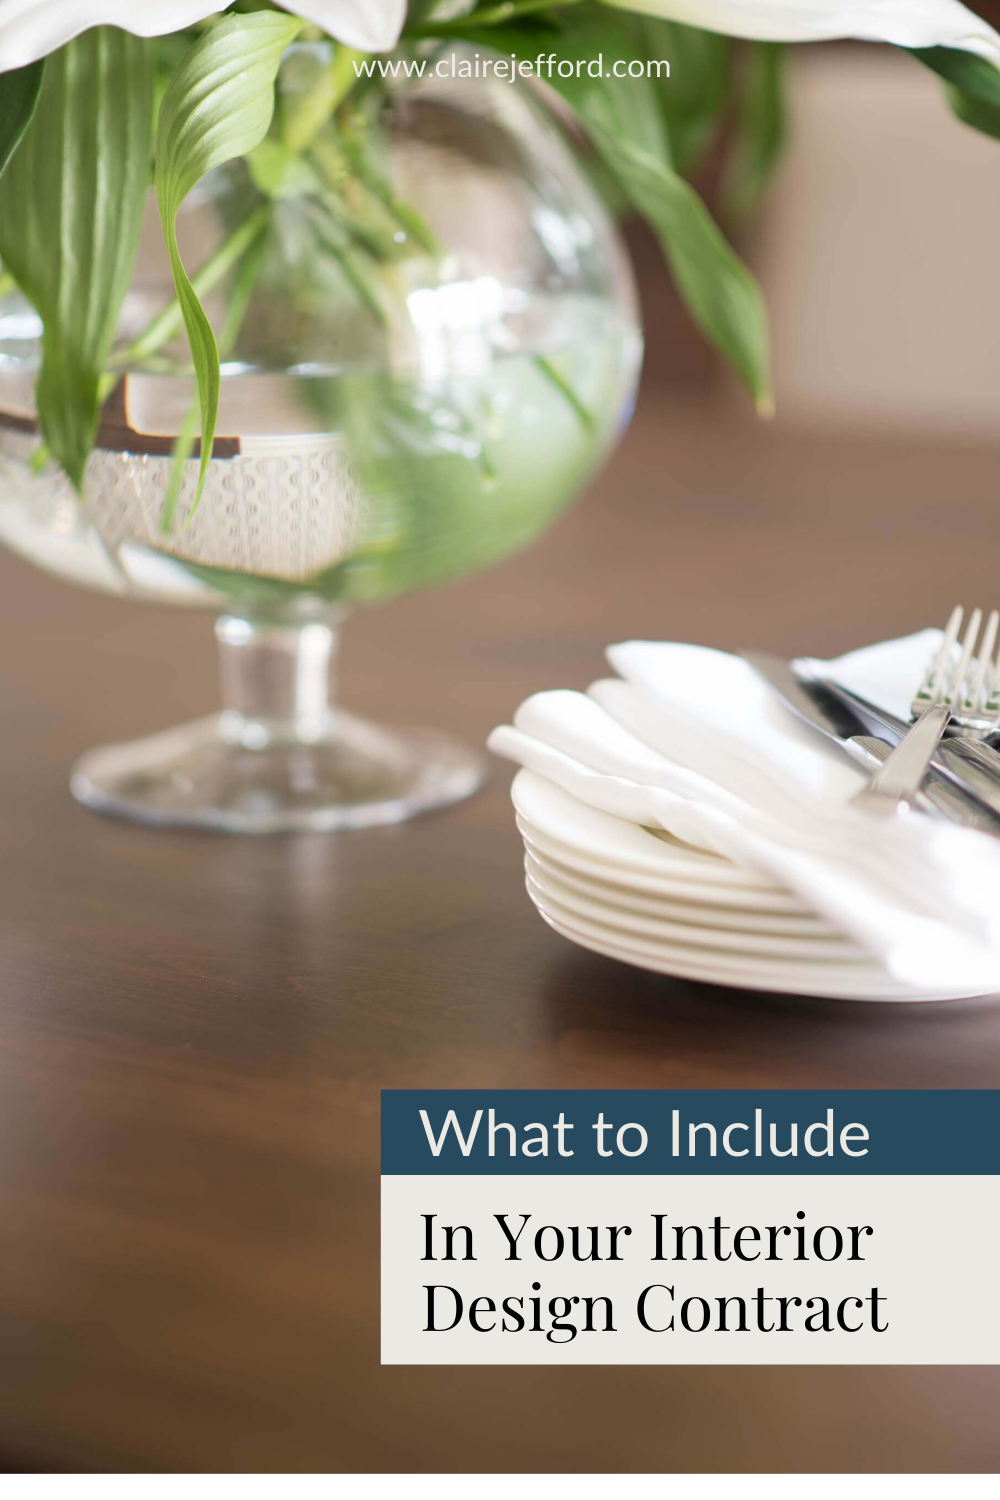
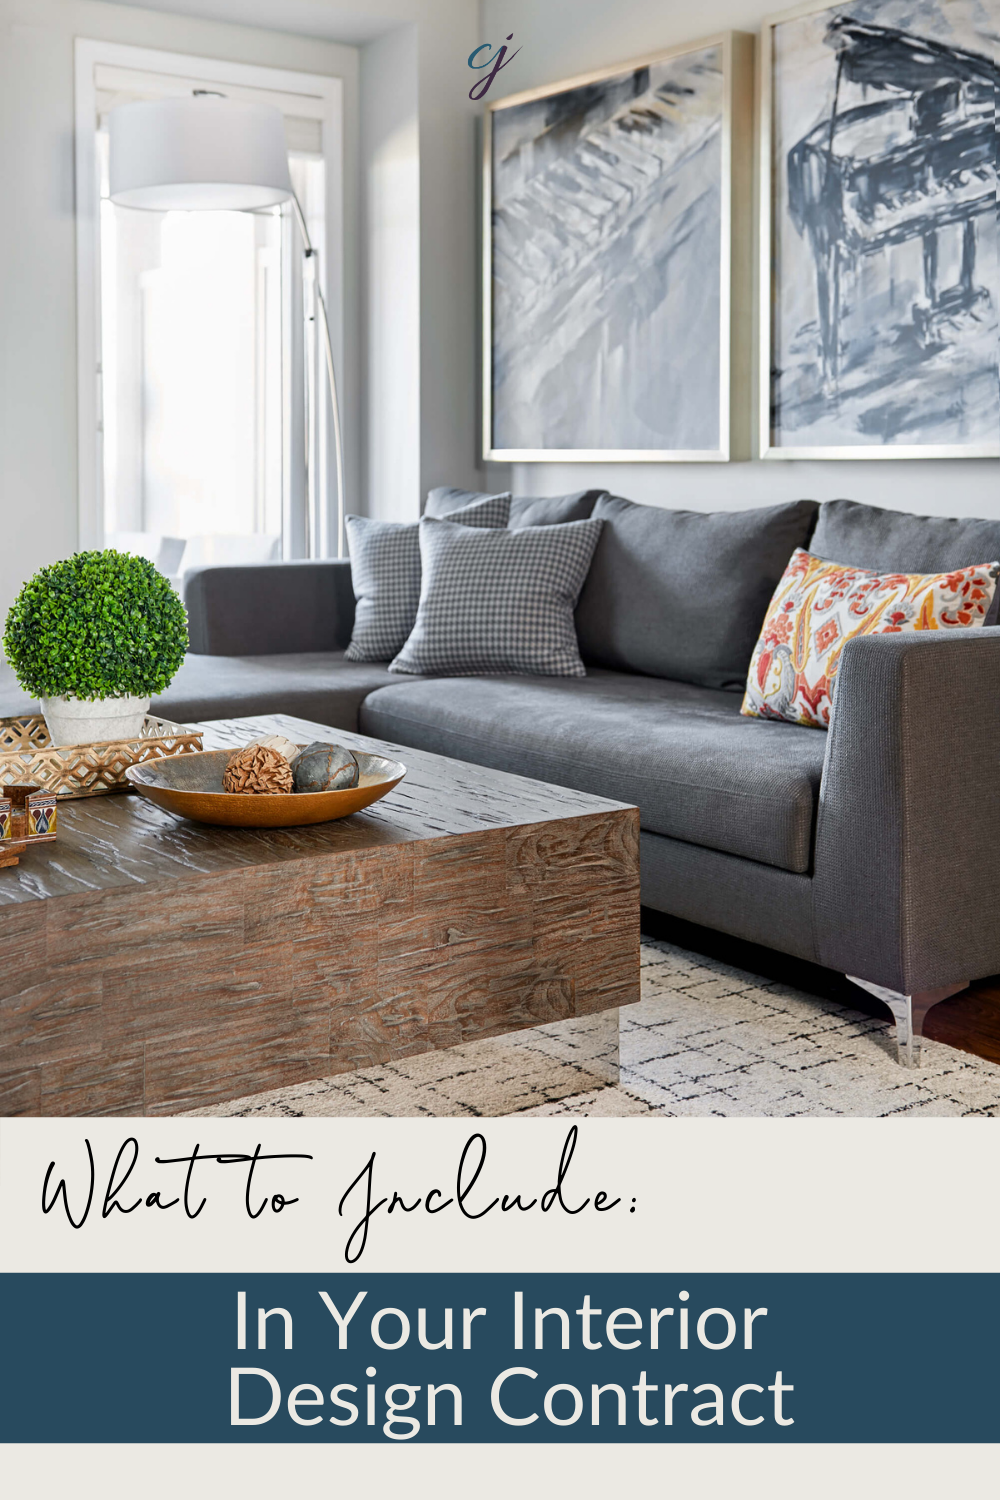
Interior design contracts are essential for your business. Before you start any interior design or decorating project with a client, you must have a signed contract in place.
During my 10 years as a professional, award-winning interior decorator, I have learned the importance of having a signed contract and reviewing it with the client before embarking on any type of new project.
Today, I am sharing with you my top 6 Reasons Why You Need a Contract. Check out the video below for all the details.
Interior Design Contracts – 6 Reasons Why You Need Them
6 Reasons Why You Need a Contract
1. Shifts the mindset of the client
You want your client to be able to clearly distinguish that there is a difference between the initial consultation and the next level of interior design services, where they are entering a more formal working relationship with you.
We hear a lot about mindset these days and that’s because it is so important for everyone to be fully on board and in the right frame of mind before moving forward with any type of interior design project.
An interior design contract outlines the way in which you work and helps to protect both you and your client. Yes, a contract and/or letter of agreement is also there to protect your client! Its purpose is such that you both fully understand the terms of your working agreement.
This is super important because although we understand how invaluable our interior design services are because we work on client projects every single day but we can’t expect a client to know all of what we do and how our processes work.
There are many moving parts to each project, from the ordering and tracking of items to resolving various types of issues and overseeing the trades, various elements can arise that are out of our control.
That is why it’s your responsibility to make sure your client fully understands how you work.
This comes back to adjusting the mindset of your client and setting up the proper framework for working together. When your client understands that you follow specific steps in your process, they will be more confident in the working relationship you are building with them and in your abilities to manage their project.
4. Open communication
Isn’t it nice when you hire someone to do a service for you and the way that they communicate with you is clear and open right from the the start?
Reviewing your contract in person with your client shows that you are a believer in communicating your processes effectively and that you don’t avoid difficult conversations.
It demonstrates that communication is important to you and that they can speak openly to you if they have an issue moving forward, knowing that you will confidently handle whatever comes your way during the course of the project.
If your friends and family respect what you do, this will not be an issue. Don’t stray because you know someone well. Stick to your processes.
5. Helps manage client expectations
If you know me, you know that I’m huge on managing client’s expectations!
When I coach designers one on one and we dive deep into a challenging situation that they are dealing with on a client project, we can almost always trace it back to something that was skipped over or a mistake that was made at the beginning of the working relationship.
We know that not everything goes as planned during a design project and that there will be hiccups, but your client likely does not.
Having a comprehensive contract as your interior design partner helps you to explain the entire process, including some of the problems that may arise and MOST IMPORTANTLY – how you will manage and resolve any issue so that you minimize shock or disappointment down the road.
6. Allows for open discussions
I encourage you to see reviewing your contract with the client at the consultation as an opportunity. It’s not meant to scare, intimidate or pressure anybody. It’s YOUR chance to have an open discussion so that they know what it looks like to work with your interior design firm.
I don’t say to the clients: “We have a contract that must be signed before we start.”
Instead, I let them know that I have an Agreement to go over with them and this will allow them the opportunity to ask me any questions about the service and how we work.
The way in which we approach this puts the client at ease and they respect that we are open with them and that we have nothing to hide.
I am more than happy to go into detail in each section so that they can make well-informed decisions and have complete confidence in the way we work.
We always bring our Contract Templates with detailed Service Outlines for each of our services with us to every initial consultation meeting. It is not uncommon for us to leave that first meeting with a signed contract and retainer in hand. It is possible!
If you are still looking at me with a side-eye, take a look at what one of my coaching clients had to say in a testimonial after investing and implementing strategies from my ROCK the Consultation Processes package and utilizing my Contract Bundle.
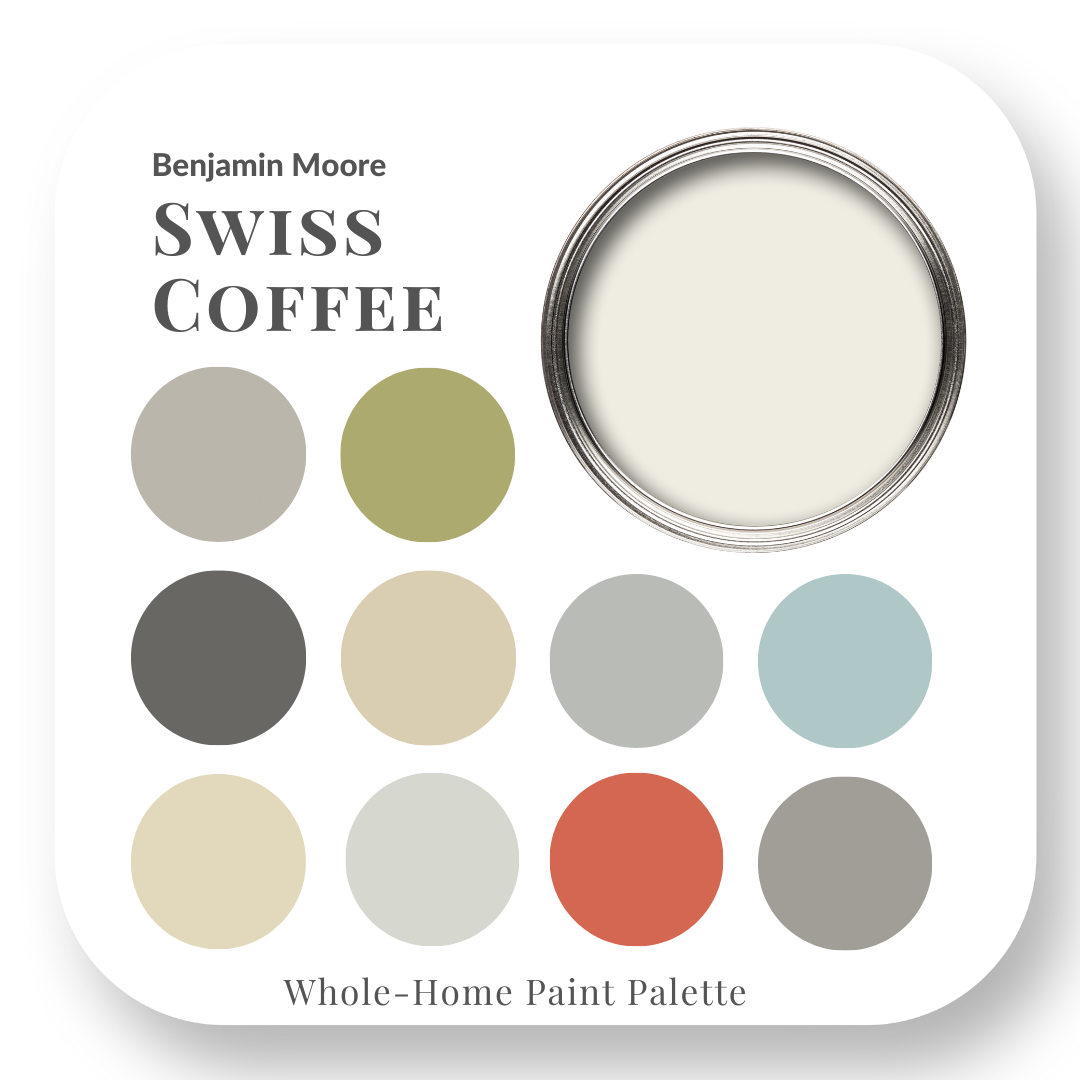
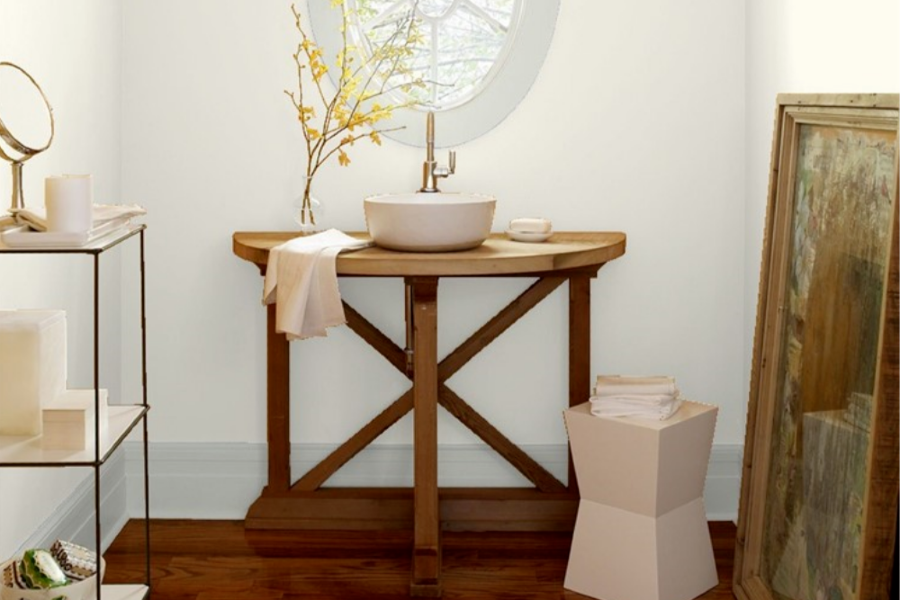
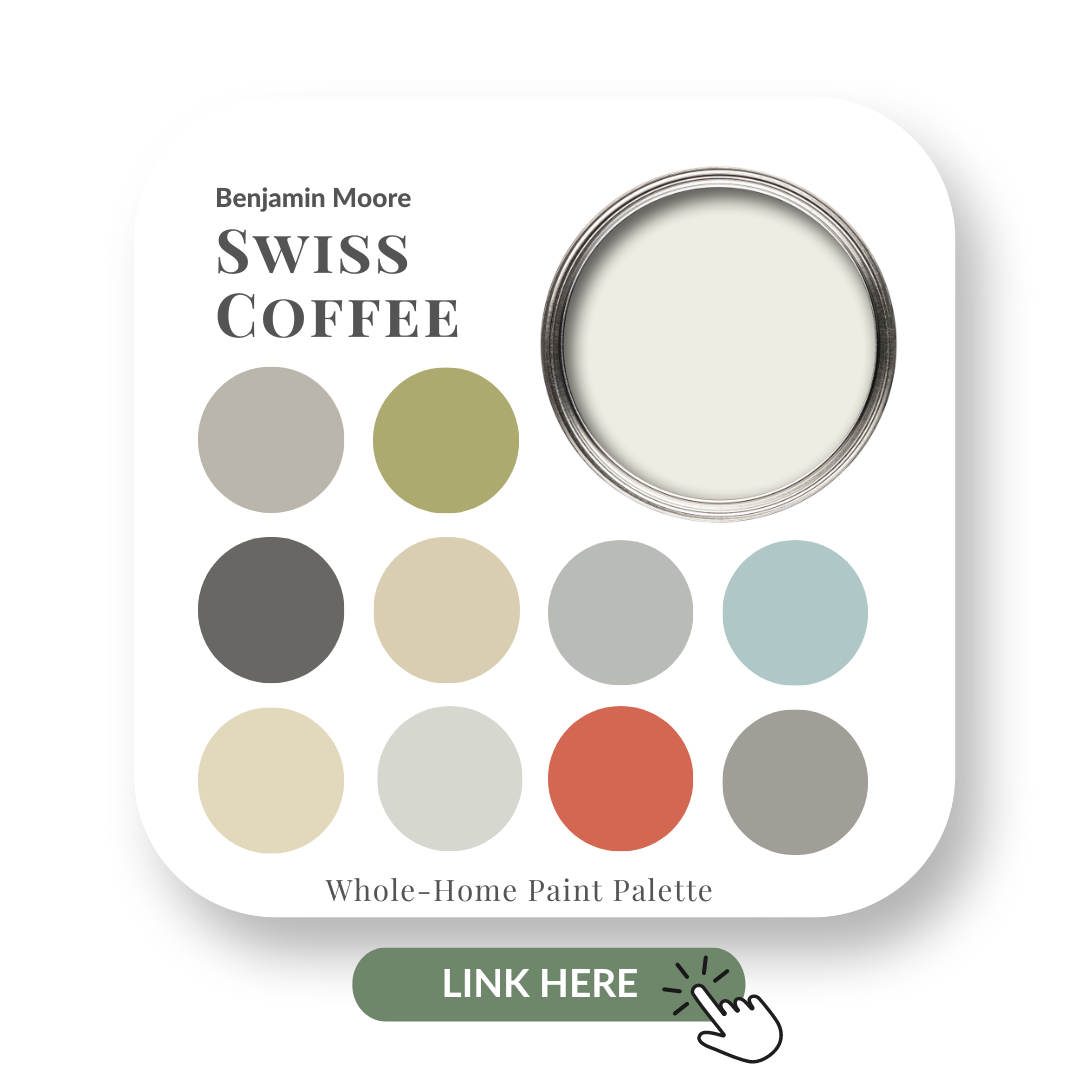
In my previous post, I did a colour review for Swiss Coffee by Benjamin Moore. Now I want to inspire you with ideas on how to pull a complete palette together using this sophisticated, soft white.
In this video, I demonstrate how to use the colours from my Swiss Coffee Perfect Colour Palette as inspiration for creating beautiful interior design palettes with fabrics, wallpaper, hardwood, and countertops for your home.
All the colours I use are included in my Swiss Coffee paint guide. I have come up with three gorgeous combinations, but there are many more ways that you could mix and match to create a design palette that is perfect for you!
Swiss Coffee – Palette Inspiration
Palette 1: Soothing monochromatic
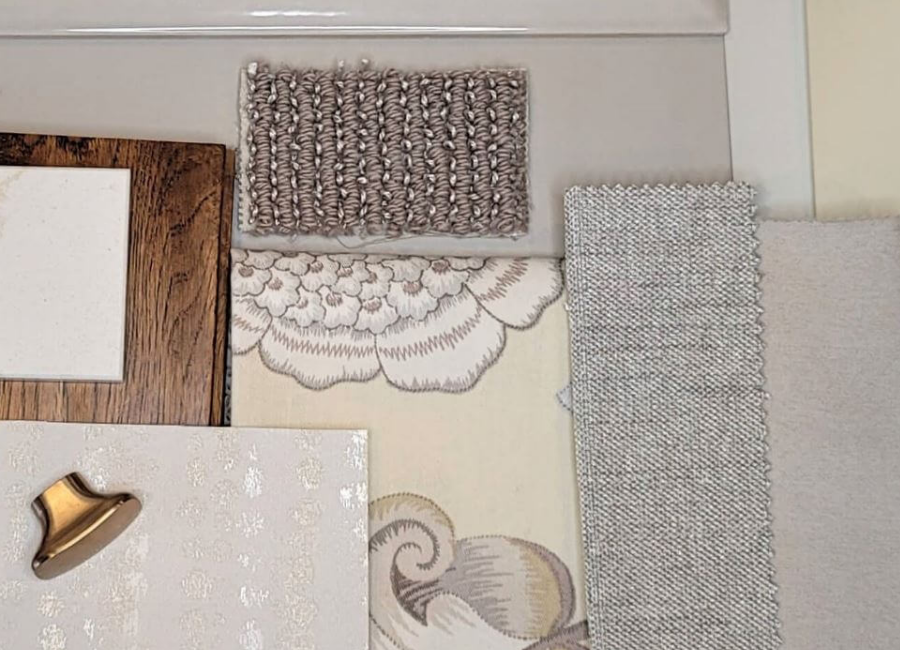
This first colour combination is the most calming pallet of the three. I printed off my Perfect Colour Palette for Swiss Coffee and walked through the endless fabric aisles at my Design Centre to find patterns that paired well with the combinations that I put together.
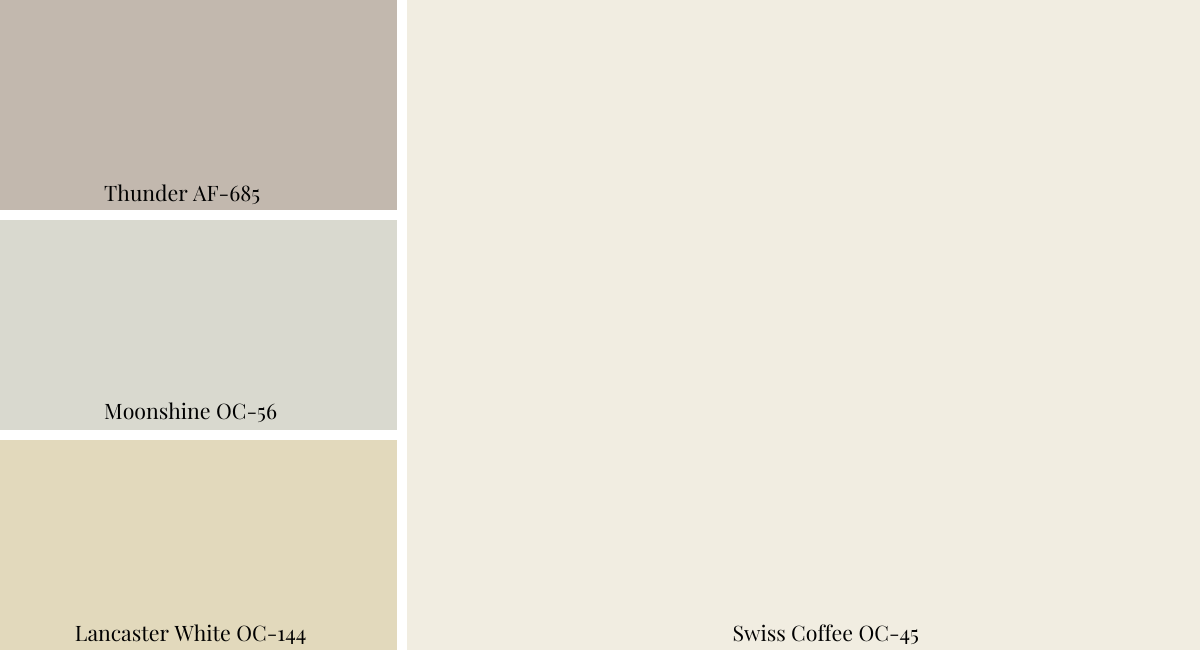
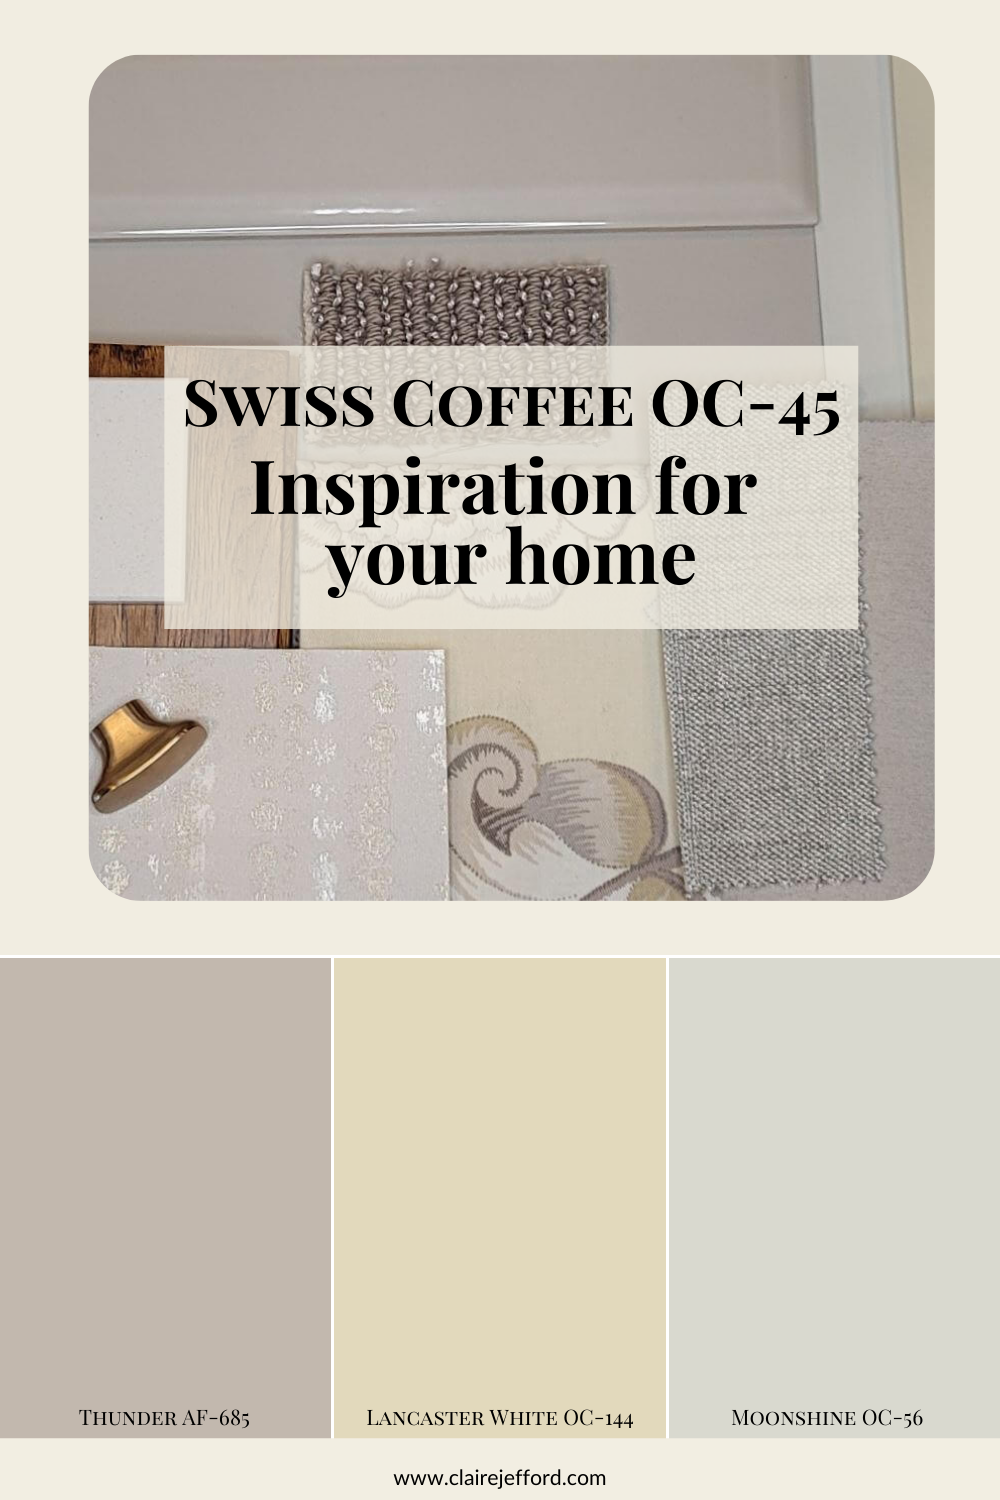
1st Colour Combination: Swiss Coffee, Thunder, Moonshine & Lancaster White
Look at how beautifully these 3 colour tones work together!
I am using this colour combination to find inspiration for fabrics and other home décor finishes. I am not saying you must paint with all these 3 colours, but instead, use them as inspiration for pulling together a design palette.
Here’s what I found:
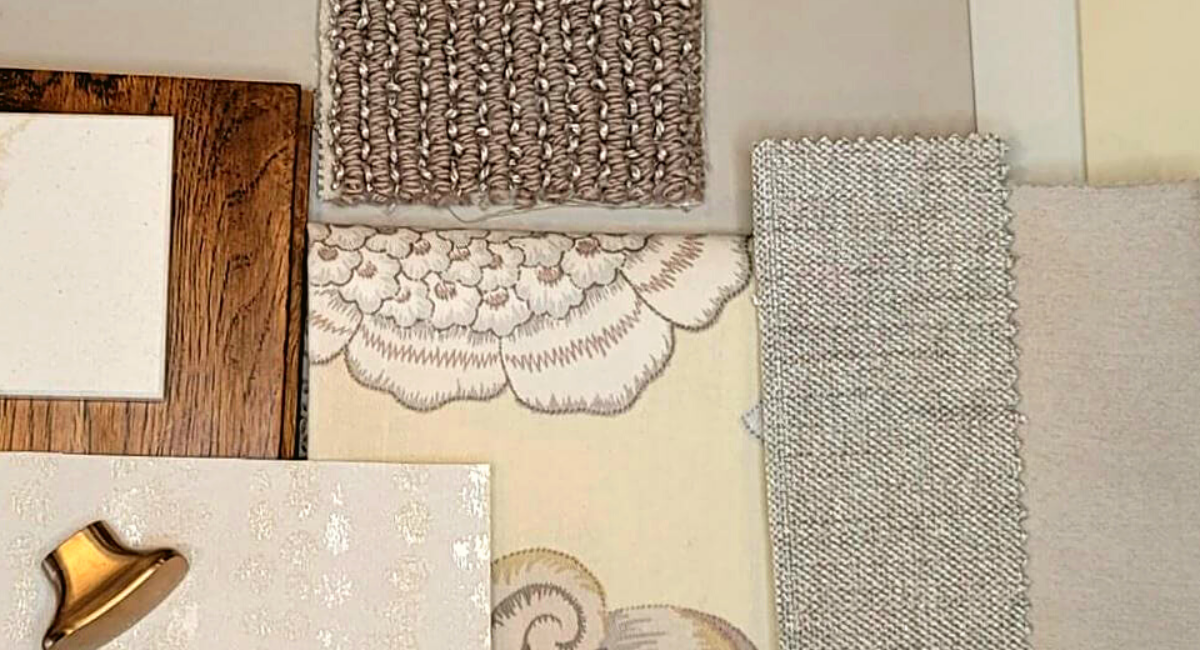
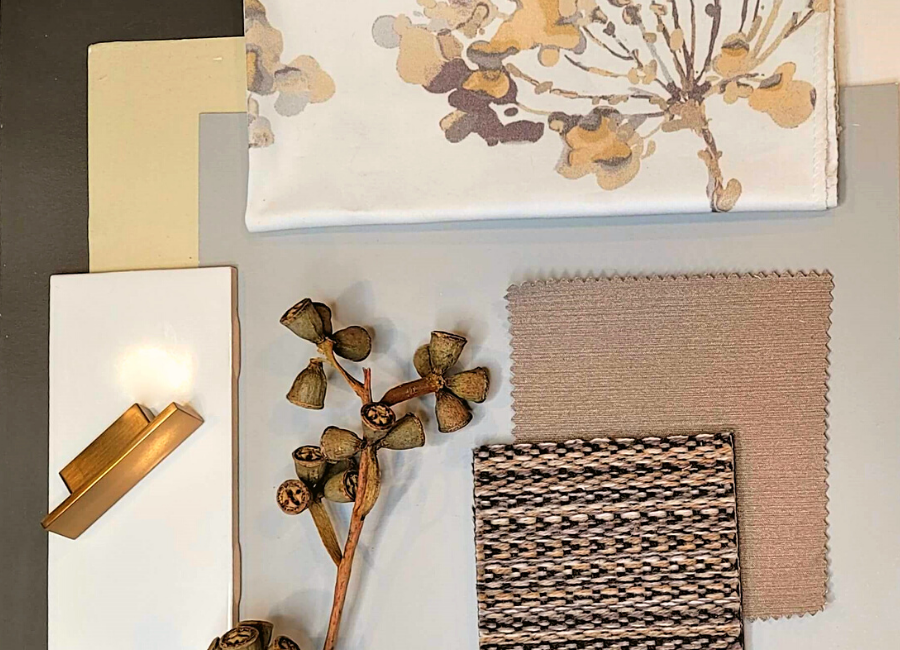
Soothing, monochromatic palette to go with Swiss Coffee
The first fabric is a fantastic, soft, and pretty floral fabric from JF Fabrics. You could use this fabric for a pillow on your sofa or apply it to some gorgeous drapery. You can see the other neutral-toned materials shown above that could be used for a sofa, a custom ottoman, and/or accent chairs.
Notice how the taupe looped rug sample compliments the fabrics and overall palette? The addition of the wallpaper sample with similar tones can be used to add another layer to your design palette.
Be sure to watch the video above to understand in more detail, why I chose each specific element of the designs.
Your home should always flow from room to room so that it’s clear that your design choices are purposeful. To do this successfully, repeat the same tones into other areas on your main floor.
Hopefully, you can see how I’ve done that with each of these materials by including selections for a kitchen design with the counter selection, backsplash, and a pretty piece of hardware.
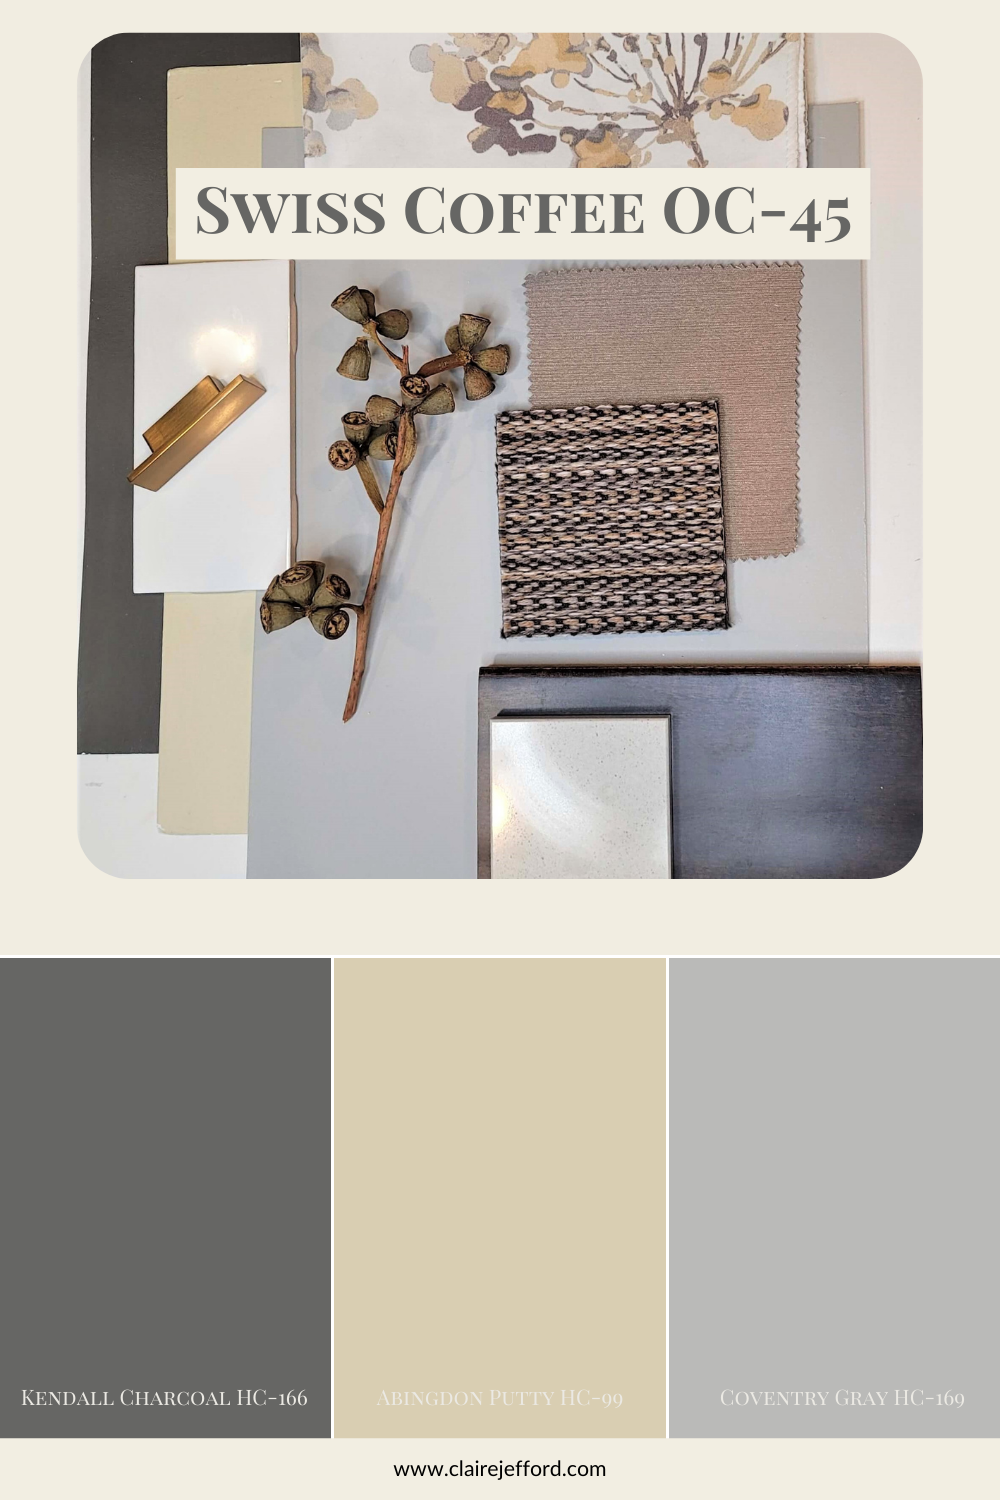
Palette 2: Contrasting & Moody
The second palette is slightly more moody with contrasting colours between quite dark and much lighter colours. I love creating contrast in my interior design projects!
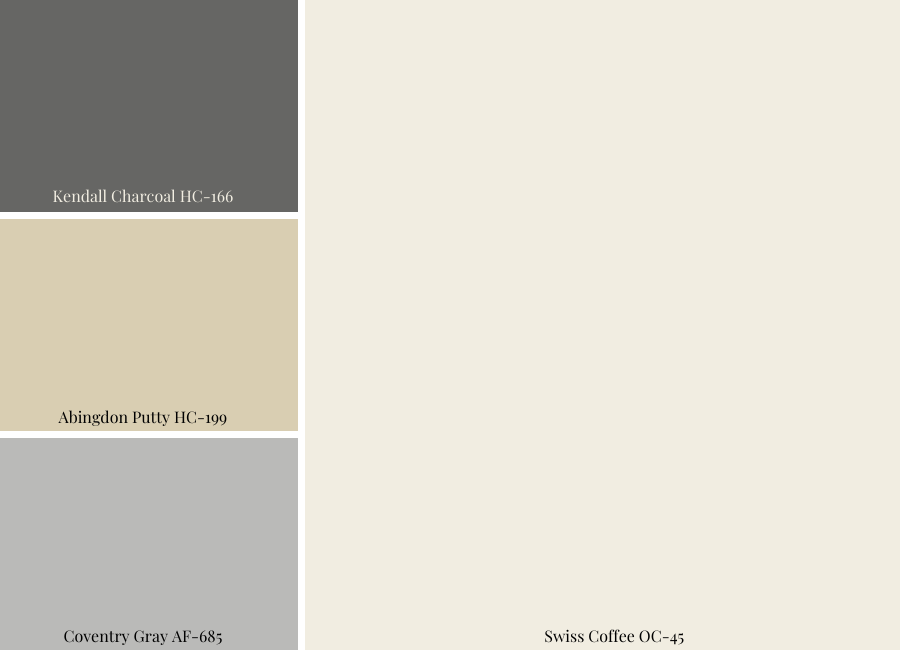
2nd Colour Combination for Swiss Coffee
Often just one fabric can be my jumping-off point (inspiration) for decorating an entire room, maybe even an entire home!
Kendall Charcoal adds a moodiness to this Swiss Coffee palette
Once again I picked a fabric first – the one with the dark green circles – and added on to the palette from there.
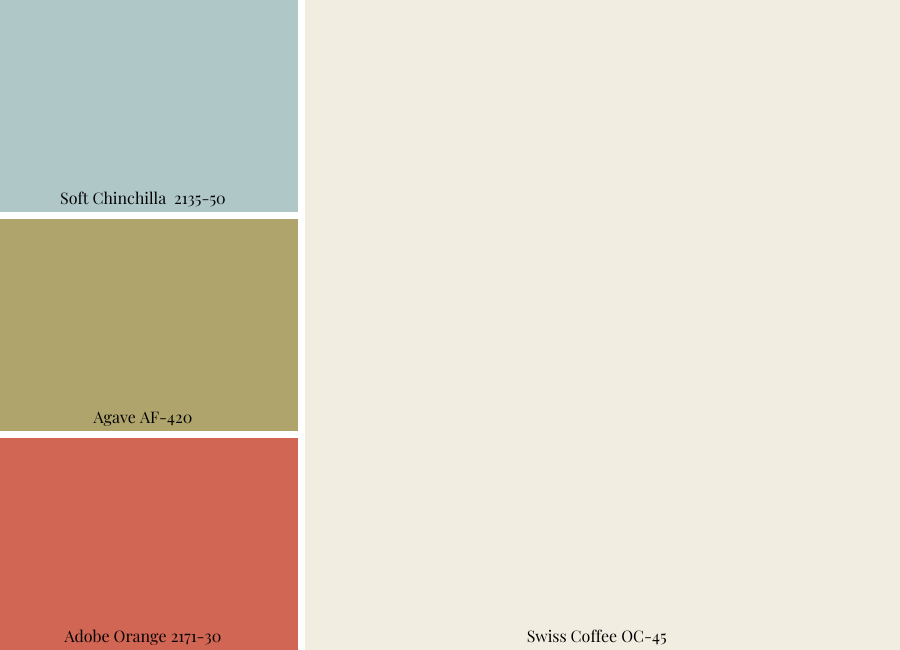
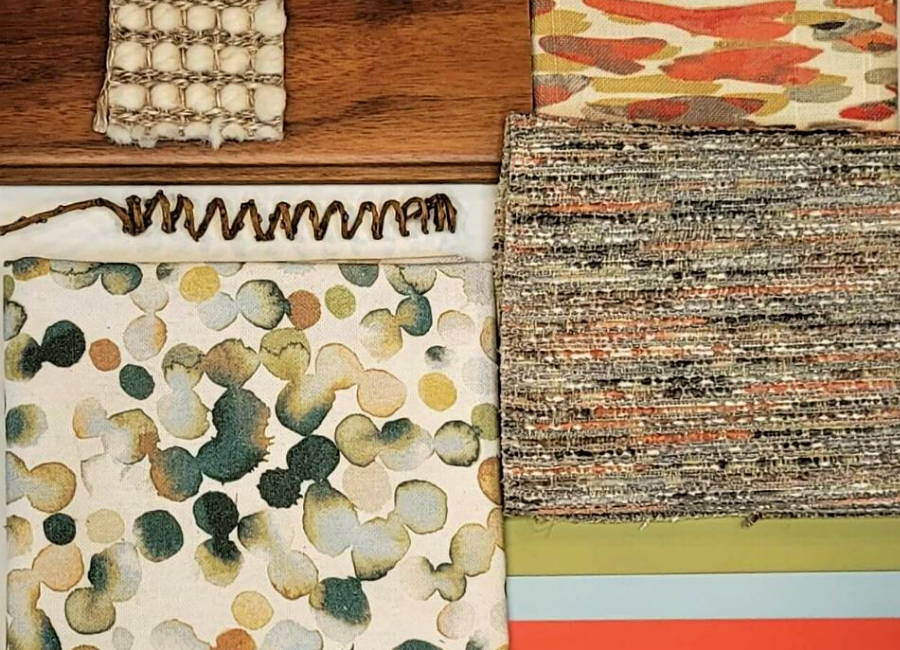
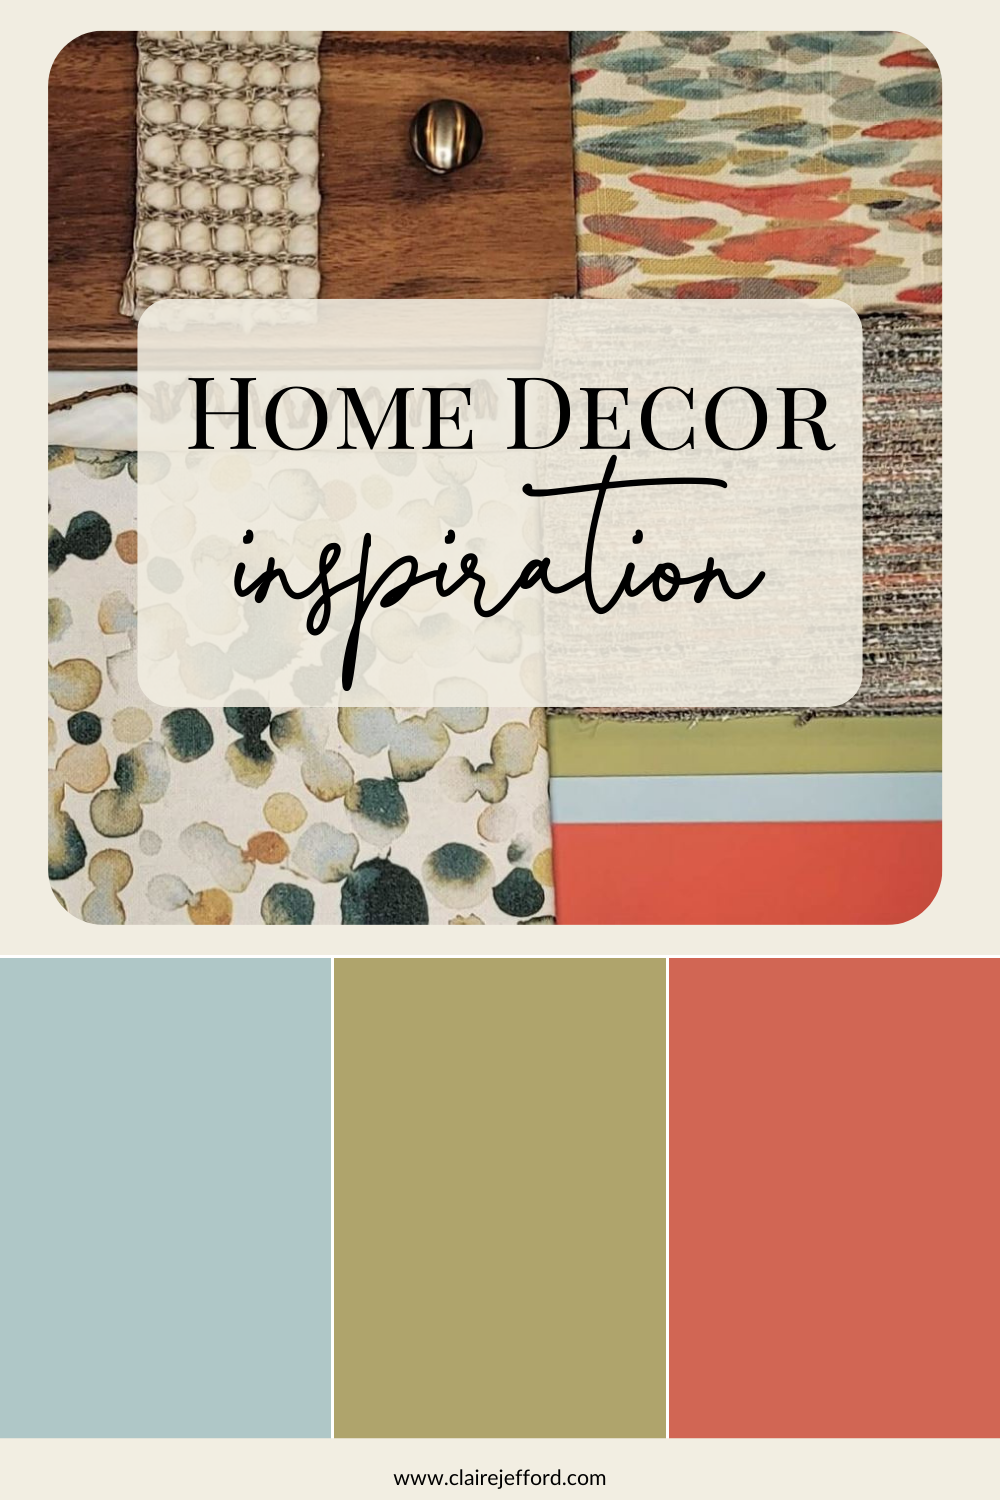
Bold Colours and Patterns for our 3rd Swiss Coffee palette
You can see the orange in this fabric is not as bright as the Adobe Orange and that’s ok. I am trying to show that tones don’t need to be exactly the same when pairing and mixing colours. But you can see how well it all ties together.
I would use all three of these fabrics in the same room just mix and match them. I love adding texture, you can see that here with the sample for the neutral area rug in the top left corner, sitting on top of the hardwood sample.
Putting together palettes combining colour, textures, patterns and materials was certainly made easier using the colour combinations in my Perfect Colour Palettes. If you get stuck on how to come up with a colour palette for your own projects, my guides can definitely help. Their purpose is to make it less daunting to choose paint colours for your home.
So, which palette was your favourite? Comment below to share your thoughts on which one you found resonates the most with your interior design style.
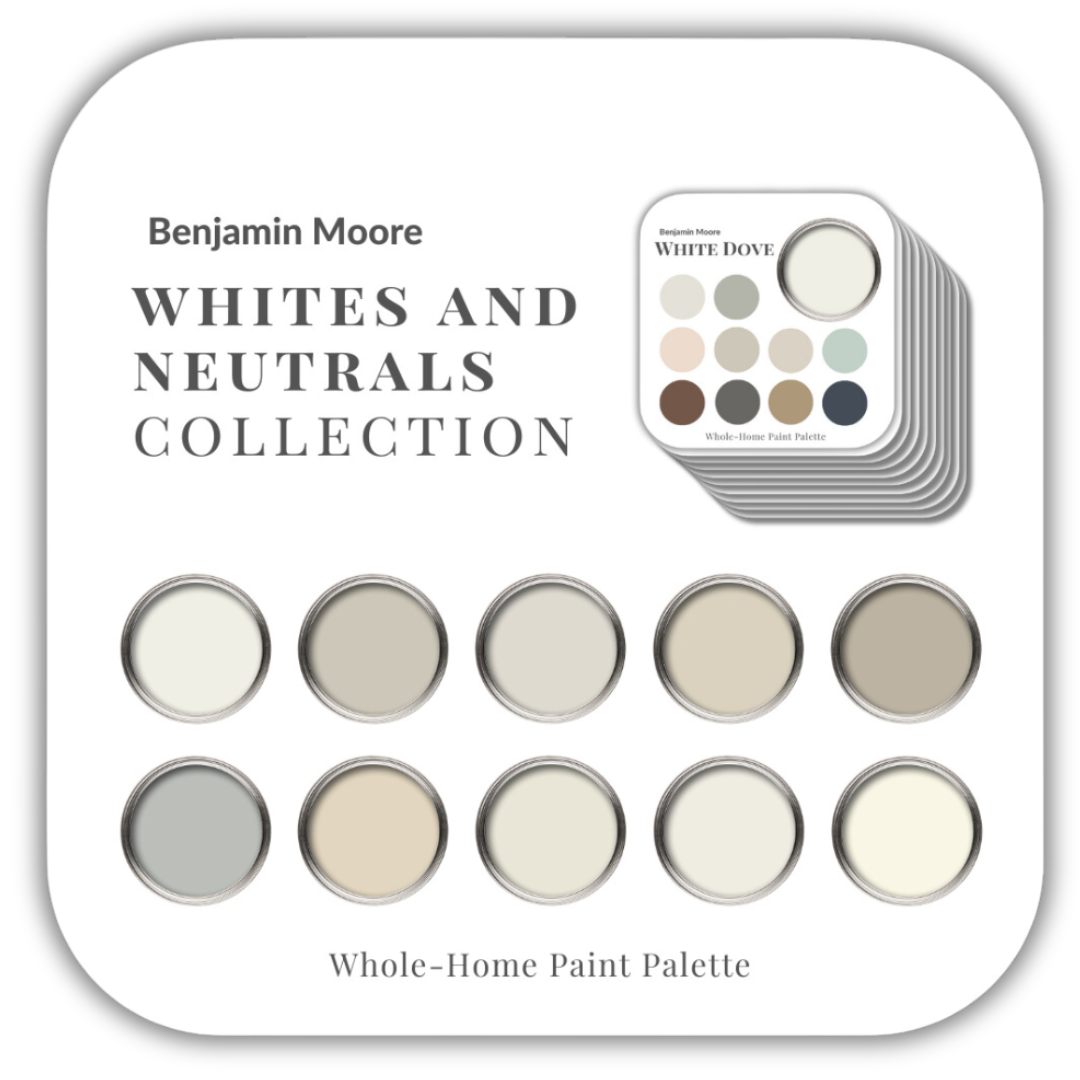
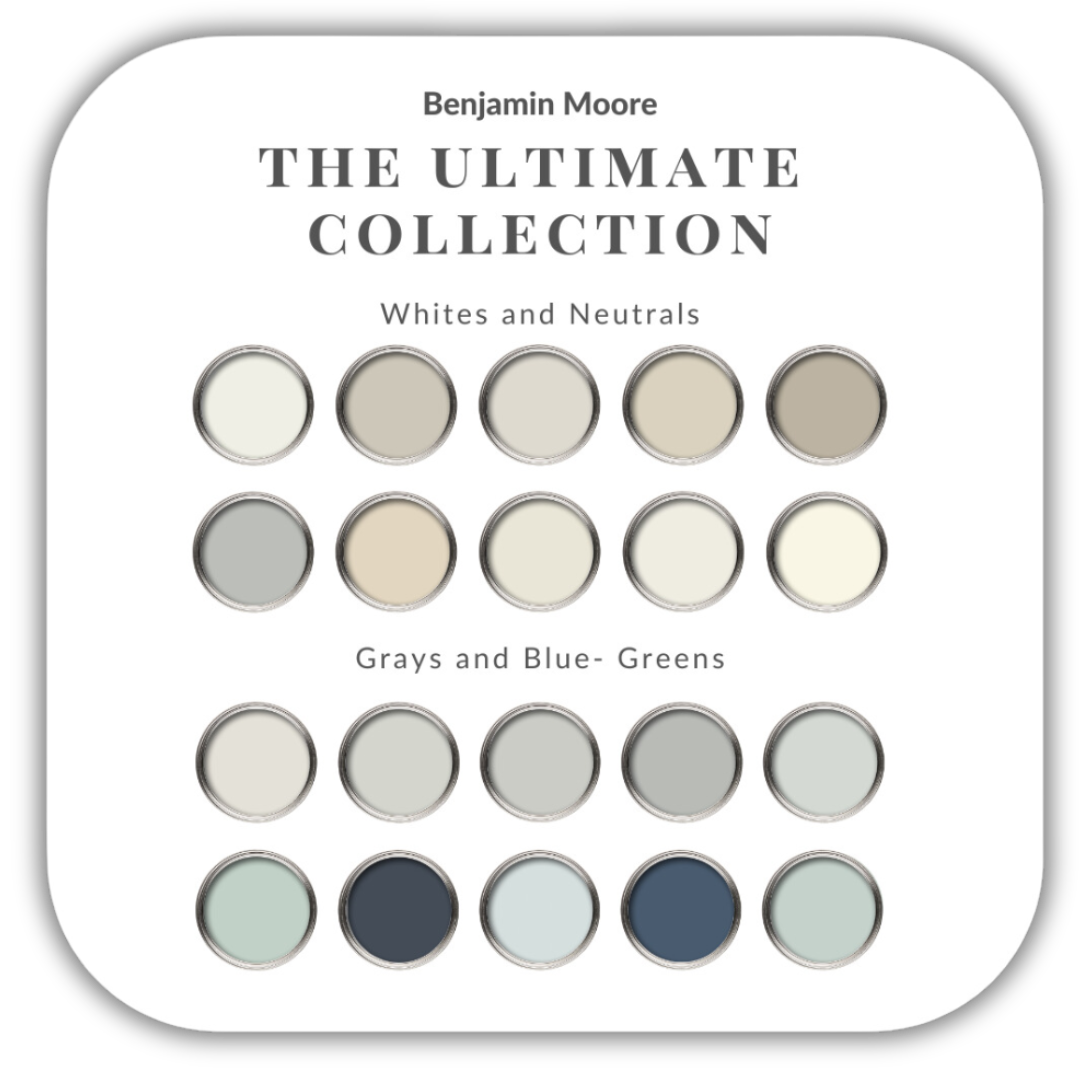
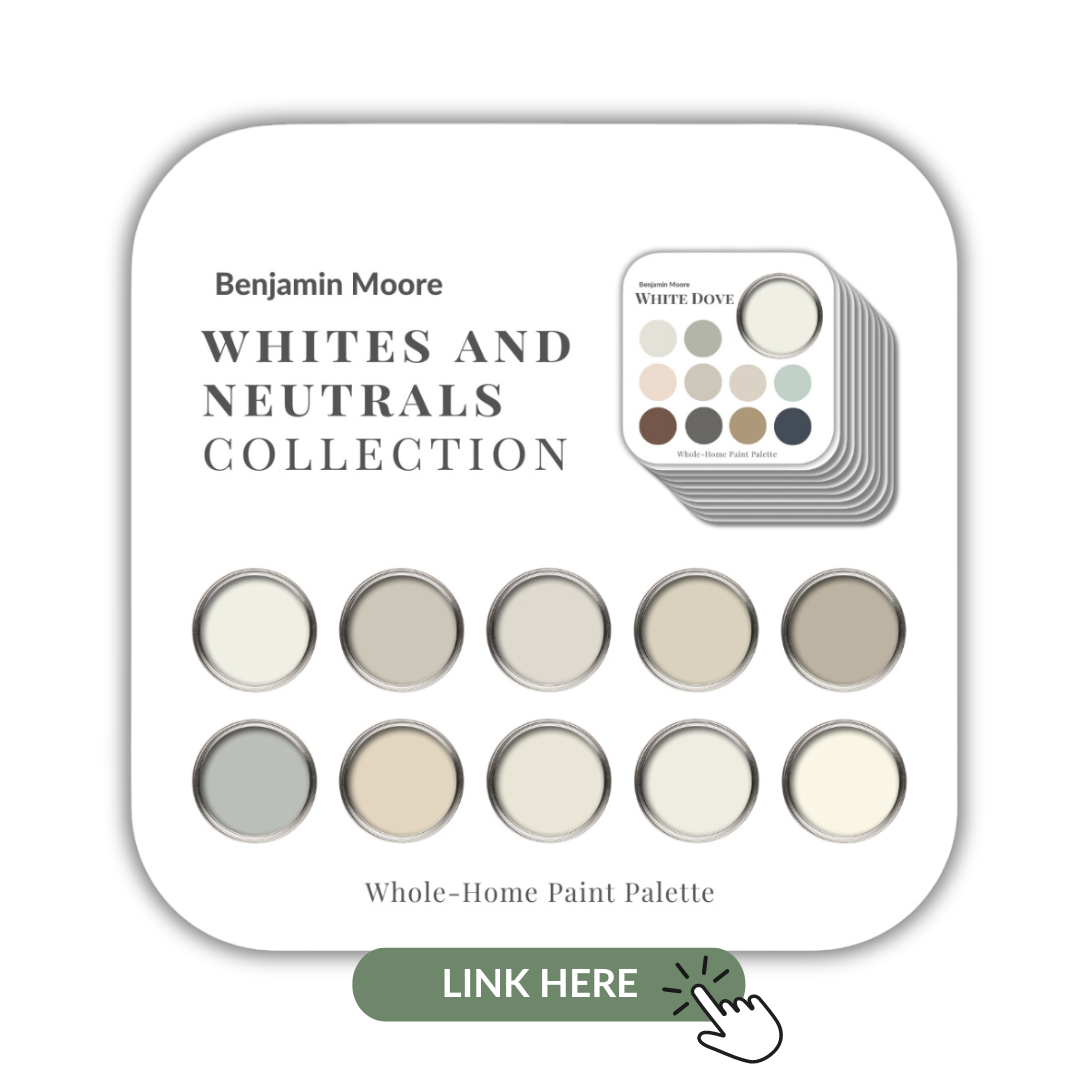
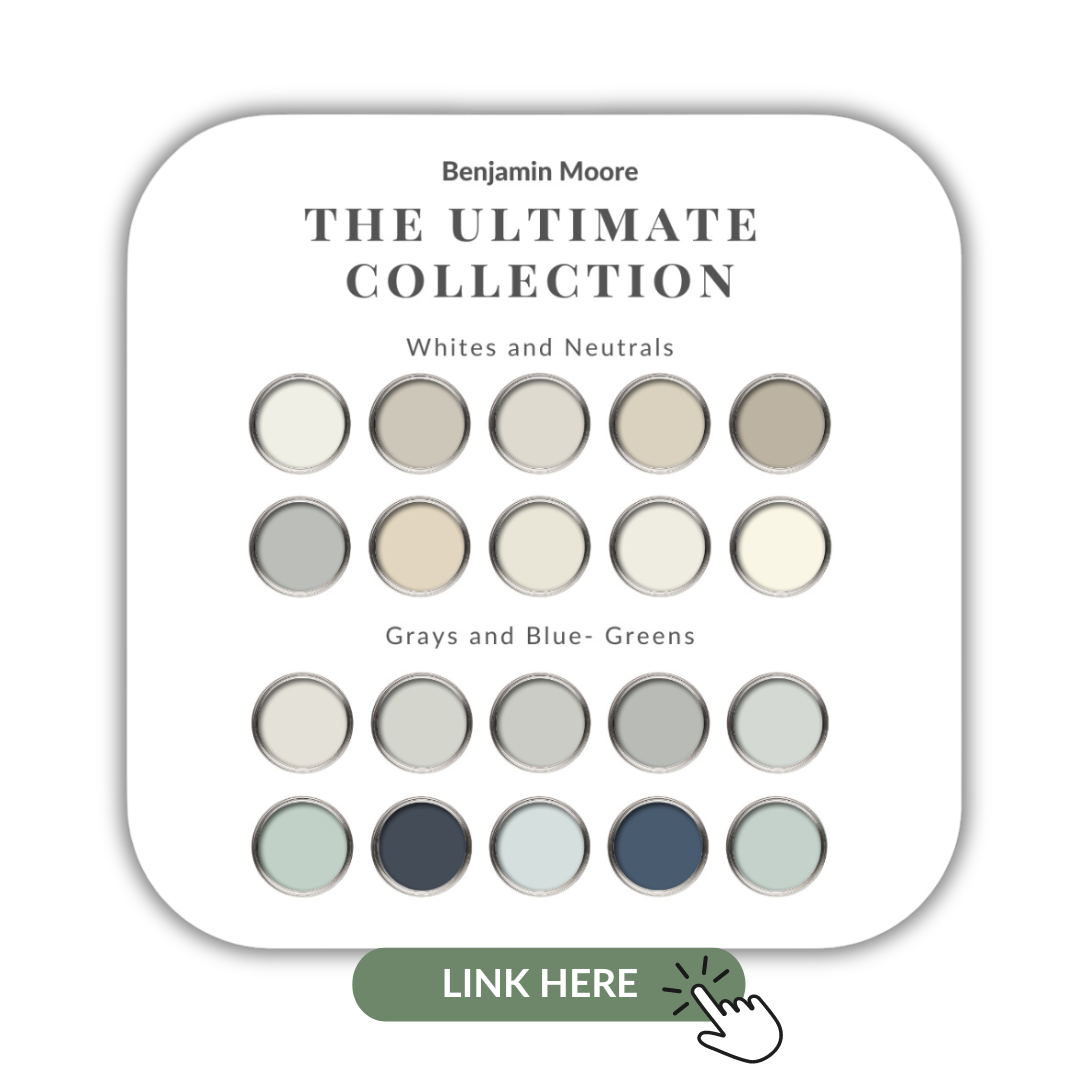
If you want to get all my Benjamin Moore colour guides in one place, look no further than my Benjamin Moore Ultimate Collection. All 20 of my Benjamin Moore guides are in one handy collection.
Remember, it only takes one mistake to take your home decorating project from divine to disaster. Don’t let the paint be what stresses you out!
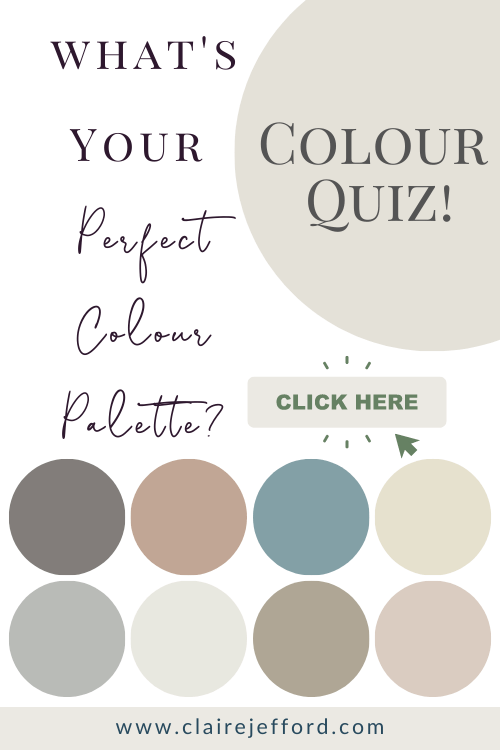
Take my Colour Quiz to see which Colour Palette best suits your style.
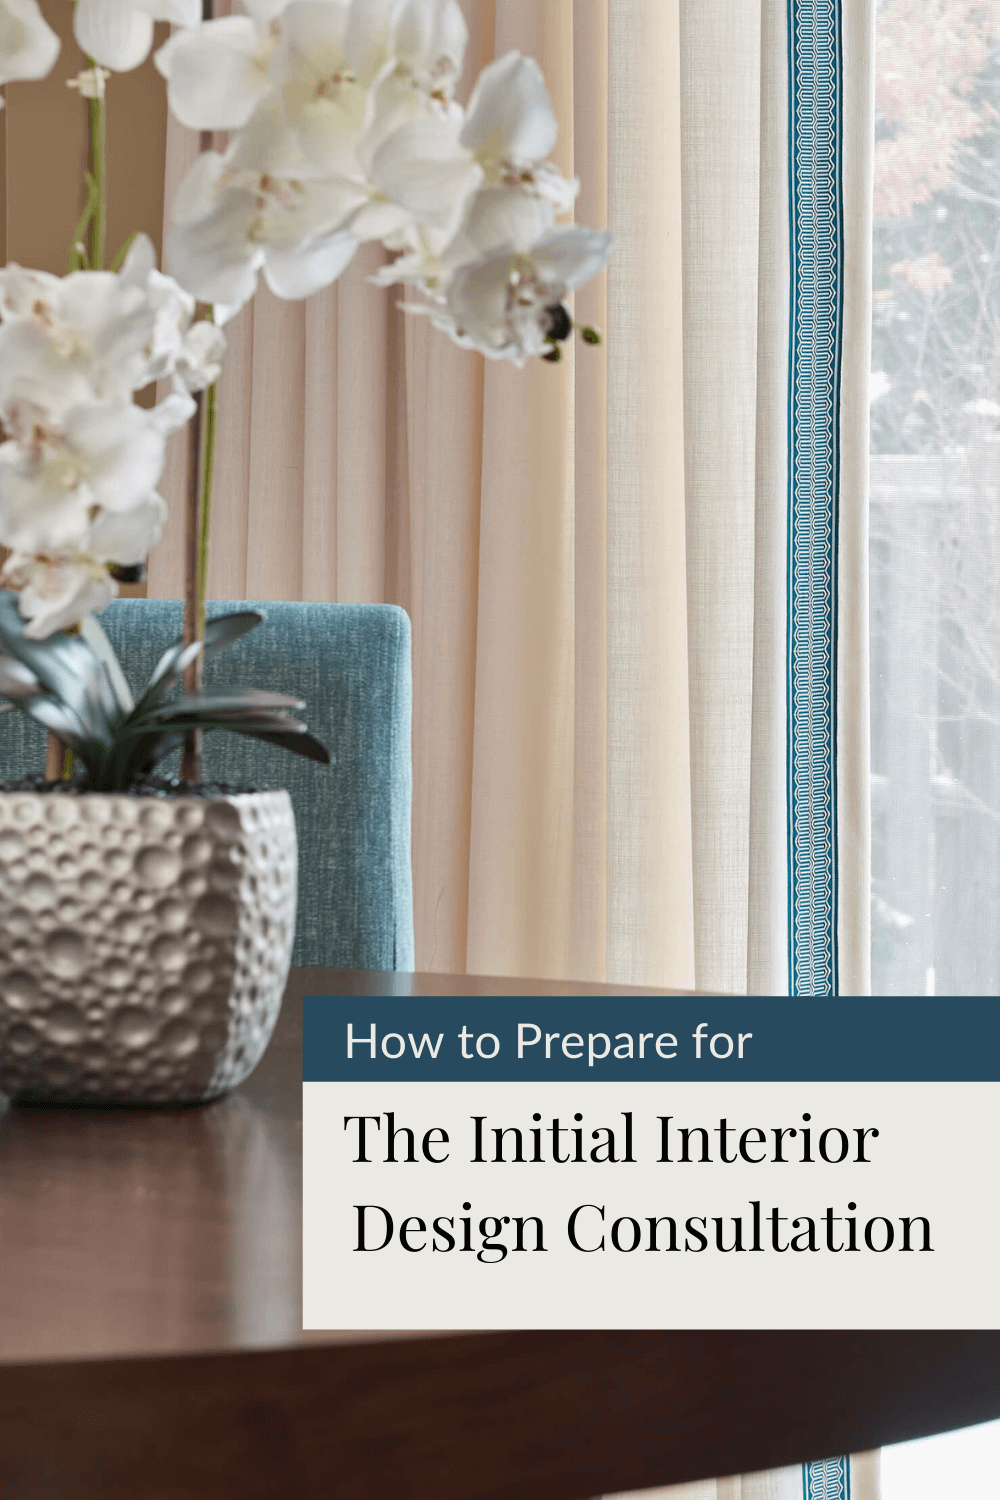
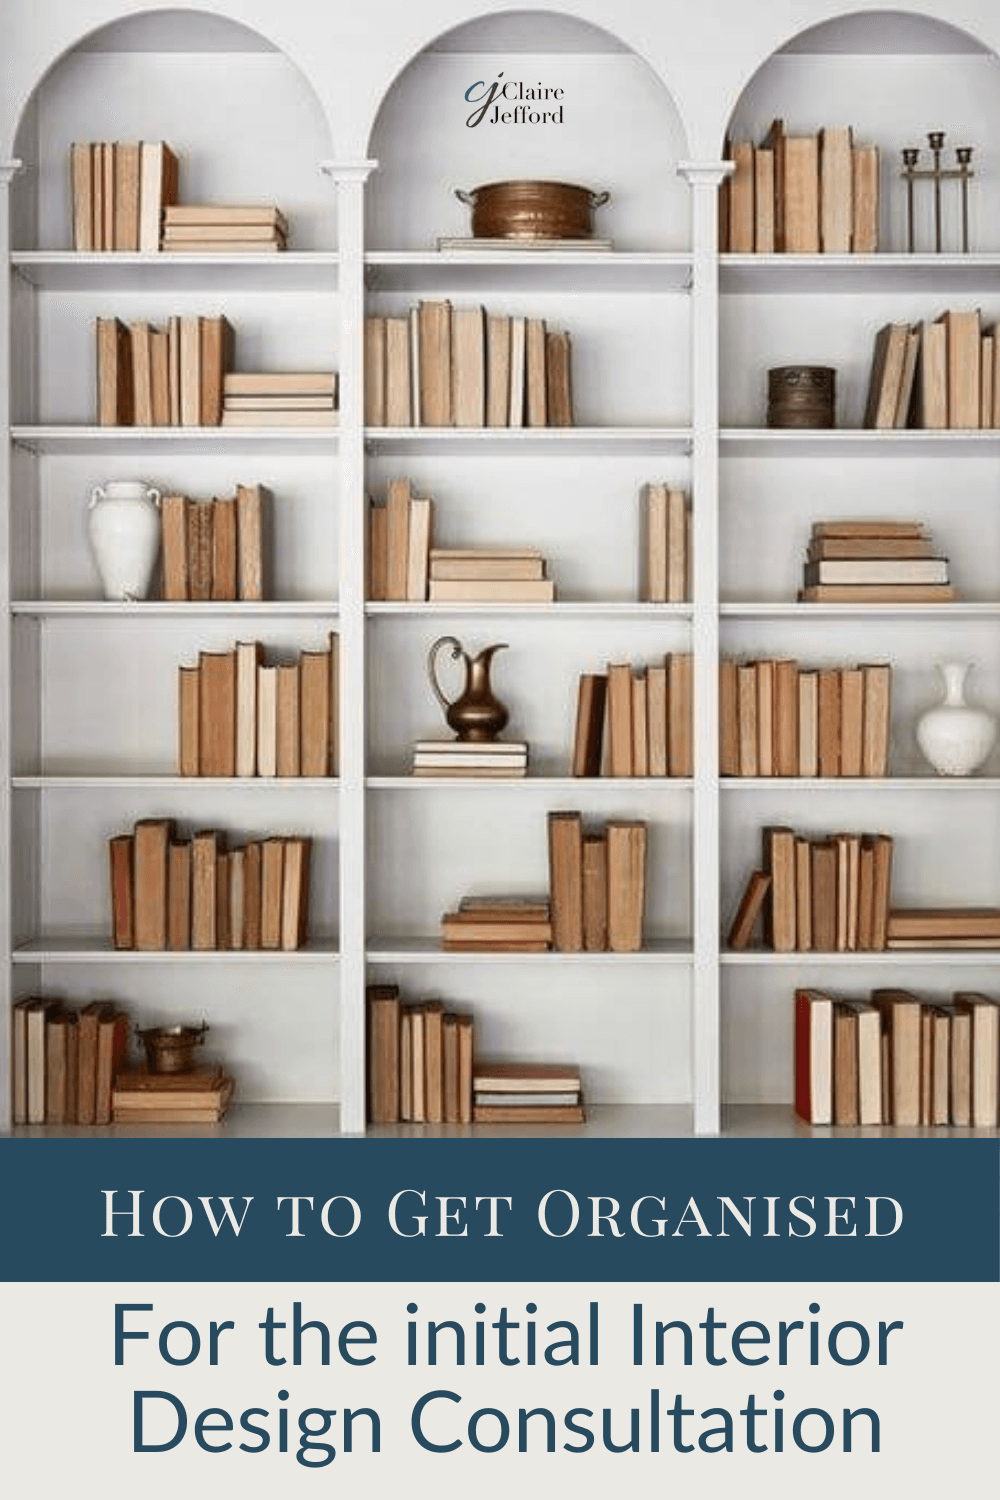
Do you feel 100% prepared when you show up at a prospective client’s door for that all important initial design consultation?
If you are not organized or exactly sure how to prepare then keep reading and watch my video because today I’m sharing proven strategies on ‘How to Prepare for the Initial Design Consultation‘
I have over 100 reviews from happy clients, and now charge $800 for my initial two-hour consultation meeting. I have learned so much over the years that now I am fully prepared every time to ROCK The Consultation.
How to Prepare for the Initial Design Consultation
1. Bring a client folder
I bring a client folder with me to every consultation meeting. These folders are customized with my fonts, logo, brand colours, and professional images of my interior design projects from my extensive portfolio.
The folders are printed at a local print shop and in each folder I include:
Business Card
It may seem old-fashioned but I still use a business card and think it’s a nice professional touch to leave one with every client I meet.
Welcome Letter
I’ve created a one-page welcome letter that describes how my services work and the value I will bring to their project. This is called a ‘Benefits of Services’ document.
When a consultation is confirmed in our calendar, we have them complete our questionnaire so that we can find out more about their upcoming interior decorating project or renovation. This helps us get to know our new clients and understand what type of interior design help they are looking for from us.
I read through the clients’ responses, highlighting specific areas that stand out as most important, and may also take a few notes so that I have a good working knowledge of who the client is and what their design goals are.
New Client Checklist
We create this checklist as soon as we have booked a client in for an interior design initial consultation meeting. It helps us keep track of where we are in our onboarding process with each client. I add it in my client folder for my own use, to make sure I cover everything leading up to and after the consultation.
The branded folder with my business card and Benefit of Services welcome letter is left with the client, except for my client checklist which I place in my own client folder.
2. Be Professional & Punctual
It seems a no-brainer, but these are key components to building a successful working relationship with clients.
In regards to your appearance, dress comfortably and smart. That’s going to look a bit different to everyone, depending on your personal style and brand.
I don’t show up in stilettos and a sophisticated dress, as that is not reflective of me and who I am. I prefer more of a smart casual look. Be YOU and continue with your usual style of how you present yourself on your website and on social media.
ALWAYS be on time, even 5 minutes early is recommended. Some of my clients have said that they can set their watch by me and I like that! If you do find yourself running late to any scheduled client meeting, it’s imperative to let the client know as soon as you can, with a quick call or text.
3. Bring your Services & Contracts binder
For every consultation meeting I go to, my hope is to be walking out with a signed contract and retainer payment unless I know beforehand that the meeting is just a one-off working consultation (which I actually love!).
I bring a binder with my Service Outlines in a PowerPoint format that includes further information, including the benefits, of each service that we provide. These documents include answers to FAQ’s so we can easily manage client’s expectations of timelines and estimated fees.
As the consultation moves along, I determine exactly what type of design service would best suit the client. With these helpful resources, I can confidently and easily explain how a particular service works. I flip open my binder and review it with them right then and there!
4. Bring examples of your work
How better to land a client then by showing them some of your previous work. Show it off, don’t be shy! Being able to show a prospective client your portfolio goes a long way, as well as examples of previous presentations you’ve done.
You may find yourself mentioning mood boards during your consultation, but what if the client doesn’t know what those are? Bring some with you or have a file saved on your tablet to show them some visuals and let them see how you can help them. Remember, we do this every day and understand the terminology and everything that is involved, but our new clients do not!
5. Bring your Contract Template
As a result of being super organized with all of our processes from the start, we’re able to determine which of our services will be the best fit for the client based on the responses in our questionnaire and our discussions during the consult.
We bring our contract templates to the consultation, and it is not uncommon for a client to sign our contract and pay us a retainer in order to get their design project into our calendar. They have witnessed our professionalism, our organized and structured process, and as a result, they are ready to sign up with us. Yay!
Being prepared and organized for your initial consultation sets you up for great success and less pushback from clients.
In addition to these great tips for getting yourself prepared, take a look at my 5 Mistakes to Avoid at the initial consultation.
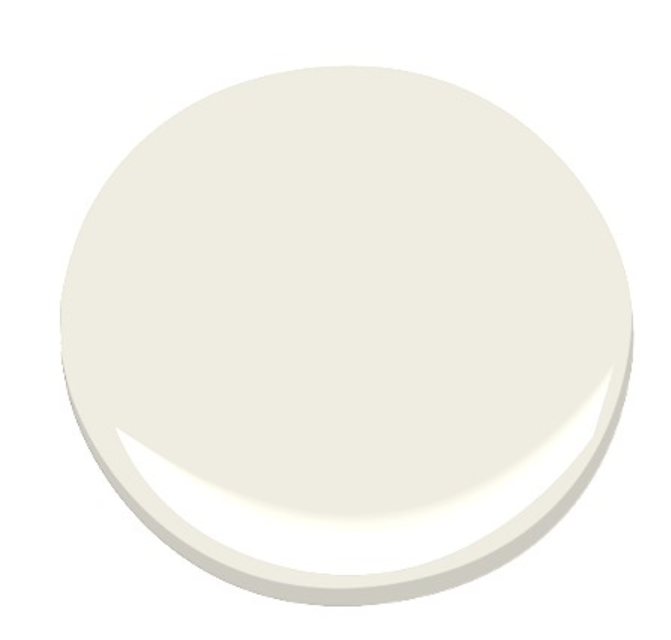
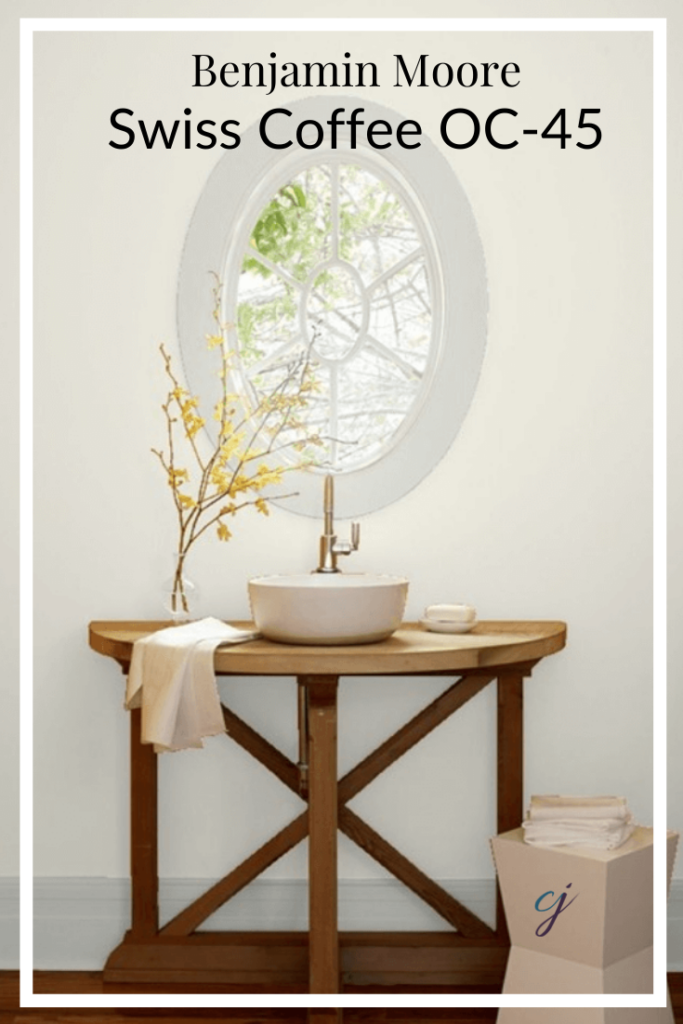
Swiss Coffee is milky smooth, soft, and sophisticated. In my latest colour review video of this beautiful neutral by Benjamin Moore, I share:
Colour comparisons in order to easily see the different colour tones
Best white paint colours for the trim and ceilings
Beautiful colour combinations to inspire you for your decorating project
After you watch the video, if you would like all this information conveniently laid out for you in one place and have even more paint colour combinations to use with Swiss Coffee, take a look at my new Perfect Colour Guide. A must-have for any colour enthusiast or design professional.
As a Certified True Colour Expert and an award-winning interior design professional, I’ve worked with many homeowners on various residential design projects. I also want to give you the confidence to make educated decisions about your own paint choices. Let’s do this!
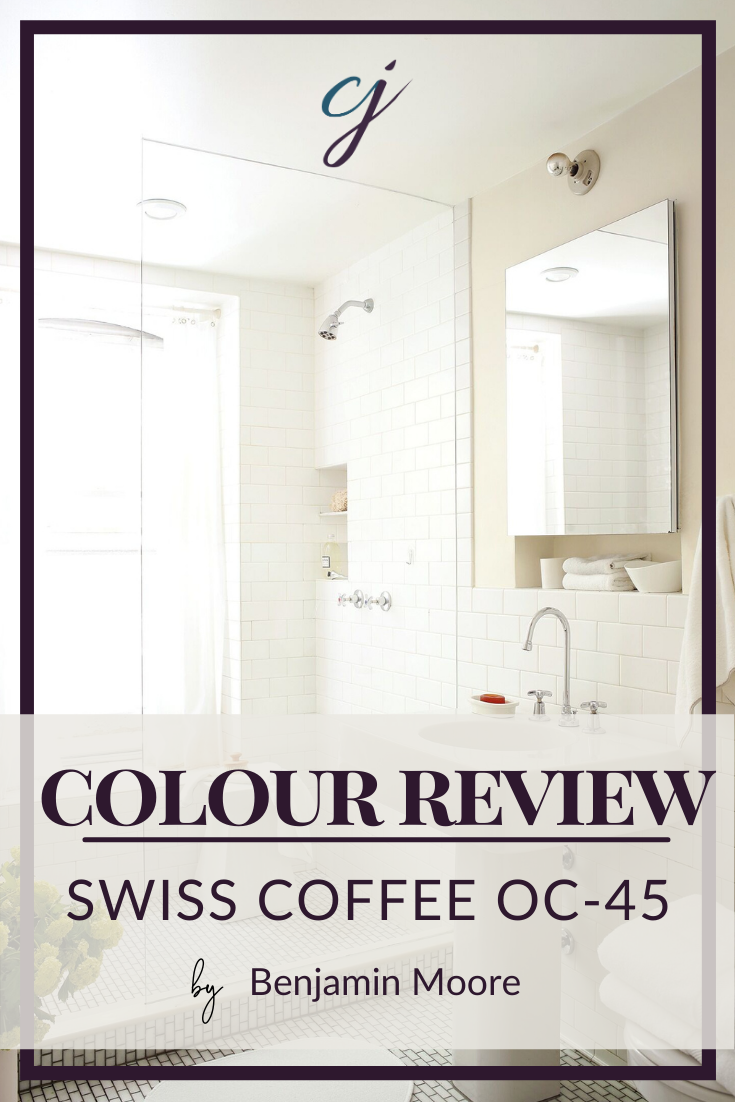
Swiss Coffee Colour Review Video
Undertone: Warm Greige
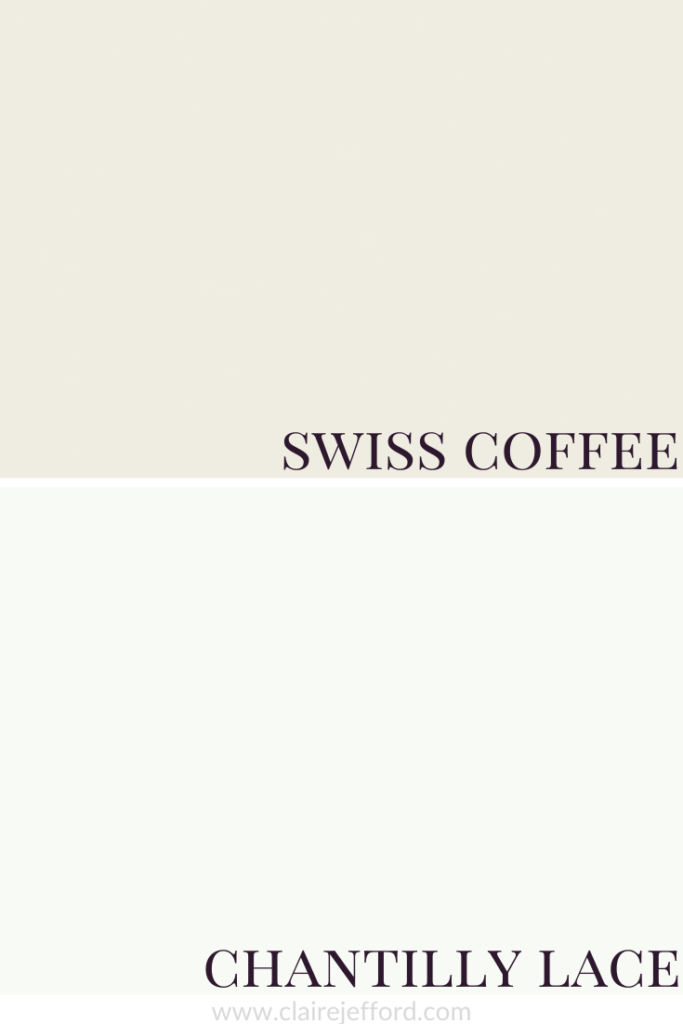
A versatile off-white, Swiss Coffee may look more white or more greige in colour depending on the lighting and what other decorative elements you pair with it in your interior decorating project.
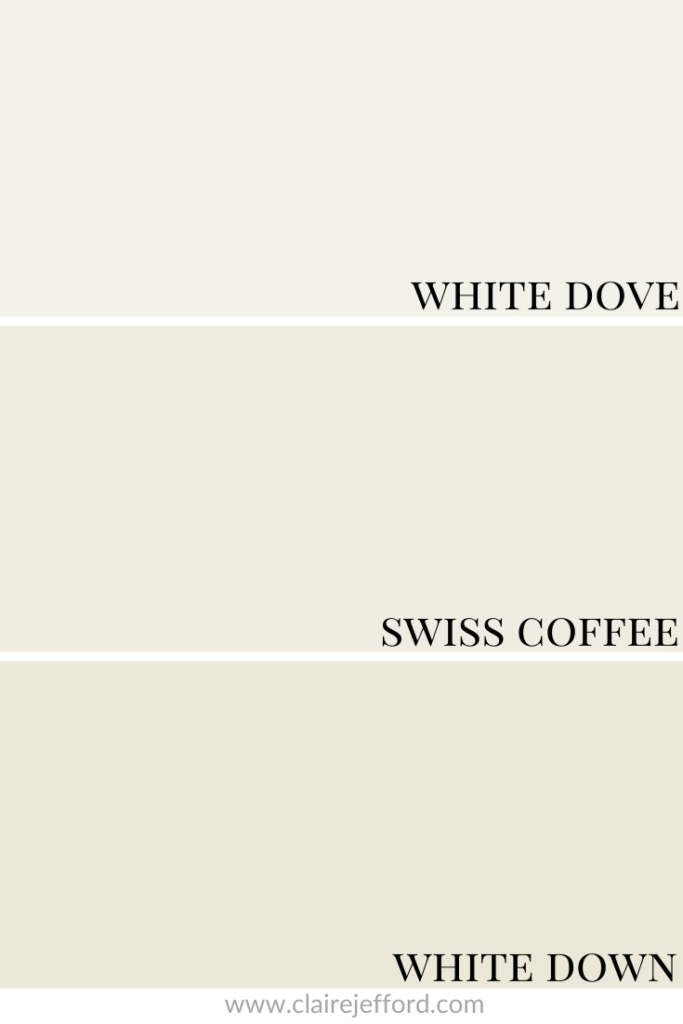
Looking at the colour comparisons below will help give you a better idea of where Swiss Coffee fits in between two similar shades of creamy whites.
Scroll to the end for professional photos of my all-white bathroom design, plus you’ll see Charlotte, my client’s beautiful white cat. She fitted in purr-fectly with the colour scheme. (Sorry, I couldn’t resist!)
I have around 10 white paint colours that are my best whites for trim and ceilings. You don’t need all of the thousands of whites available to you to get the right one and you definitely don’t need to mix two different whites or use only a certain percentage of paint colour to get the right one for you.
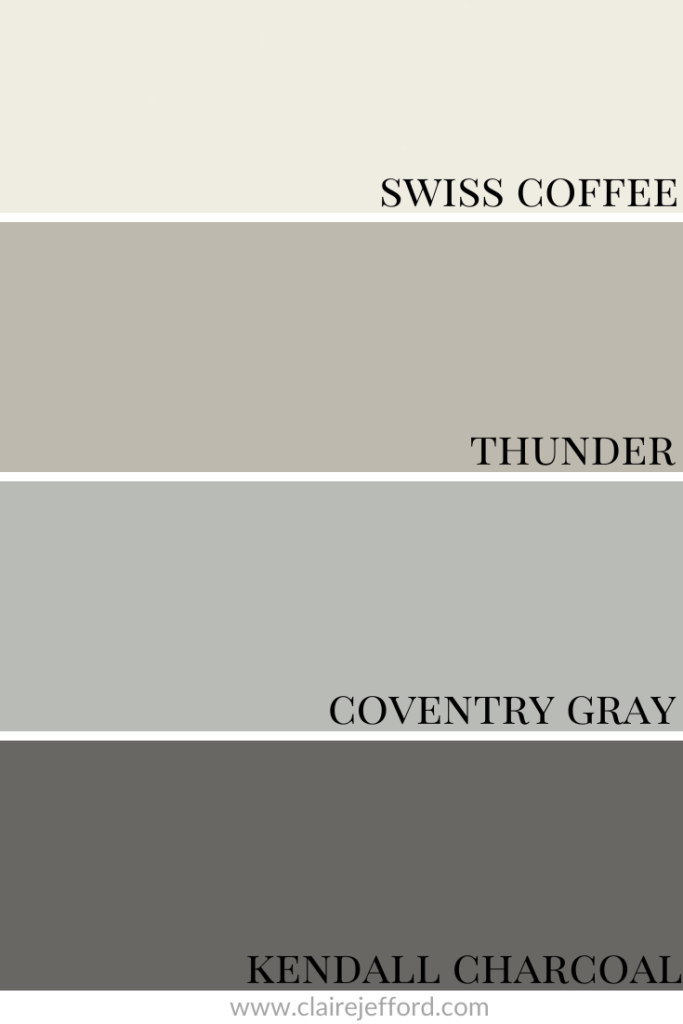
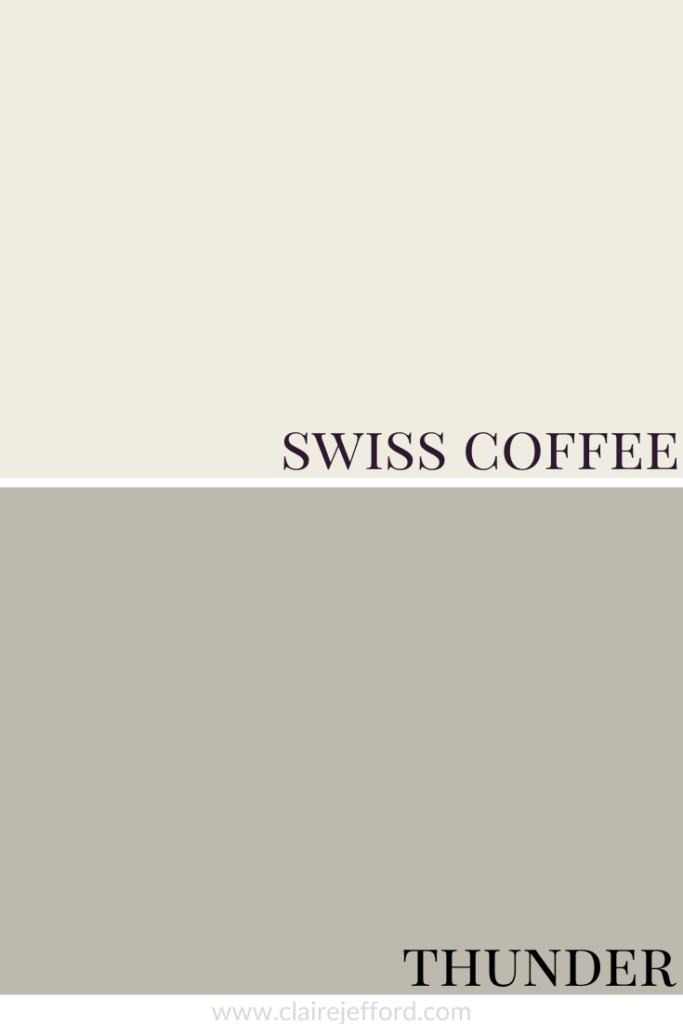
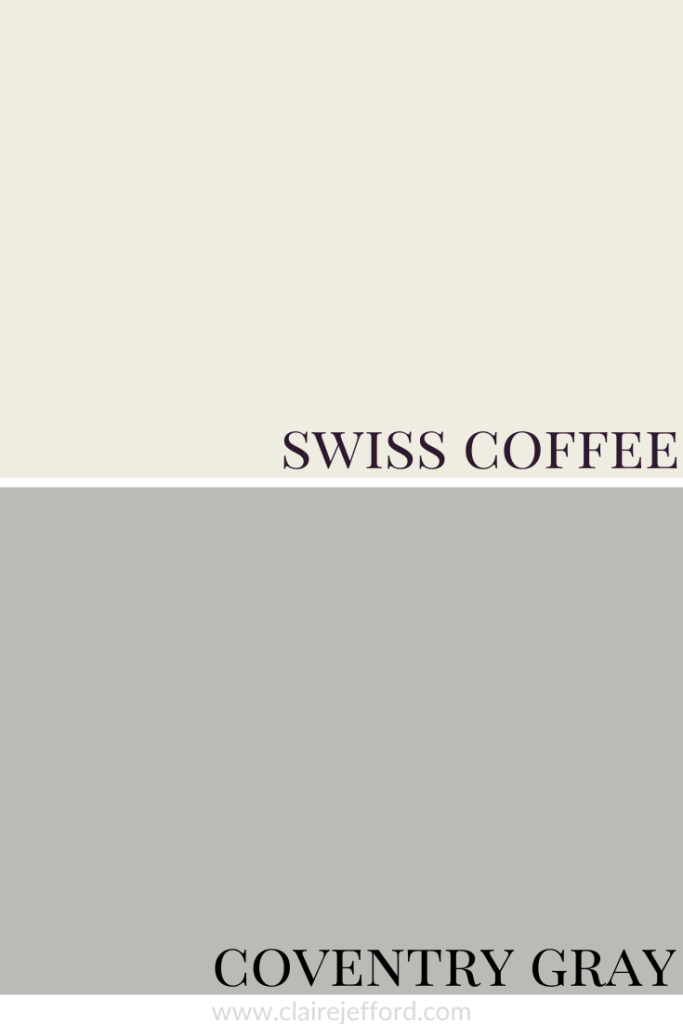
Swiss Coffee with Thunder, Coventry Gray & Kendall Charcoal
Thunder AF-685 By Benjamin Moore
Coventry Gray HC-169 By Benjamin Moore
Kendall Charcoal HC-166 By Benjamin Moore
PSST!! Head to this follow-up post for 3 inspiring and very different colour and design palettes with Swiss Coffee that includes fabrics, wallpapers, hardwood, and more.
If you want to get all my Benjamin Moore colour guides in one place, look no further than my Benjamin Moore Ultimate Collection. All 20 of my guides are in one handy collection.
Remember, it only takes one mistake to take your home decorating project from divine to disaster. Don’t let the paint be what stresses you out!
Take my Colour Quiz to see which Colour Palette best suits your style.
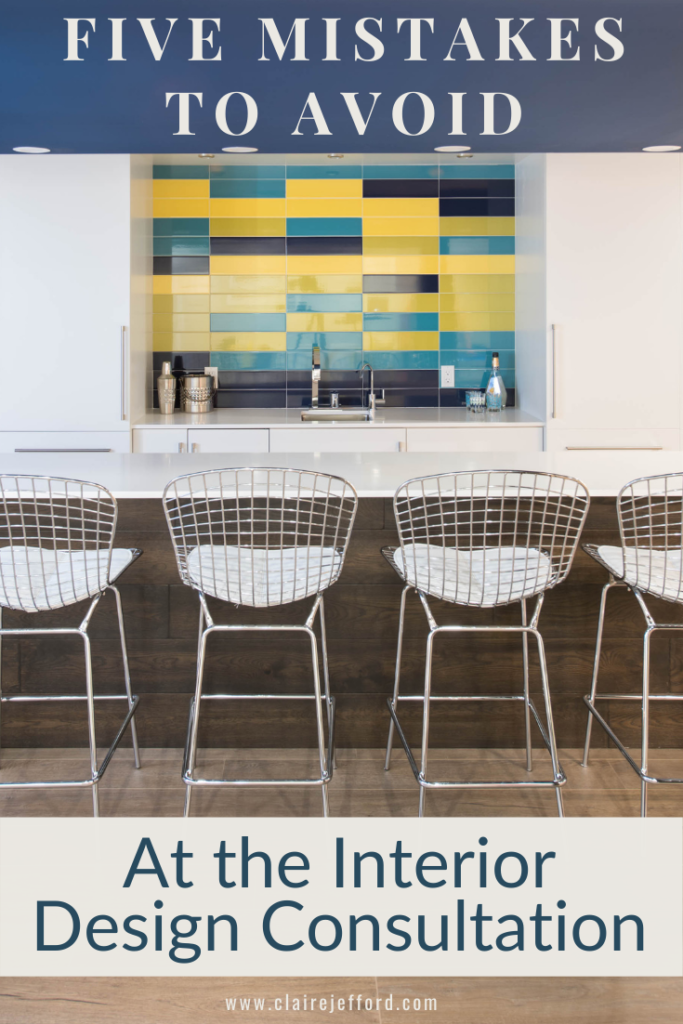
You could be making some crucial mistakes at the interior design initial consultation that are jeopardizing the growth of your interior design business.
Today, I’m sharing Five Mistakes to Avoid at this all-important first meeting.
I have over 100 reviews from happy clients, and now charge $800 for my two-hour consultation meeting. Needless to say, I have learned a lot along the way and am sharing with you the biggest pitfalls to avoid!
Make sure you have my Free 4 page PDF download for a comprehensive list of what Interior Design Services to offer to your client’s and estimates of fees so you are confident in knowing what to charge. (More on that in Tip#5)
Five Mistakes to Avoid at the Consultation
1. Not getting payment up front
I highly recommend setting up your processes to receive payment for services before you meet with a client. When you do this from the offset, to confirm the consultation booking in your calendar, you set a precedent for how you work.
We require payment for all services ahead of time and for 100% of furniture for our Custom Design and Project Management services. This way, when client’s choose to move forward with further services, we don’t get pushback because they understand that THIS IS HOW WE WORK.
This structure also helps to land better clients, those who are willing to invest in a professional and client’s who respect that you have structured processes in place. I love all my clients, we have a beautiful working relationship!
2. Taking the tour!
I did this when I was first starting my business nearly 10 years ago. I thought it was a good way to kill time to be honest, because then I was nervous and new. And that’s exactly what it does!
Taking the tour as soon as you arrive at a client’s home kills precious time. It usually involves you looking around the entire home, listening to everything your client wants to change in each space.
Unless you’ve been hired to redesign their whole house, your time could be better spent focusing on one or two key areas and really hit on their main pain points.
I have had great success in setting up the structure of my consultations where I sit down with the client first. I have a branded client folder that includes a welcome letter and I briefly review details of this, sharing what we do and how we can help them with their project.
We also review their completed questionnaire to further discuss their requirements, desires and budget…THEN we can take a look around the house, focusing on the areas that need our attention first.
I have found that client’s like (and appreciate) this approach. It sets them at ease. Despite the fact that they are excited to have you there, people can often feel anxious and are a little unsure of what to expect from your visit. I want to make the most efficient use of our time together at this 2 hour meeting and find this approach works best.
3. Holding back advice
I hear so many designers say that they don’t like to give away too much at the consultation, as they are fearful that in doing so, the client won’t need to hire them on for further services. I can tell you that in my experience, the opposite is true!
Once I start sharing details of various elements of design that need to be considered, client’s seem suprised and sometimes overwhelmed, because they didn’t realize all the details that go into a design project.
Plus, I simply can’t hold back. It’s not in my nature.
Now, I am not saying that I will come up with a complete and detailed design on the spot, a lot of what we do definitely takes time and research. Design is often a complicated process with many moving parts. But if I can offer insight to a design challenge that will help my client or provide ideas for further inspiration, then I will gladly give as much value as I can – after all, that’s what client’s are paying us for!
4. Avoiding ‘Money Talk’
When you avoid talking about money with your clients or you aren’t confident in discussing estimated fees for a project and approximate costs for furnishings, it will come back to bite you later. I promise.
Mistake #4 of things to avoid doing at the consultation is NOT talking about the money. If you find that you frequently get pushback from client’s about pricing, it may very well be because you aren’t confidently discussing money matters in your initial conversations.
Understanding costs involved for a renovation or custom design project is probably one of the most challenging elements for homeowners embarking on a home project. If they tell you they don’t have a budget, it doesn’t mean that they have unlimited funds or they don’t know what money they have in their bank accounts. It is generally because they haven’t a got a clue on what to expect or how much they should budget for, which is totally understandable with a lot of the misleading information on shows such as HGTV.
I encourage you to see this as an opportunity to educate your client. Have open conversations about realistic costs of quality furnishings and custom finishes. As you break down details of the scope of their project, provide them with an idea of costs for your fees and draw on past projects where you can.
We do this successfully with our Furniture Pricing Guides for custom living rooms and bedrooms. It may have been a while since your new client has done a home design or decorating project. Talk openly with them about estimated costs.
I’m not suggesting you commit yourself to any specific number, but if you know that their investment amount is way too low for what they desire, then you need to have this conversation with them at this first meeting. It will help to manage their expectations going forward and help to avoid sticker shock and disappointment at your presentation meeting.
5. Unclear of next steps and your services
If you are unclear on how to articulate how you work with clients and the next steps in working with you, this will decrease your chances of having the client hire you for further interior design or decorating services.
Establishing a clear list of services and setting corresponding rates is crucial to the success of your business. Once you have these determined and set up, getting great clients will be so much easier!
Psst -go grab my FREE Download on Design Services and Rates with a walk through video.
You should bring documentation with you to the consult that includes details about your services and how you can help client’s achieve the dreams they have for their home.
Clients can’t work with you and won’t invest in further services if you are unable to confidently articulate how you can benefit their project and provide them with an estimate of anticipated design fees.
In our consultation folder that we bring to every first client meeting, we include a printed copy of our Service Outline PowerPoints. These detailed outline the 3 main services that we provide past the consultation meeting.
These documents allow us to easily explain the value in what we can do and how hiring a professional for their project will help clients to save precious time and not waste money.
Essentially, we use these as a marketing tool to not only determine the best service for our client’s specific needs and budget, but also to help us in closing the sale.
With a clearly defined list of next steps, we get our contract signed and collect a deposit payment to move forward with the next phase of design services.
We work with fabulous client’s and attribute much of our success to having Claire-ity in the way we structure our business. I want the same for you, so I hope you found this post helpful!
This website uses cookies to improve your experience while you navigate through the website. Out of these cookies, the cookies that are categorized as necessary are stored on your browser as they are essential for the working of basic functionalities of the website. We also use third-party cookies that help us analyze and understand how you use this website. These cookies will be stored in your browser only with your consent. You also have the option to opt-out of these cookies. But opting out of some of these cookies may have an effect on your browsing experience.
Necessary cookies are absolutely essential for the website to function properly. This category only includes cookies that ensures basic functionalities and security features of the website. These cookies do not store any personal information.
Any cookies that may not be particularly necessary for the website to function and is used specifically to collect user personal data via analytics, ads, other embedded contents are termed as non-necessary cookies. It is mandatory to procure user consent prior to running these cookies on your website.