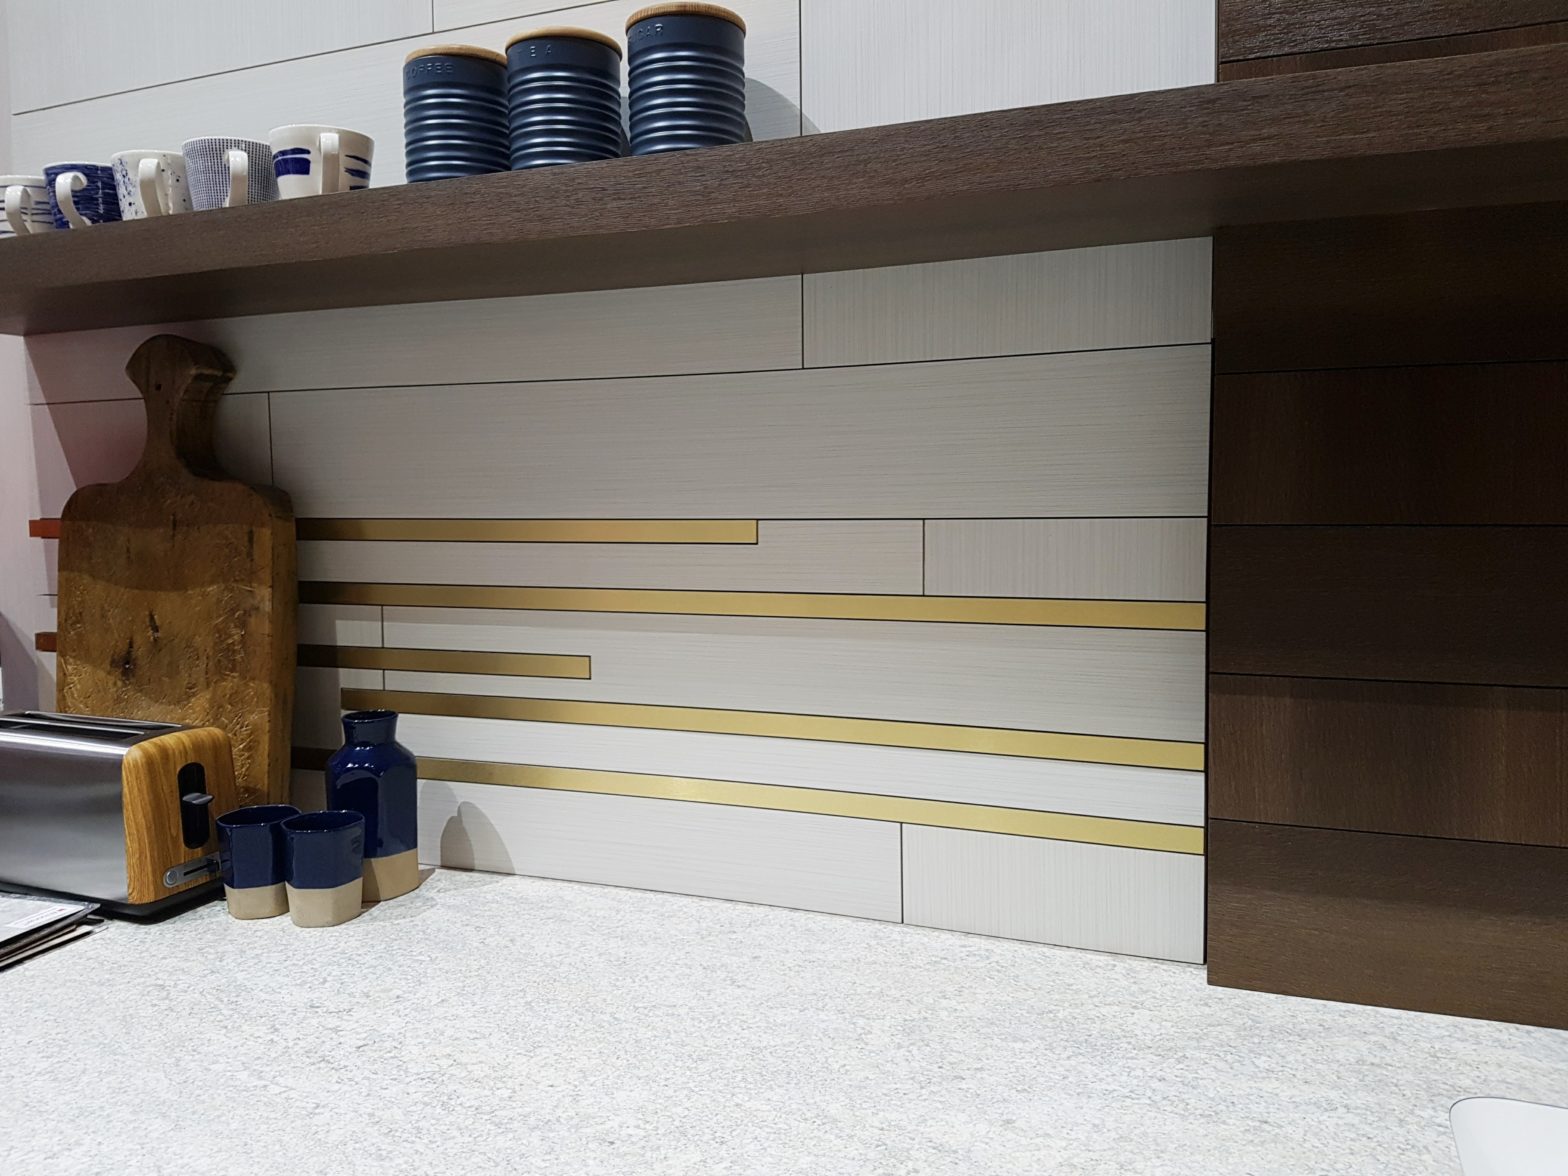
Wilsonart is well known for it’s countertop materials such as laminates, solid surface & quartz. But at this years Kitchen and Bath Industry Show (#kbisblogtour) it was the laminates that were getting so much of the attention! Watch my video to see why.
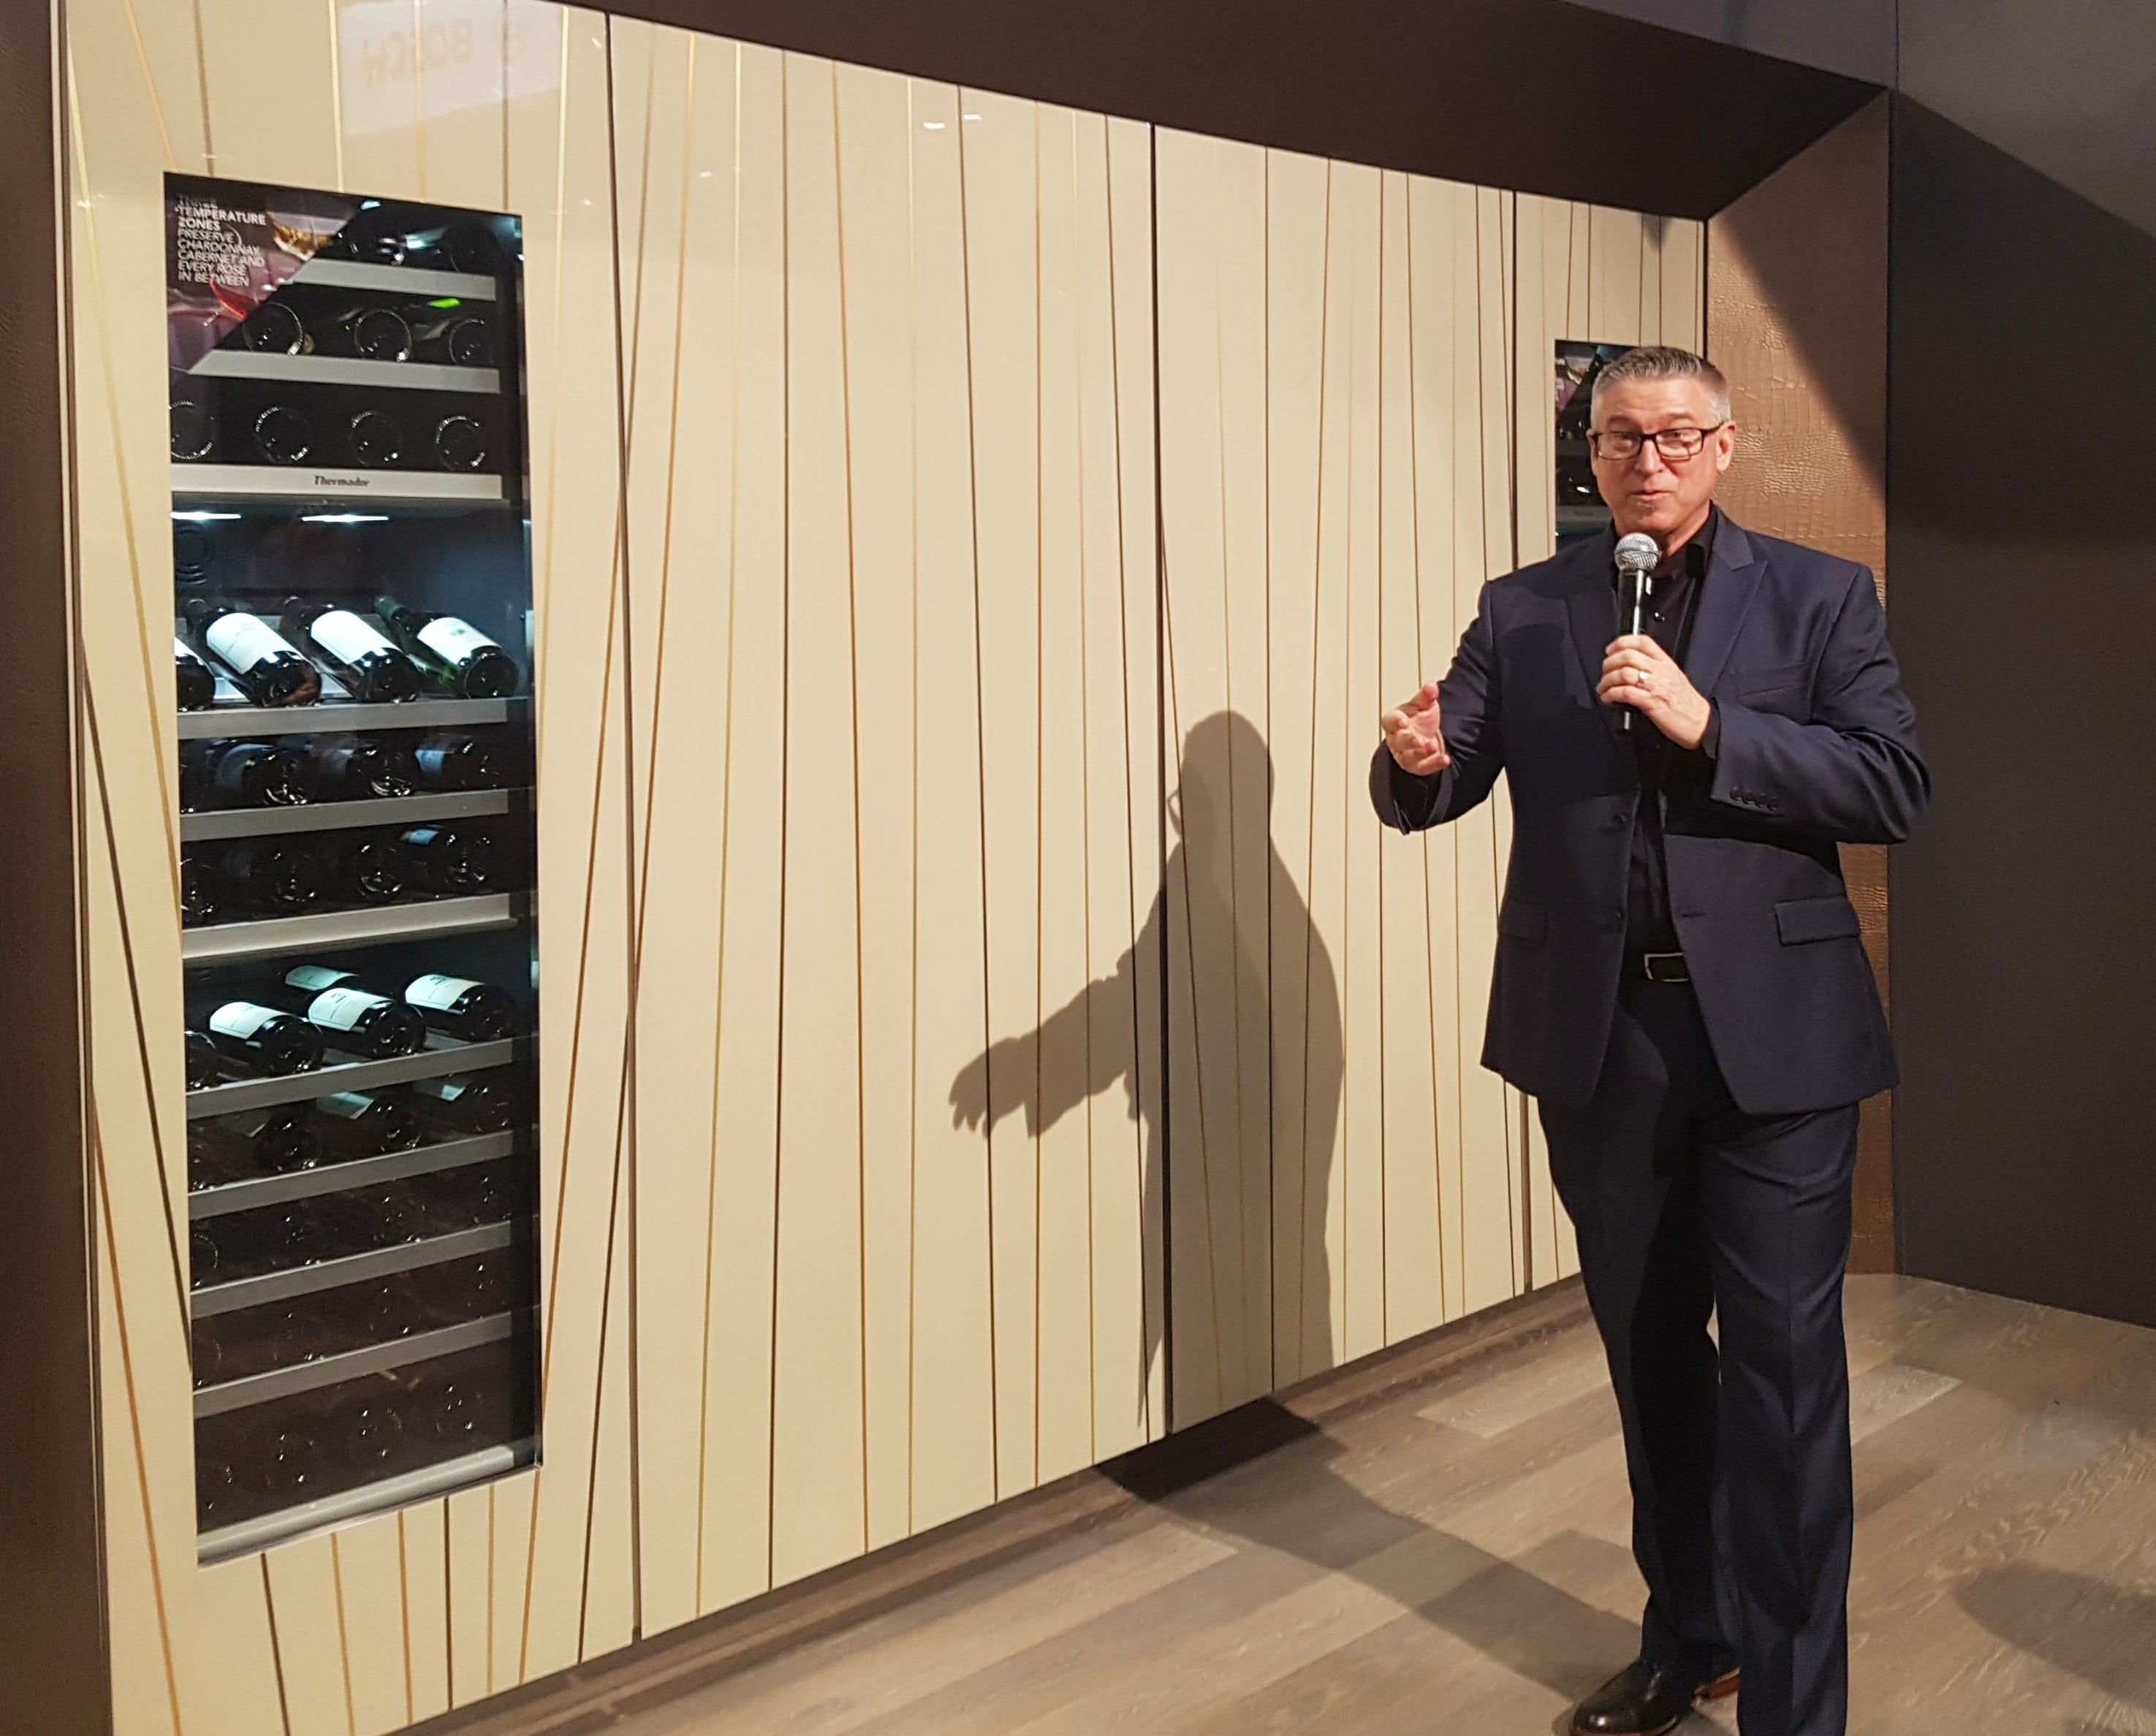
Danny Seo was at the show as a spokesperson for Wilsonart and I had the opportunity to see him speak and to get a signed cookbook. I will have to give that to my husband because he does most of the cooking in our house! Danny says he coined the phrase ‘Materials Mixology’ which paired up nicely with Wilsonarts’ tagline: ‘Explore New Surfaces’.
If you look closely, behind Danny is a vignette they created on the show floor. Watch my video so you can see exactly what products were used and why we designers were all buzzing about them!!
More to come from KBIS very soon!! #kbisblogtour #modenus #designhounds
We want our kitchens to look sleek, sexy and classic right? Of course! But it’s also imperative that they do what we need them to do in terms of functionality. It’s like when we meet someone who we are attracted to. Initially it may be their looks that entice us, but if there’s nothing between the ears and the personality is flat, then what’s the point?
Fortunately, when it comes to appliances, Thermador has very thoughtfully considered both. A fridge/freezer with smart technology including a ‘touch to open’ feature, their latest Liberty Induction that boasts ‘No Looking Cooking’ & a dishwasher that cycles in just 20 minutes! No, that’s not a typo!
Click on the video below and see it all with your own eyes in my latest video from KBIS Blog Tour in Orlando. Be inspired to do more in your kitchen.
You may know that I don’t like to cook. I even burnt soft boiled eggs last year…no I’m not kidding. However, these innovative appliances make me reconsider wearing the apron strings more frequently in the kitchen& there aren’t many things that I could say that about!
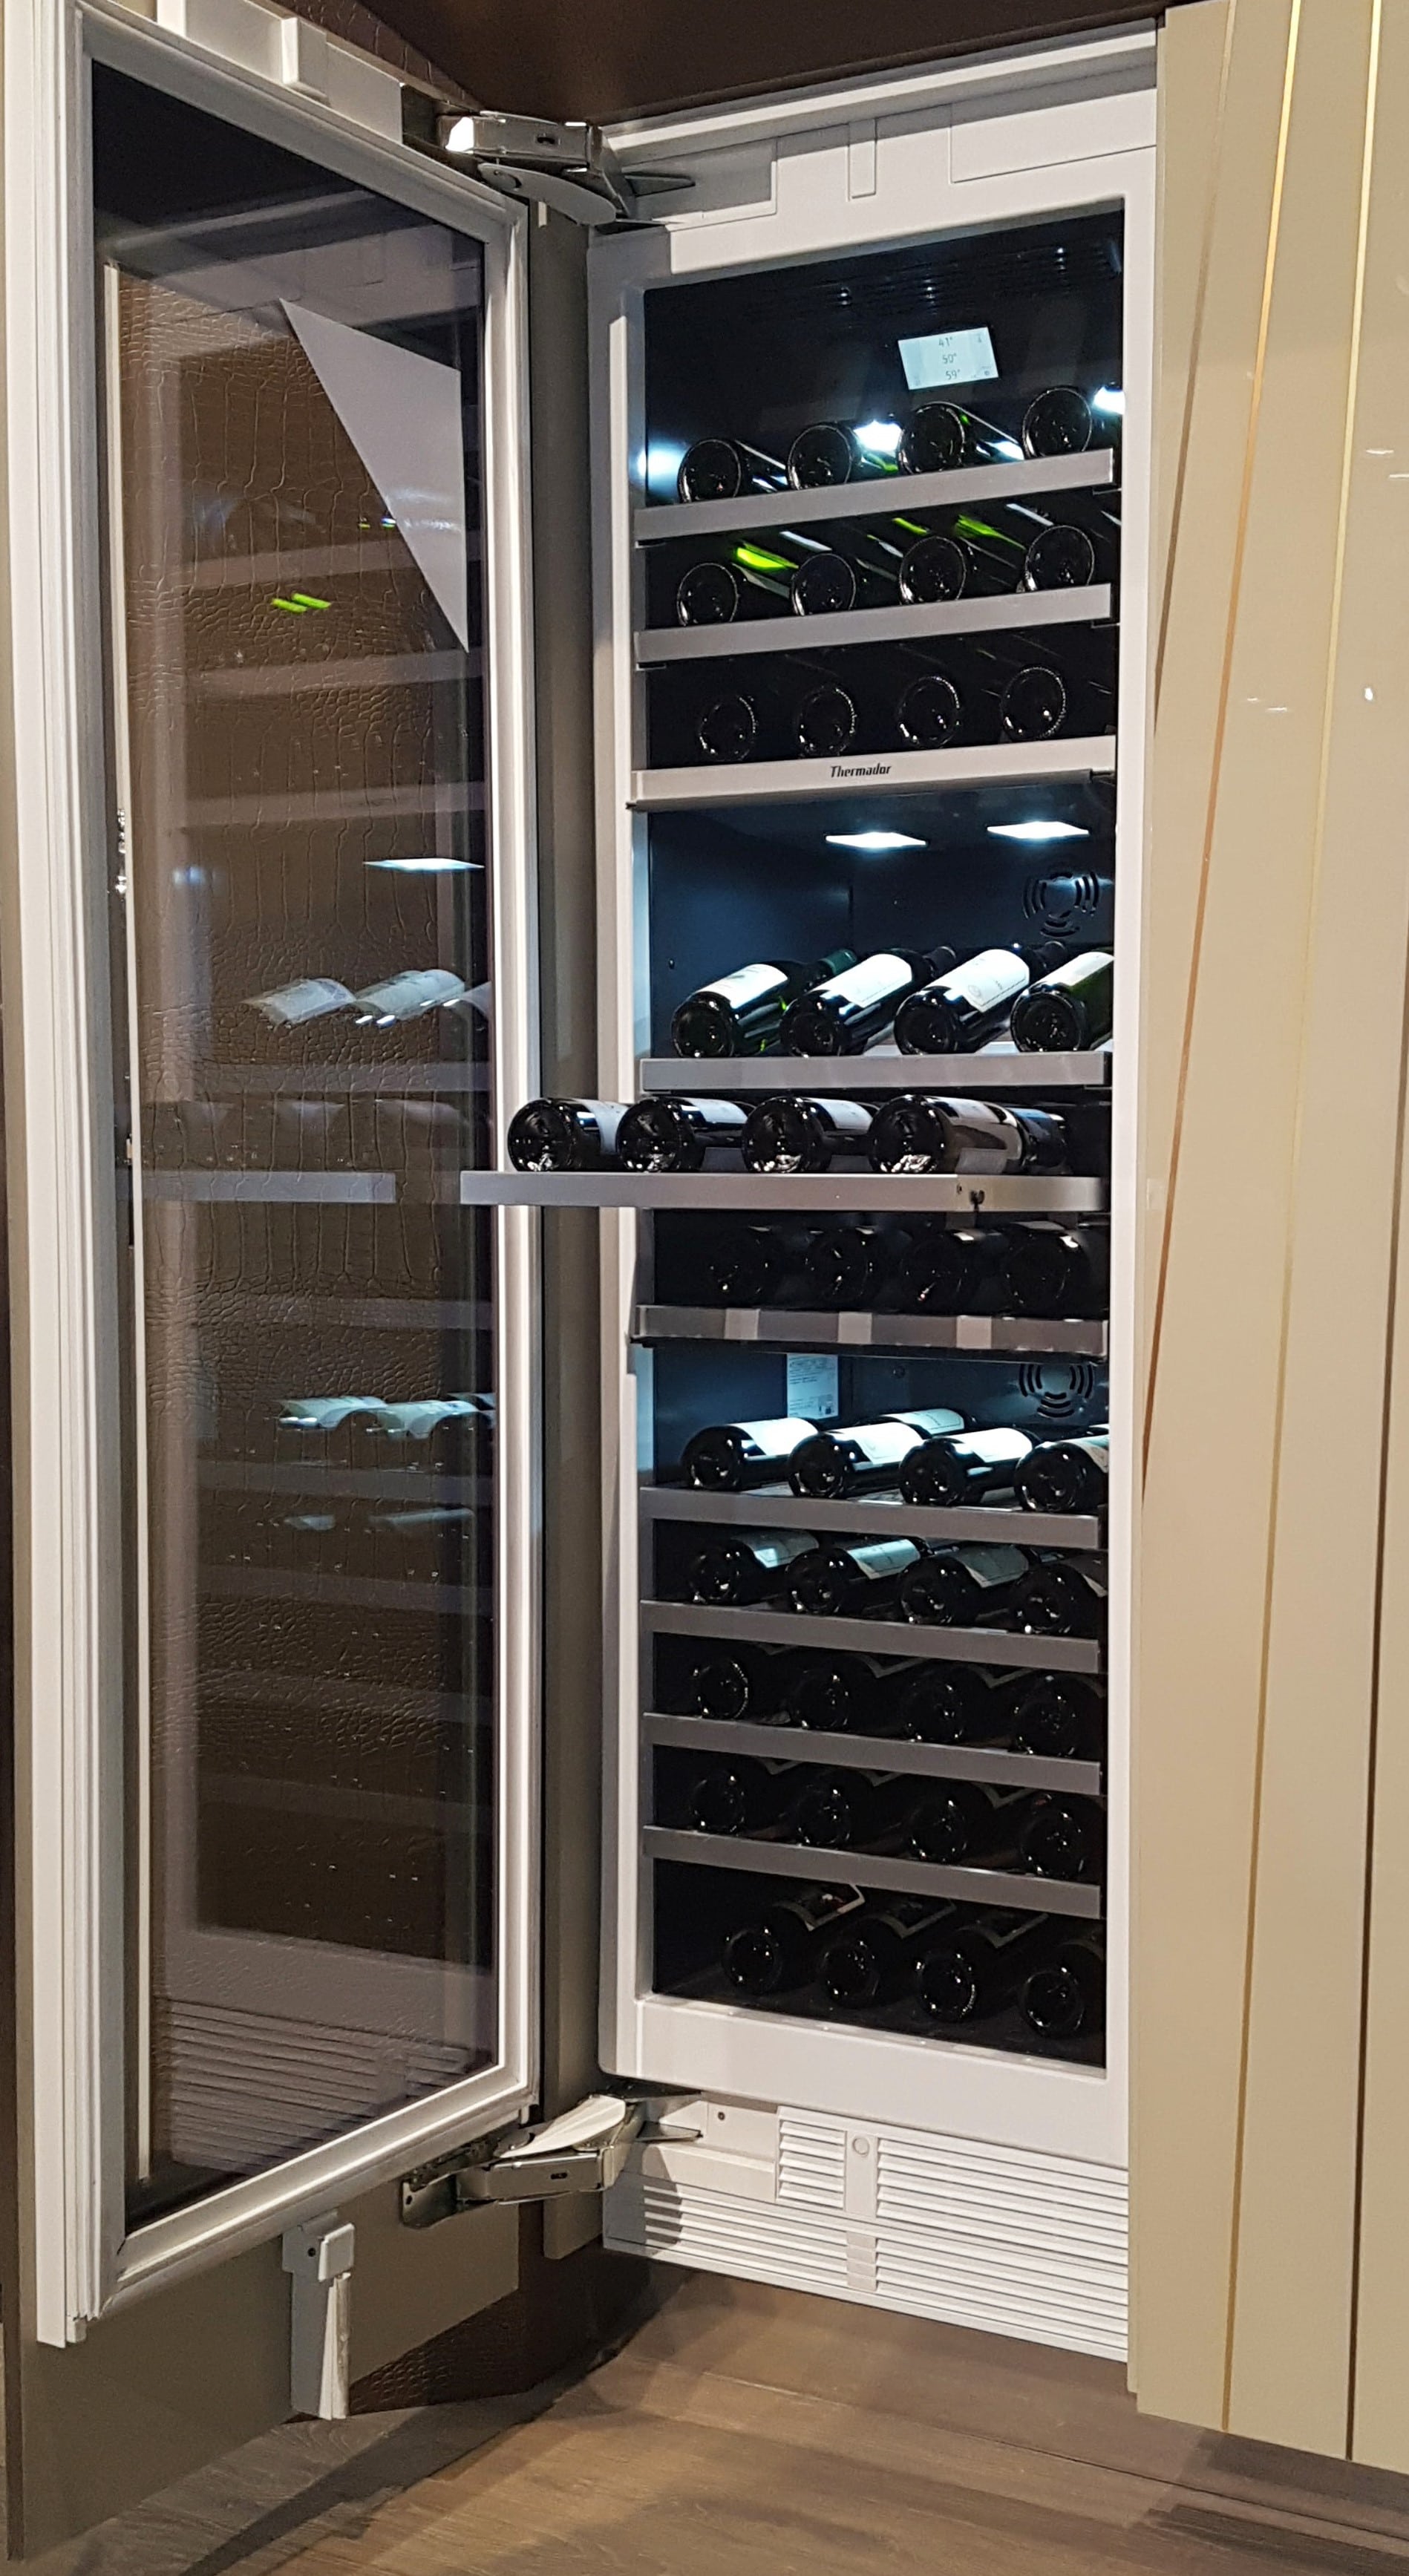
Below: Fridge/Freezer combination that you wouldn’t even know was there! You’ll won’t believe what can reside permanently on the inside of the refrigerator door…watch the video to find out and to see the spacious interior of this beauty!
I AM A FRIDGE, HEAR ME ROAR!Thermador was the first to introduce a wine freezer with 3 different temperatures in one fridge
Thanks A-Latte…
A sleek built in coffee machine that cleans its own milk dispenser!
As a gracious sponsor of the KBIS Blog Tour in Orlando, Thermador pulled out all the stops for us. Not only did we get front row viewing of many of their new product lines, we also got treated to a lovely lunch out. Thank you Thermador!
Are you planning to renovate your kitchen this year? Contact me here and I can help you with the design or in pulling it all together with finishes and thermador appliances! that weIf you are considering a kitchen renovation this year, check out more products from Thermador here on their website.
Earlier this month I headed to KBIS – Kitchen and Bath Industry Show – in Orlando for Blog Tour 2017! It was an all expenses paid trip hosted by the lovely Veroinkia Miller of Modenus.
It’s November already!?! Donald Trump is the new US President?! Christmas is just around the corner?!! I know, I’ve been AWOL for the last little while and so much has been happening in this world!
Let’s escape for a few minutes to see this latest transformation that I recently had photographed. If you like a good before and after, you’re going to love this.
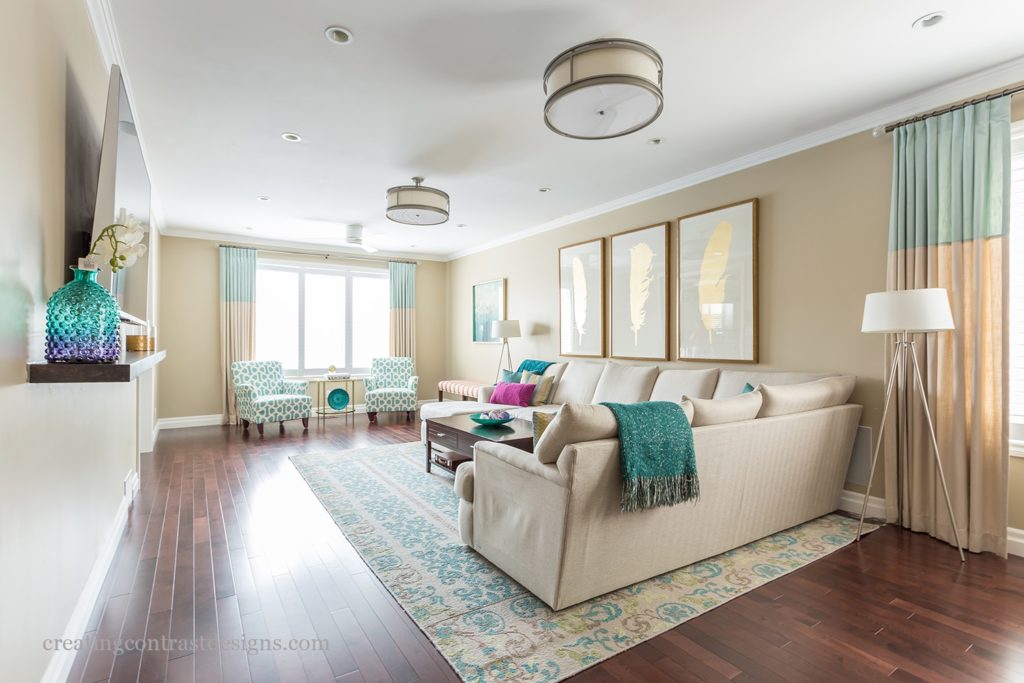
My Hamilton clients living room was a bit of a challenge to decorate due to the vast size of the space. When rooms are so large, it’s a good idea to create ‘zones’ that give each area a purpose.
Watch my Facebook live video here from my clients home. Forgive me for being sideways for some of it, this video was my first Facebook live!
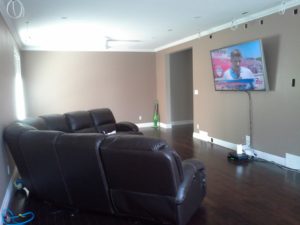
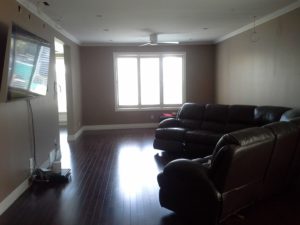
Here are the before photos:
Living Room Before
This leather sofa went to the basement and a new room was born!
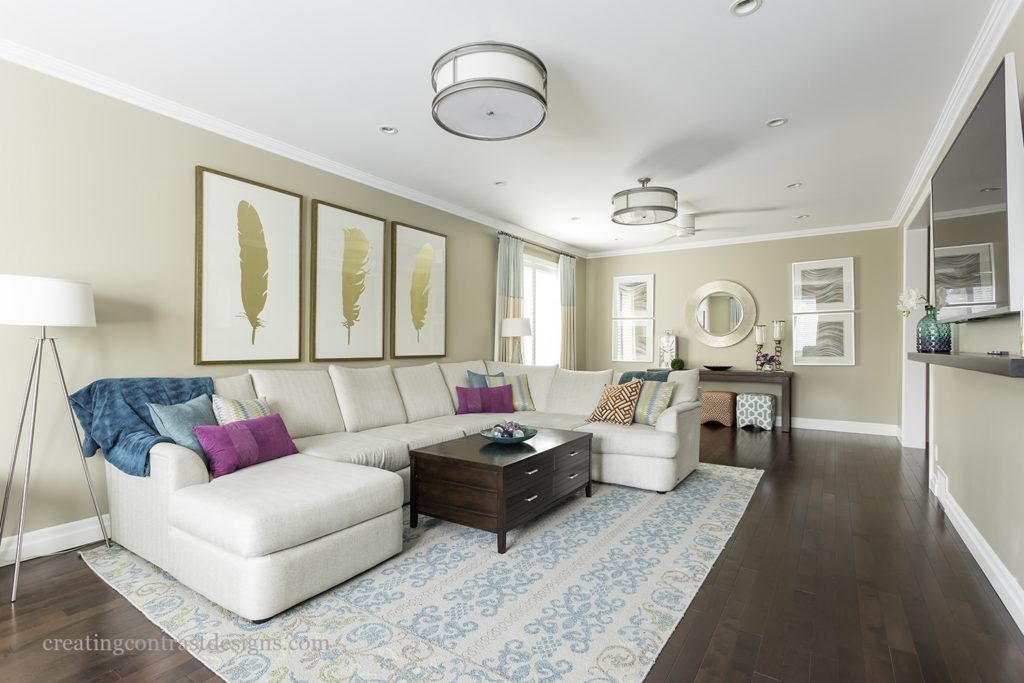
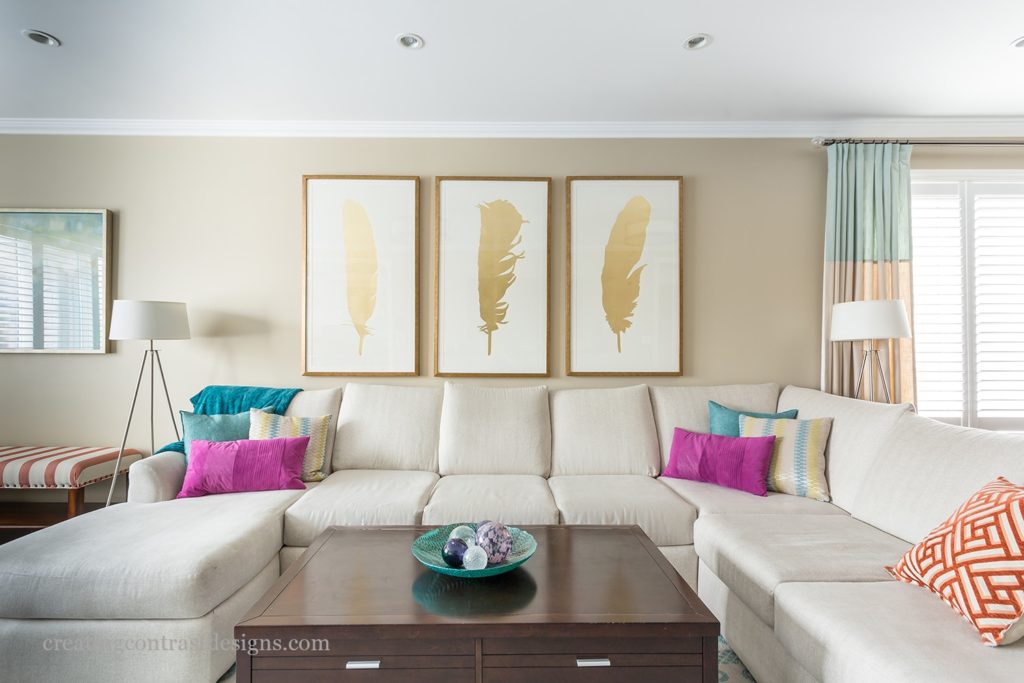
Large Gold Leaf Prints create a Stunning Focal Point
We accented with teal, oranges and some purple tones as well. The stunning artwork of these three gold leaf prints really are the focal point of the room.
When this artwork went up, my client said “Wow, these really finish off the room beautifully.” (And that was the hubby!)
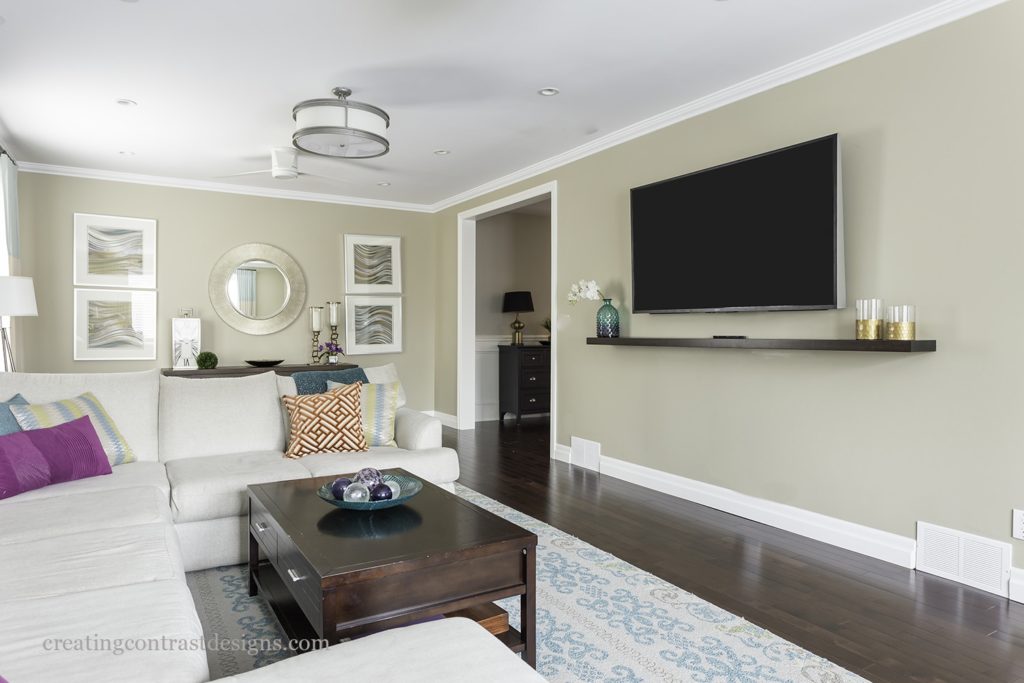
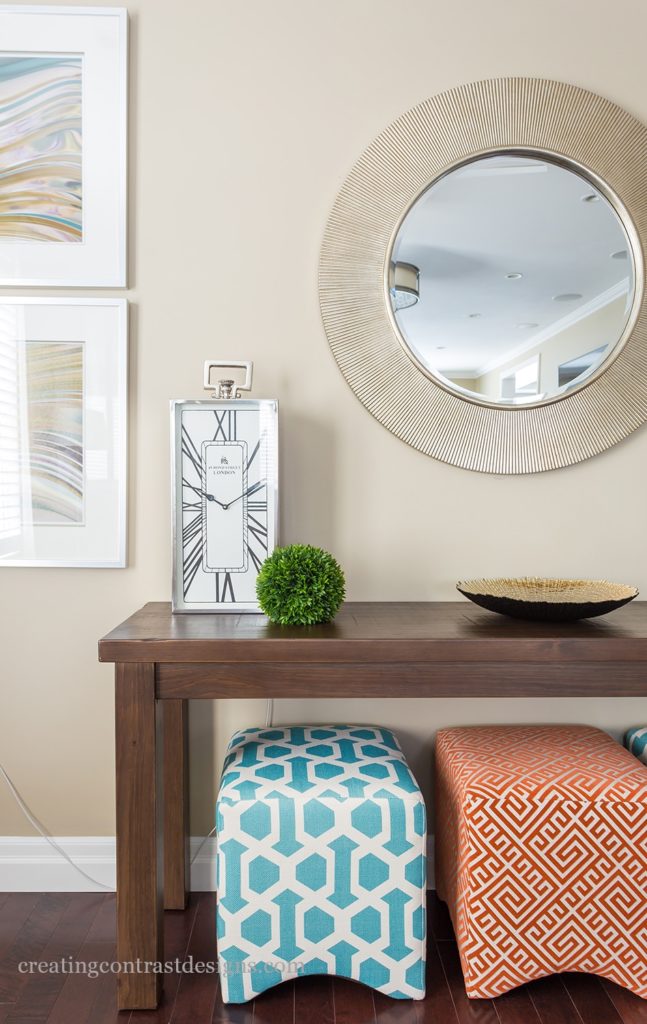
Custom Floating Shelf
My carpenter built a floating wood shelf to anchor the large TV which also allowed us to add some accessories on either side. The large gold framed mirror works wonderfully with the tones of the artwork flanking it on either side, as well as with the large gold leaf prints.
Below is a console we customised to fit three cubes underneath for extra seating as needed.
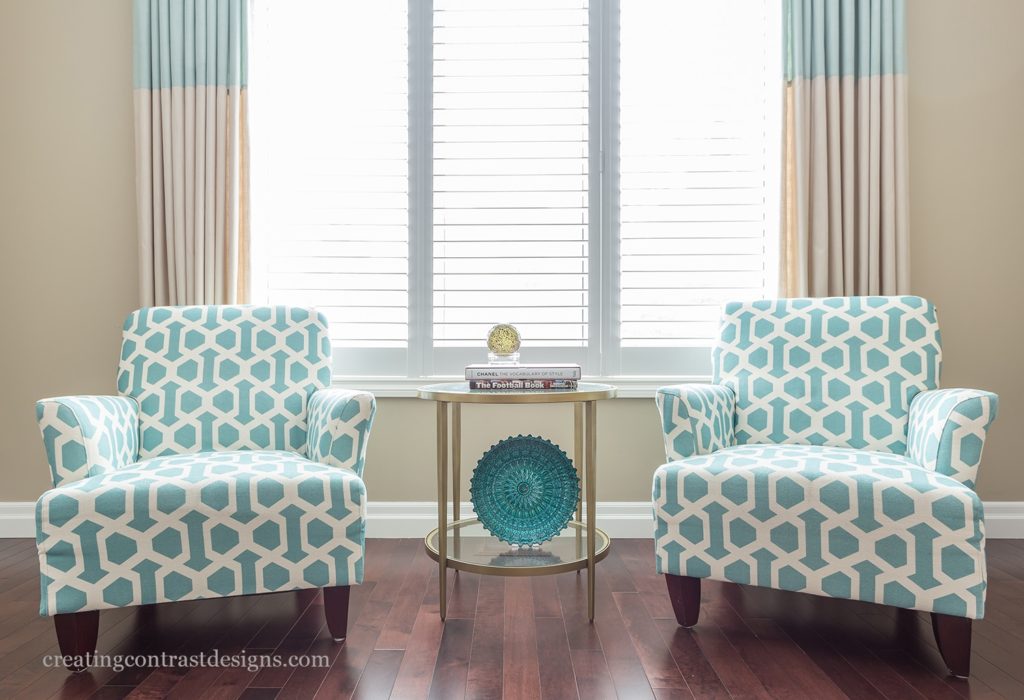
We colour blocked the inverted pleat drapery using the same blues/cream that you see in the geometric pattern of the occasional chairs.
The biggest splurge was the area rug which adds extra softness to the room while complimenting the colour scheme.
My clients recently put this house up for sale and it sold in just one day!! The home required no ‘Staging’ and sold for more money than any other house in the area.
The realtors said that there wasn’t anything on the market in their area at a similar price point that was finished as beautifully as this home was and essentially ‘turn key ready’ for the new home buyers.
This was great feedback for me and goes to show that the return on the investment of working with an Interior Design professional is well worth it. Not only did my clients get to enjoy the home while they lived there, but they also didn’t need to do any extra work in order to have it ready to put on the market. Nice!
My clients are thrilled with the result and so are we! What’s your favourite part of this living room?
Ready to work with me on your upcoming decorating project? We are booking into January 2017. Contact me here to set up a phone call with me and let’s do this!
Do you go crazy for Halloween? So many people do! I think it’s because you can have so much fun with decorating this time of year, there seems to be no limits and its only growing in popularity.
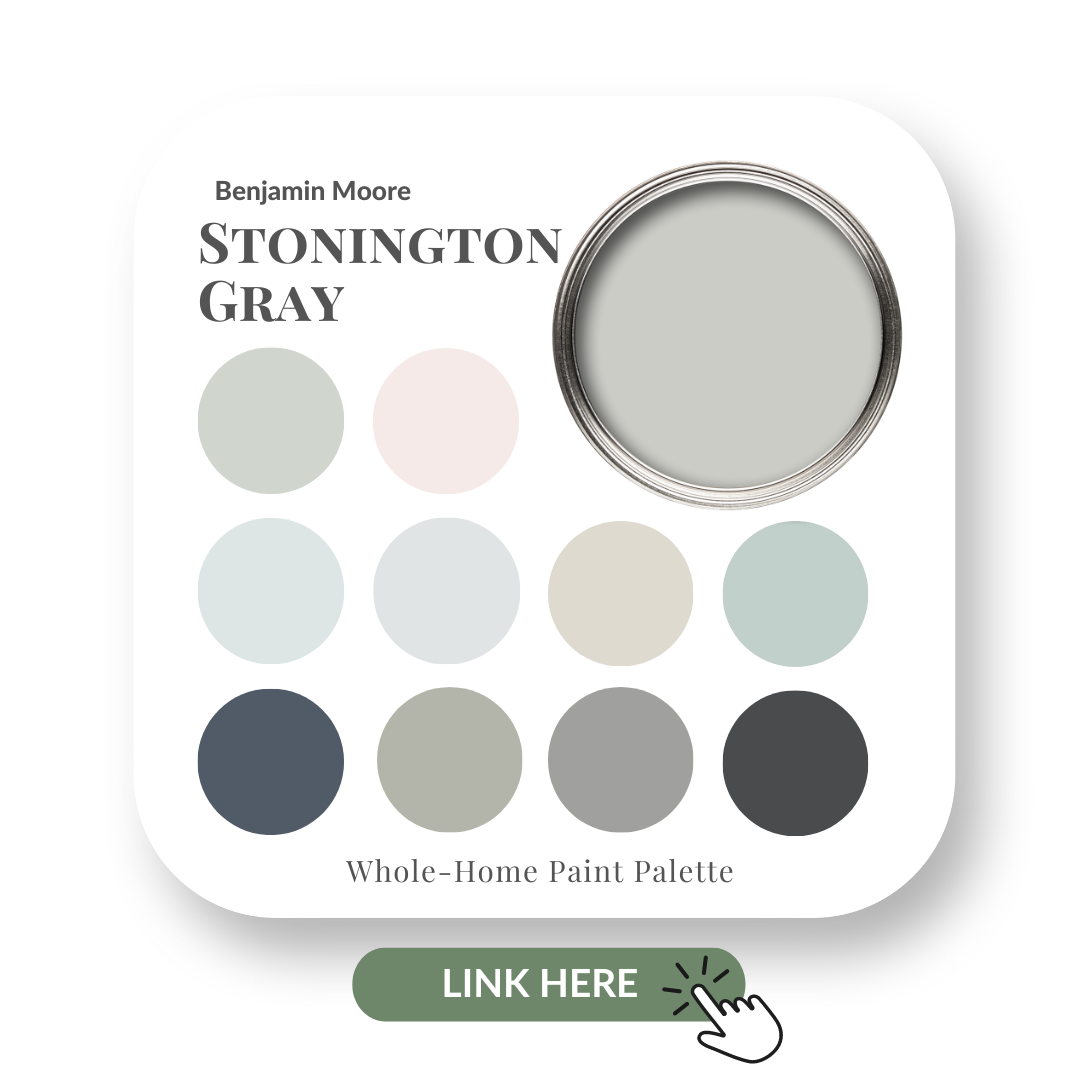
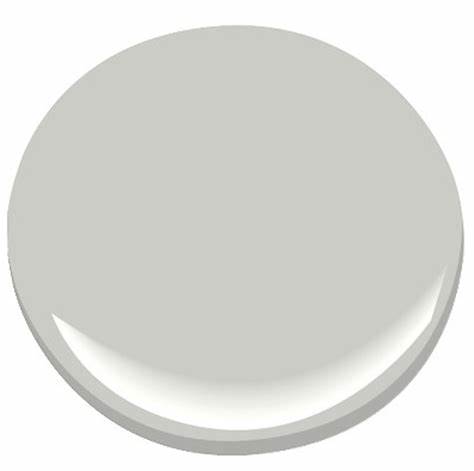
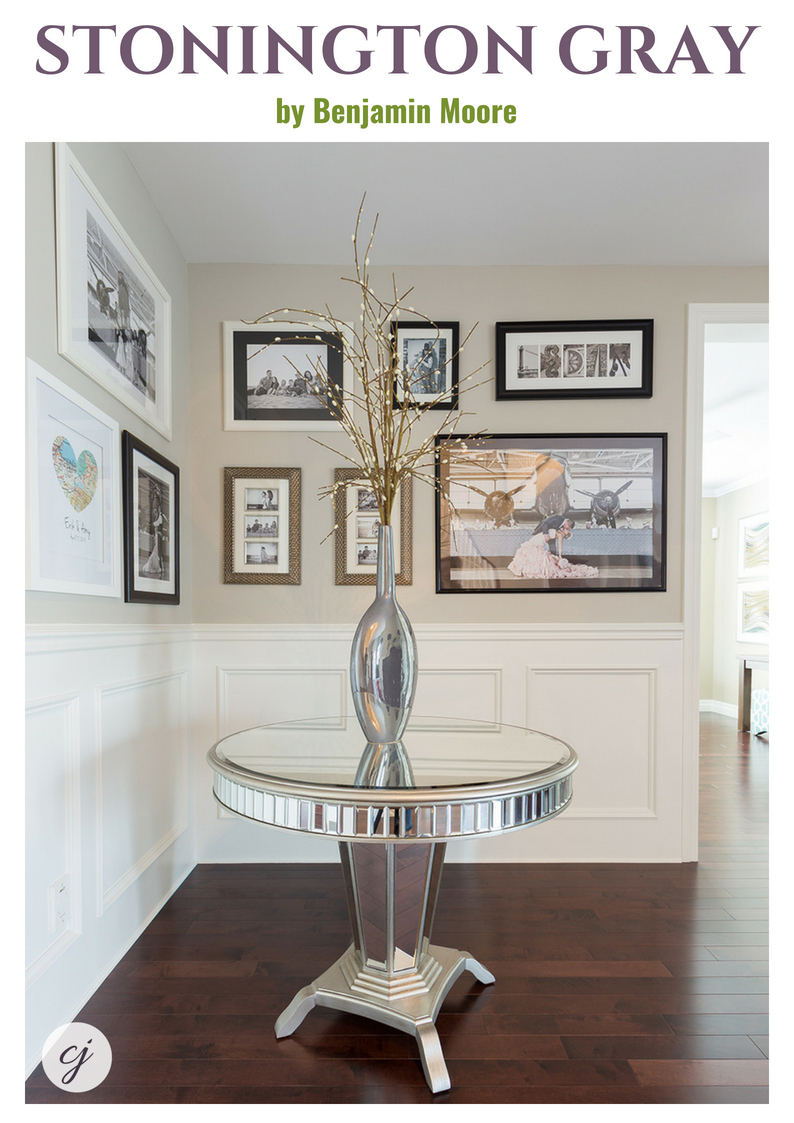
Despite the ever-growing popularity of the colour white in interior design, grays are still widely used for wall colours as a neutral backdrop and for many fixed elements. Stonington Gray HC-170 by Benjamin Moore has a slight blue undertone and is one of my favourites to mix with whites and bold colours.
Check out my latest video below where I:
Compare Stonington Gray to other BM grays
Select the best whites to use with this gray for your trim and ceilings
Show you pairings of fabrics that work wonderfully with this colour & how I’ve used Stonington Gray in a clients home
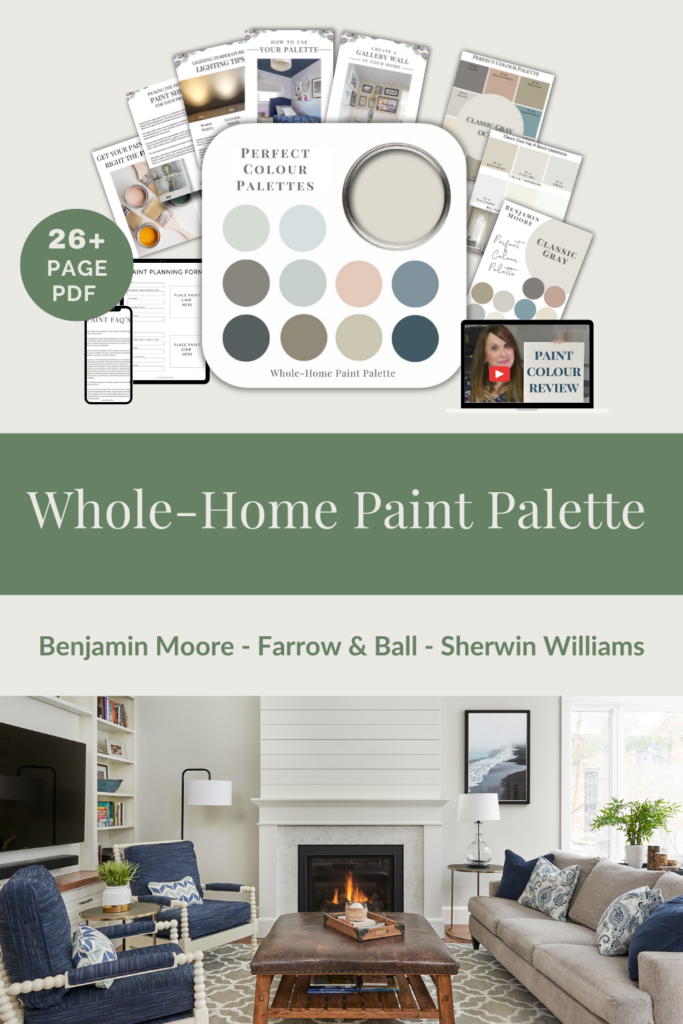
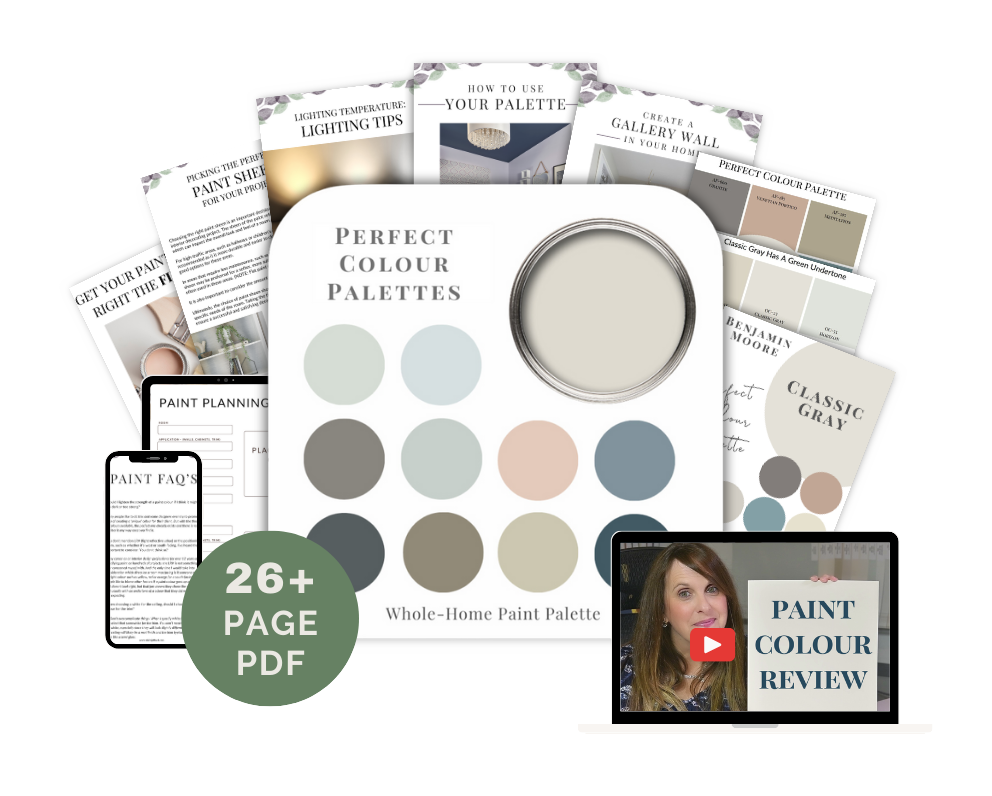
After you watch my video, to get all this information conveniently in one place and to have even more paint colour combinations to use with Stonington Gray, check out my Perfect Colour Palette for Stonington Gray.
A must-have for any colour enthusiast or interior design professional to use as a helpful resource.
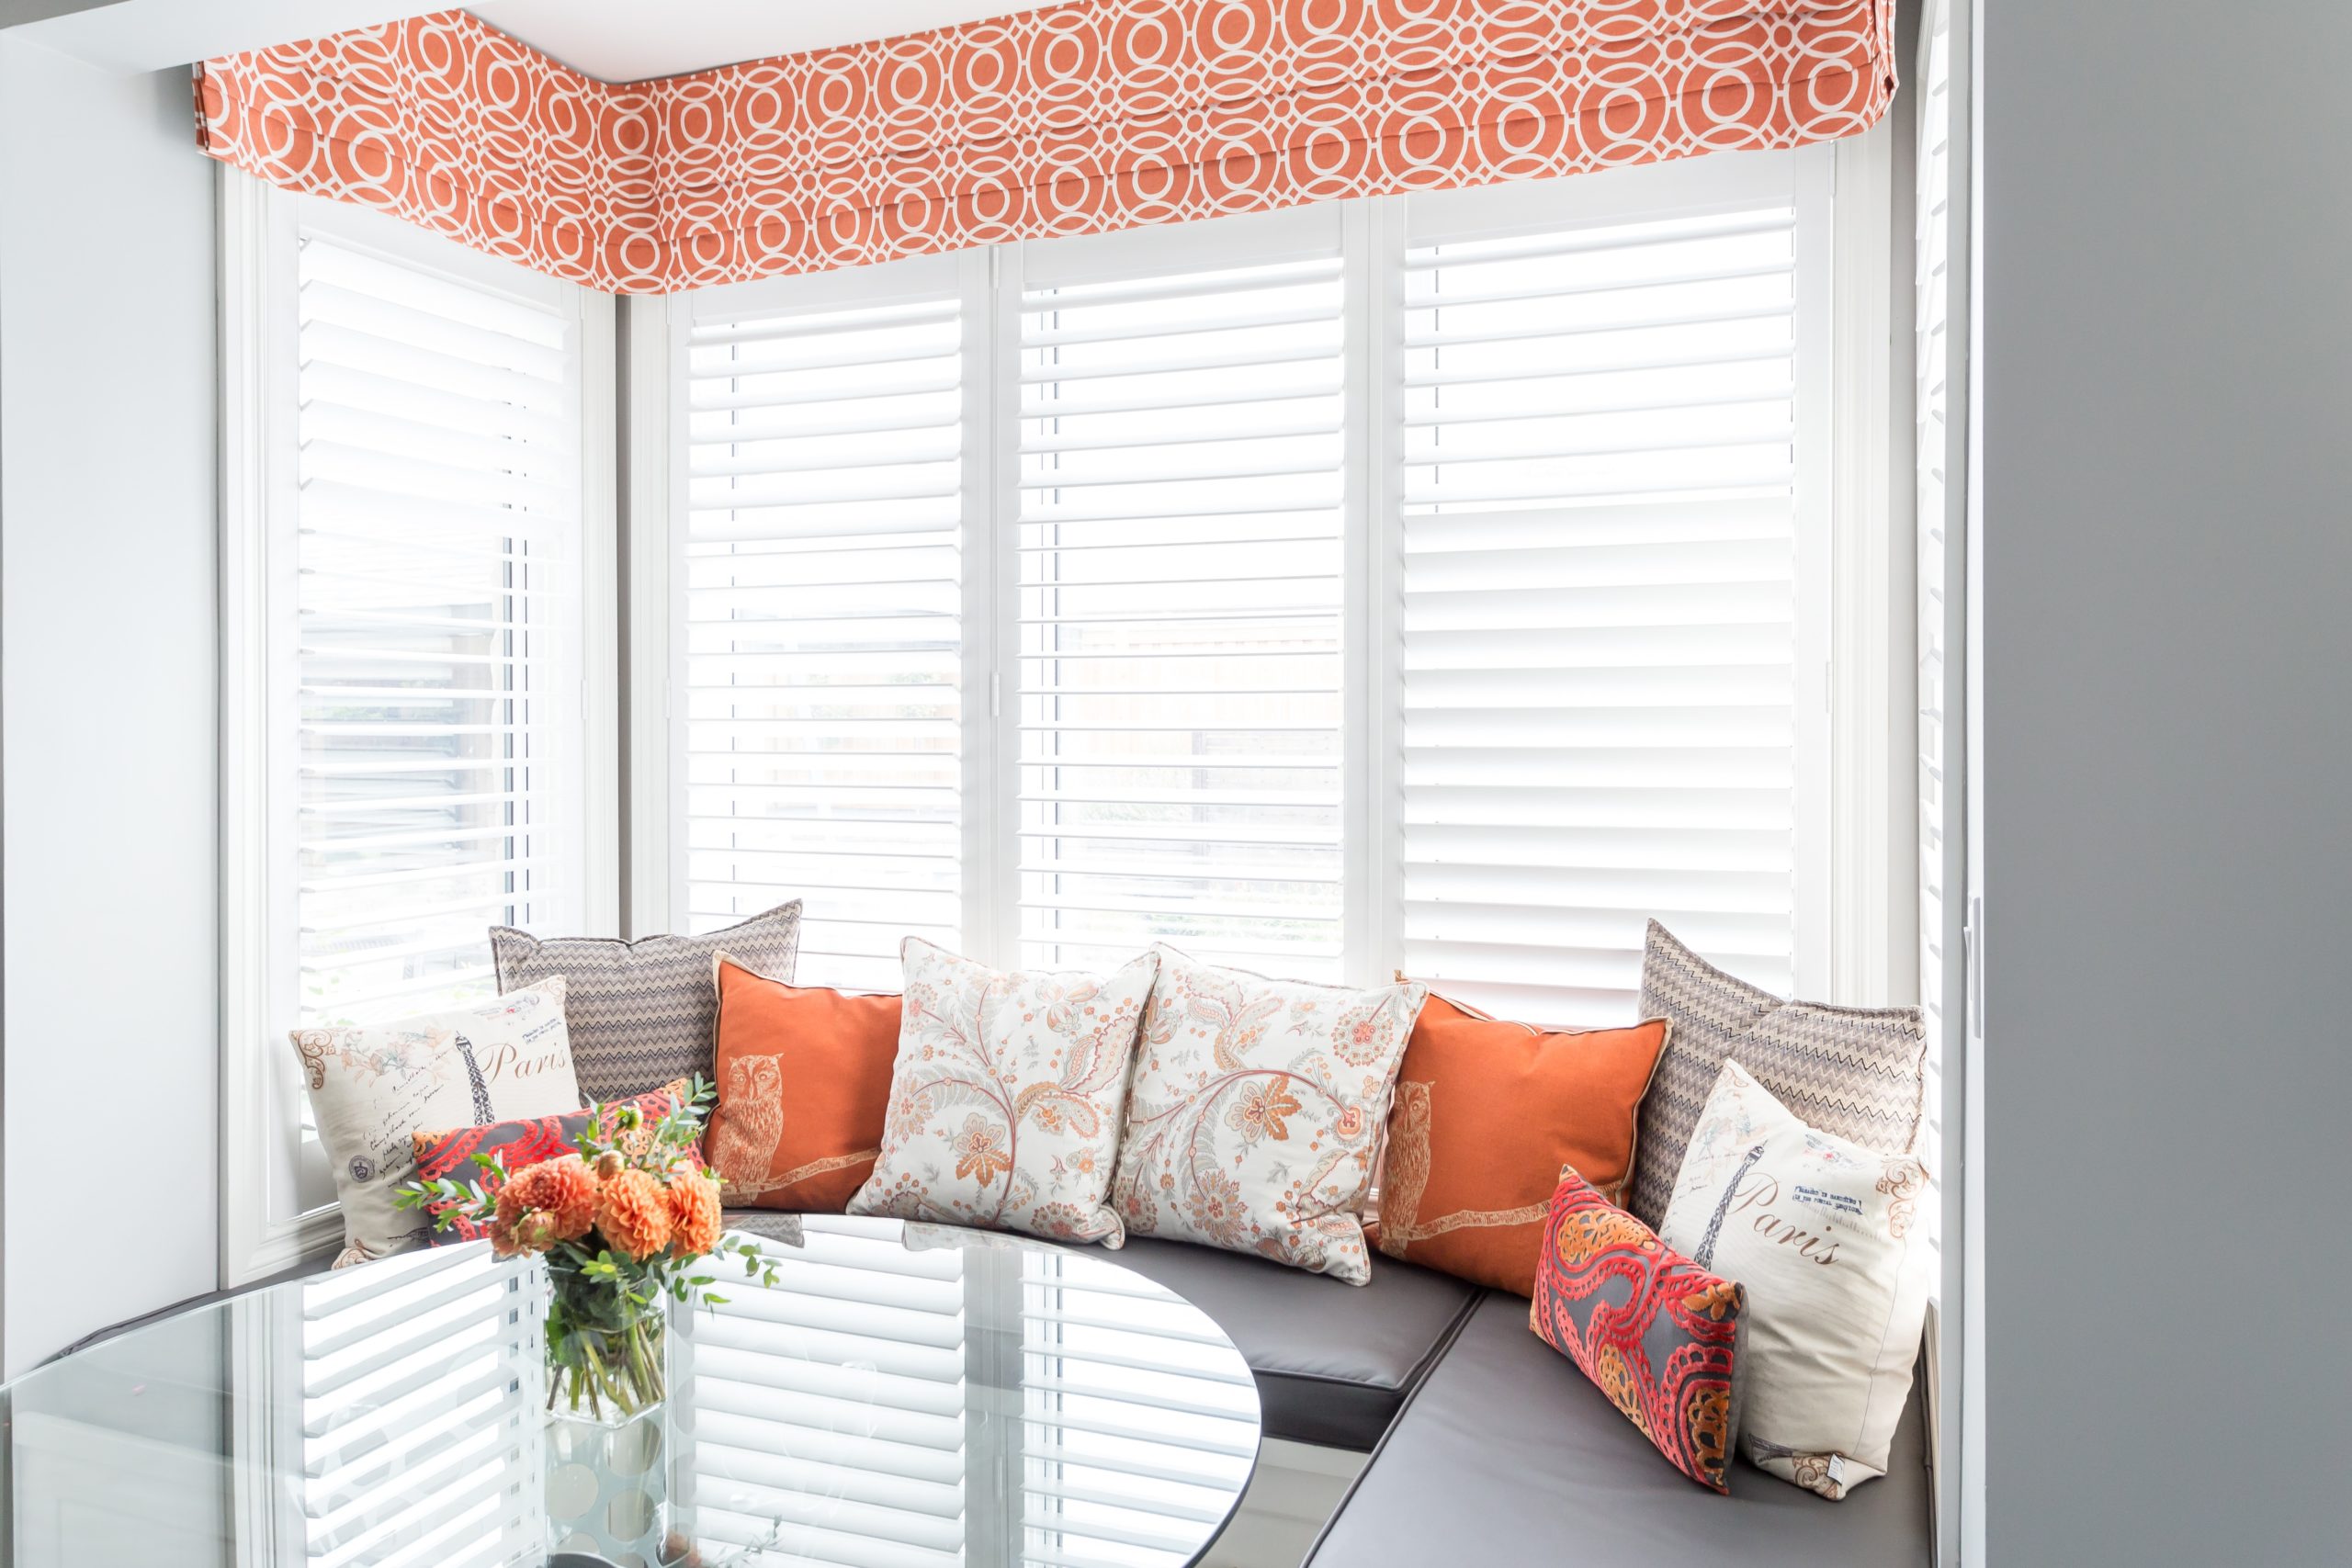
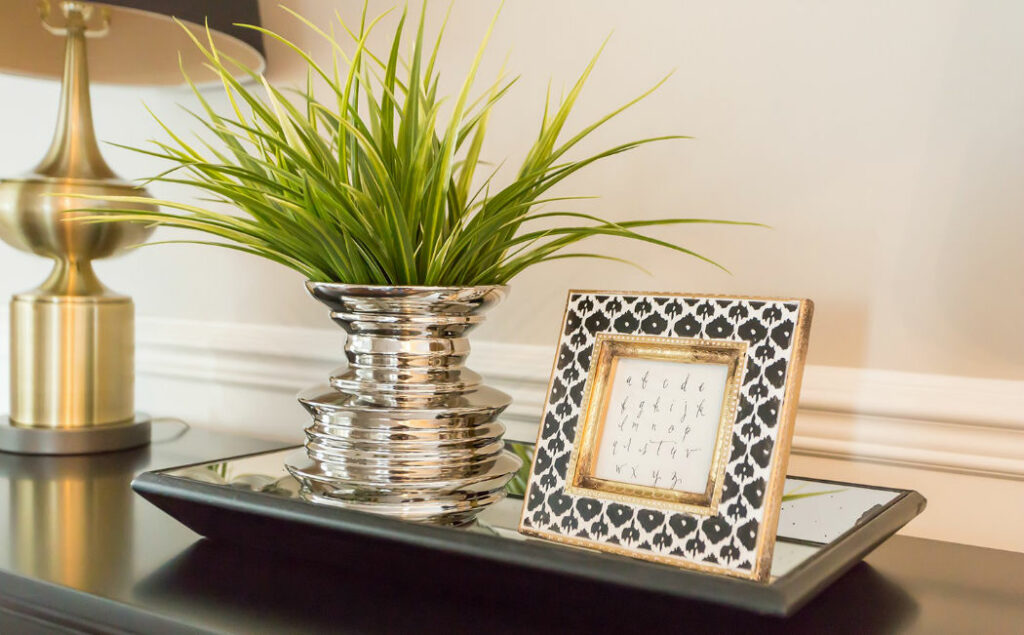
Photos below of Stonington Gray in my client’s kitchen and front foyer.
Stonington Gray walls surround this gorgeous window seat with custom treatments.
Stonington Gray HC-170
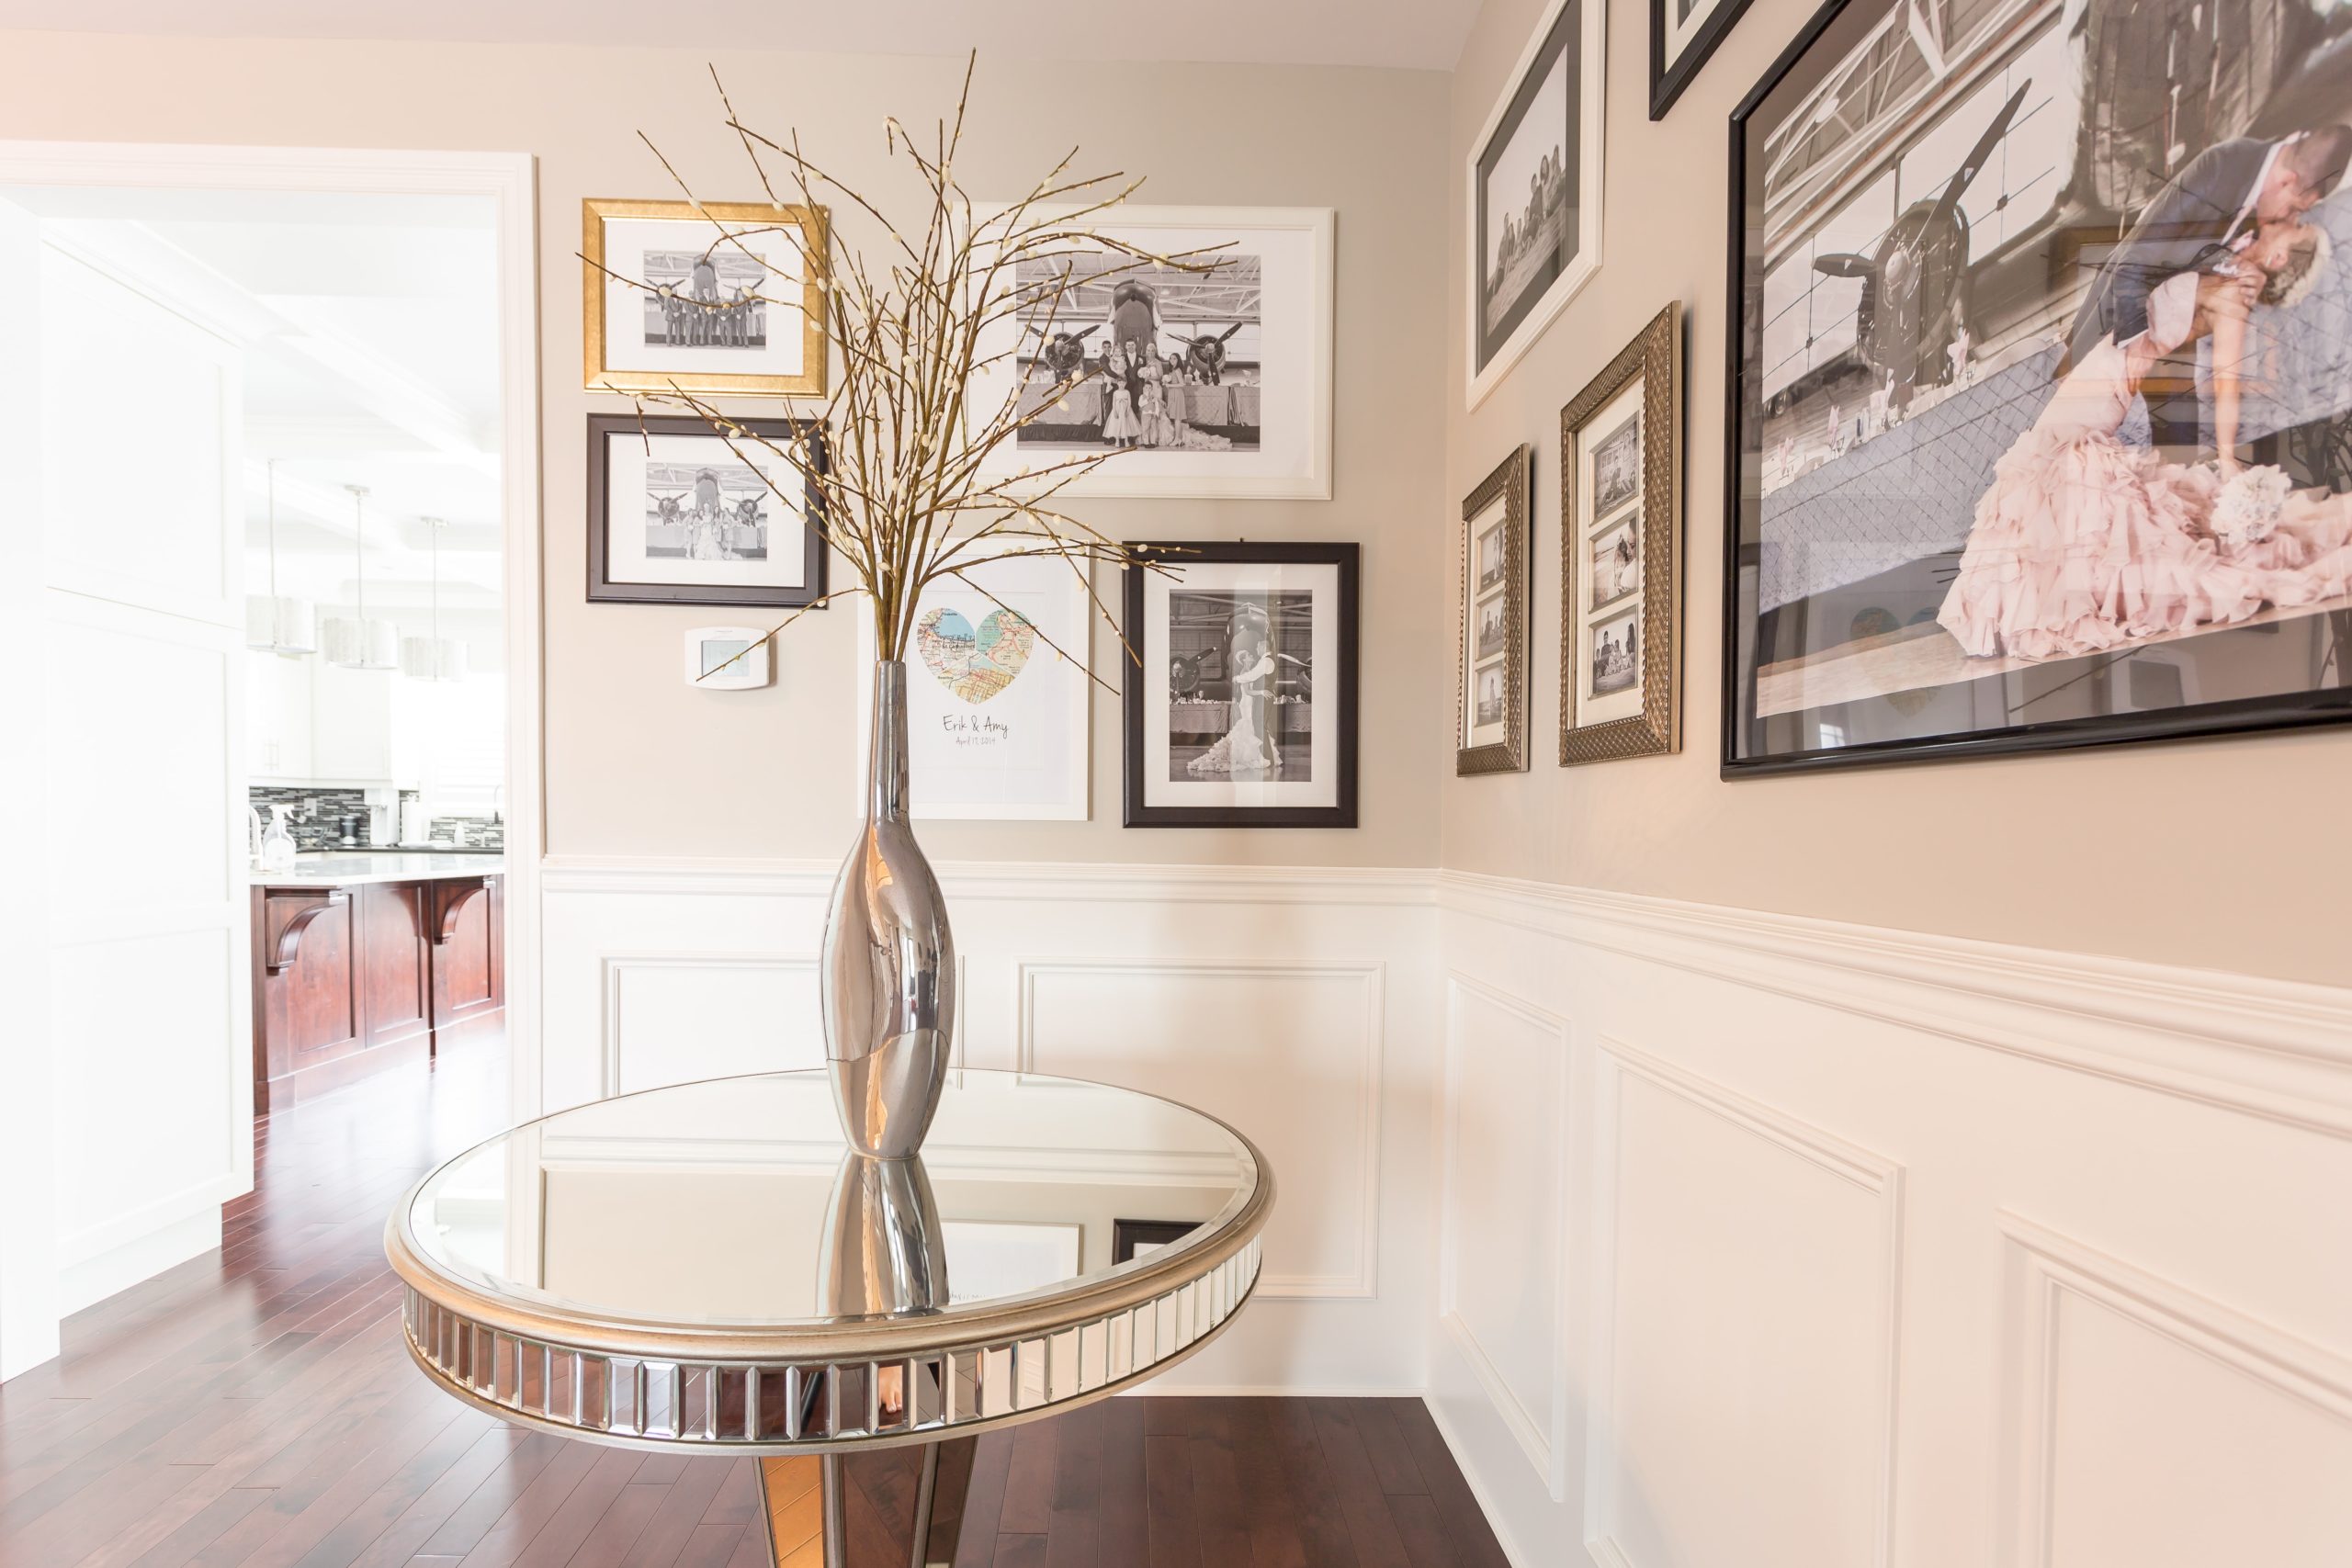
Gallery Walls with Stonington Gray backdrop and Cloud White Wainscoting
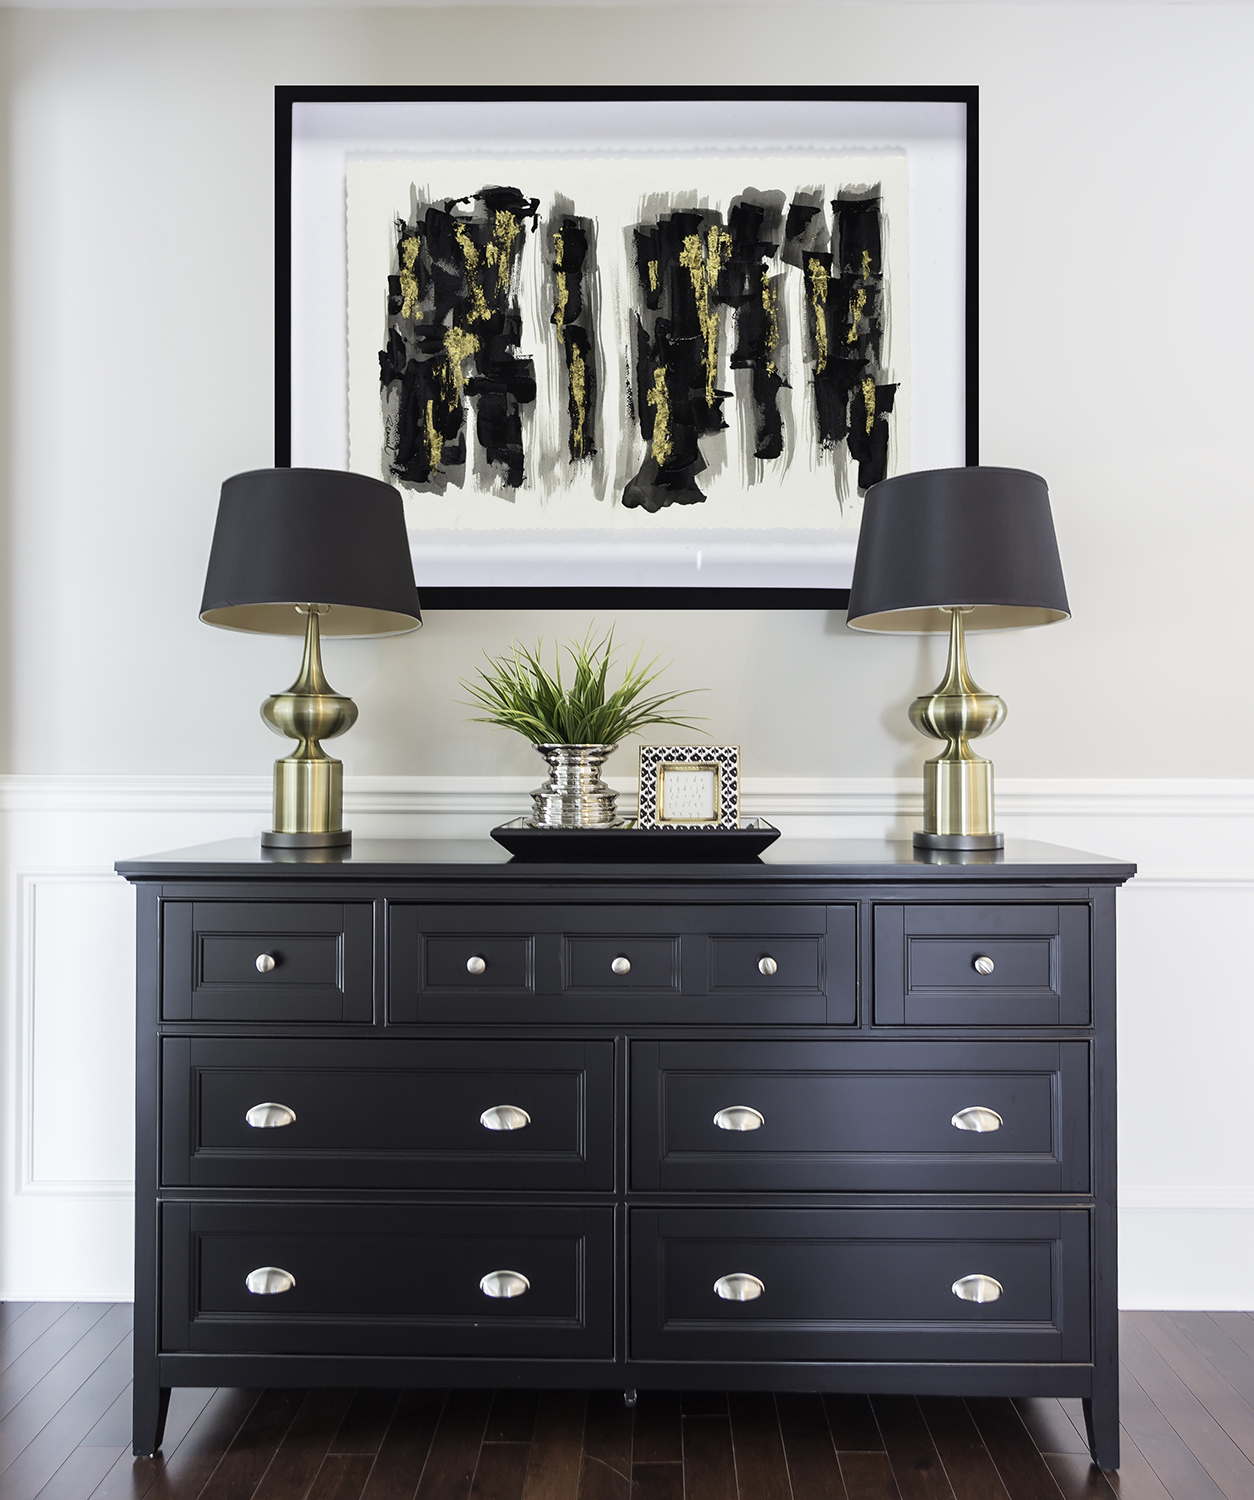
Foyer painted in Stonington Gray with striking black dresser and lamps.
Vignette on dresser with gold accents.
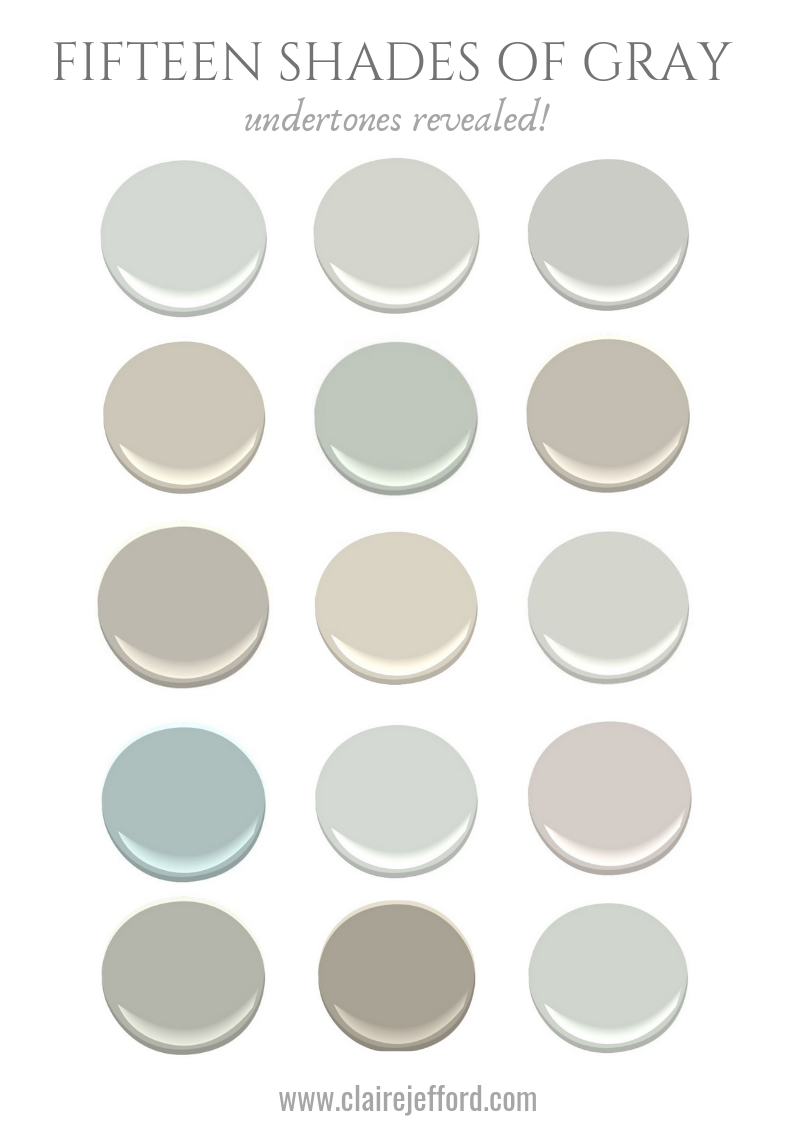
I’ve also created a booklet appropriately named ‘Fifteen Shades of Gray’ which you can download for free! It lists 15 grays by Benjamin Moore and categorizes them into three different undertones so it’s simple to understand and use. Download your free guide here.
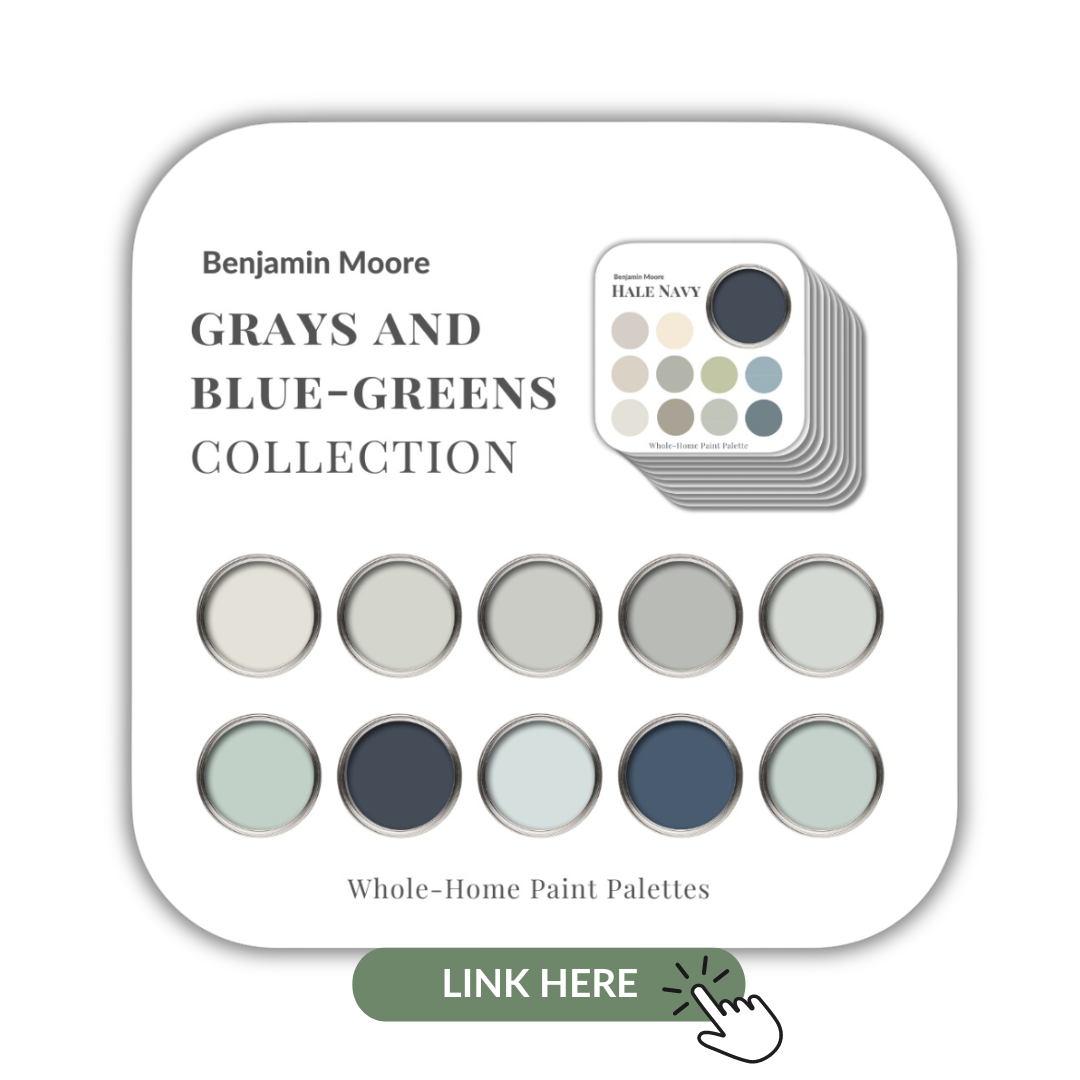
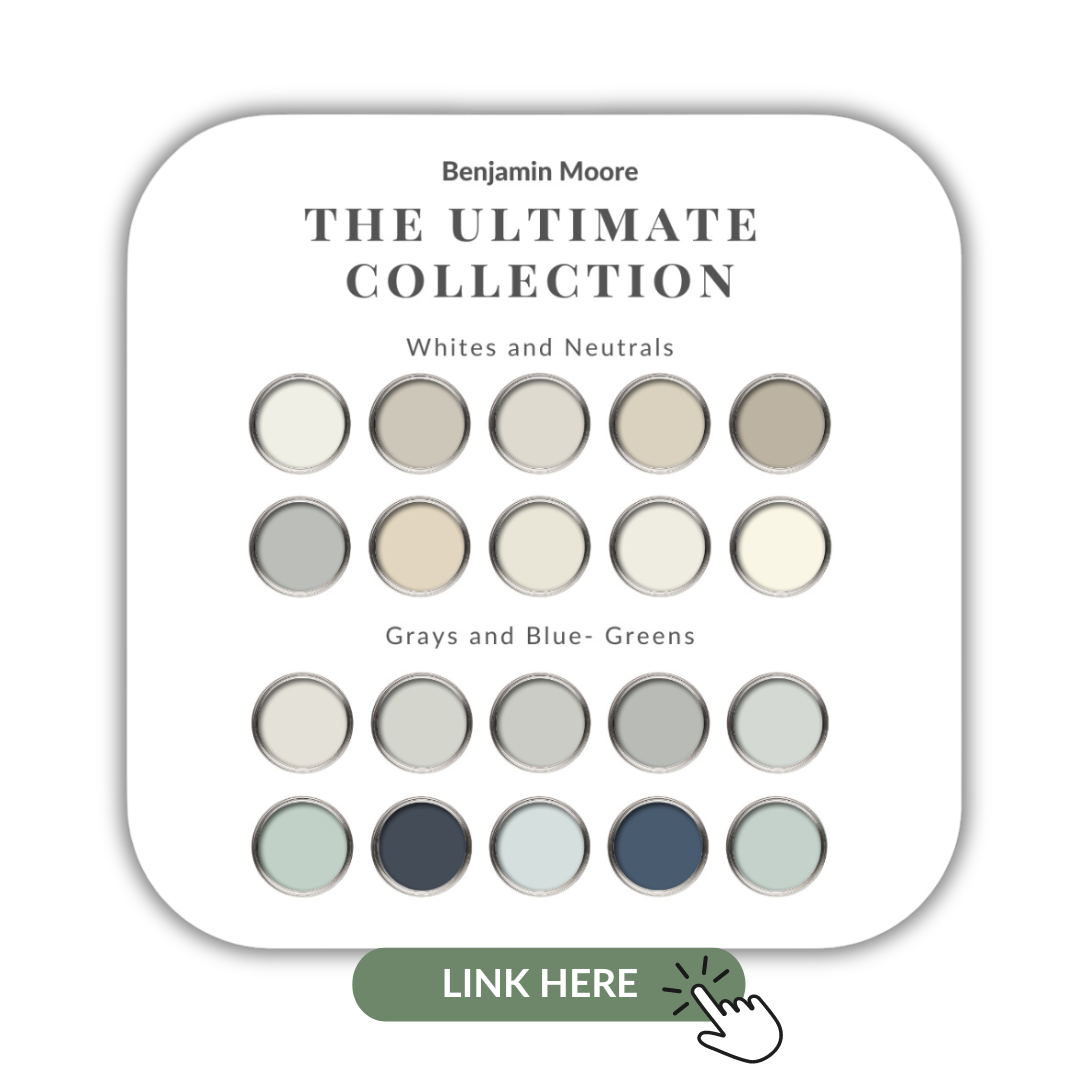
If you want to get all my Benjamin Moore colour guides in one place, look no further than my Benjamin Moore Ultimate Collection. All 20 of my guides in one handy collection.
Remember, it only takes one mistake to take your home decorating project from divine to disaster. Don’t let the paint be what stresses you out!
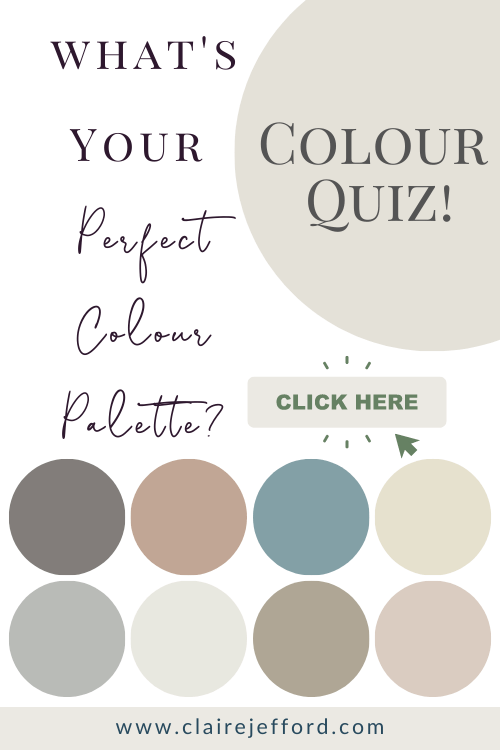
Take my Colour Quiz to discover your Perfect Colour Palette.
No matter what the task, project or goal, it’s no secret that when you have a plan in place you are more likely to succeed. If you want to lose weight & you choose to just ‘wing it’, chances are you’re going to fail.
If you want to try making a different meal, but don’t have a recipe or know what the ingredients are, it’s probably going to be disaster. So why would anyone start a renovation or decorating project and invest thousands of dollars without having a plan?
You’d be suprised at how many people want to skip this part of the process. The most bizarre part, is that the reluctantcy to do so, is often because people think it will save them money not to plan!
But in the long run, it can end up costing way more and the end result is not nearly as pretty or functional as it could have been, had they taken the time to plan.
Here’s my latest video, check it out and see how easy it is when you have a plan!
Not subscribed to my Youtube channel yet? Shame on you! Go here to subscribe and I’ll see you there.
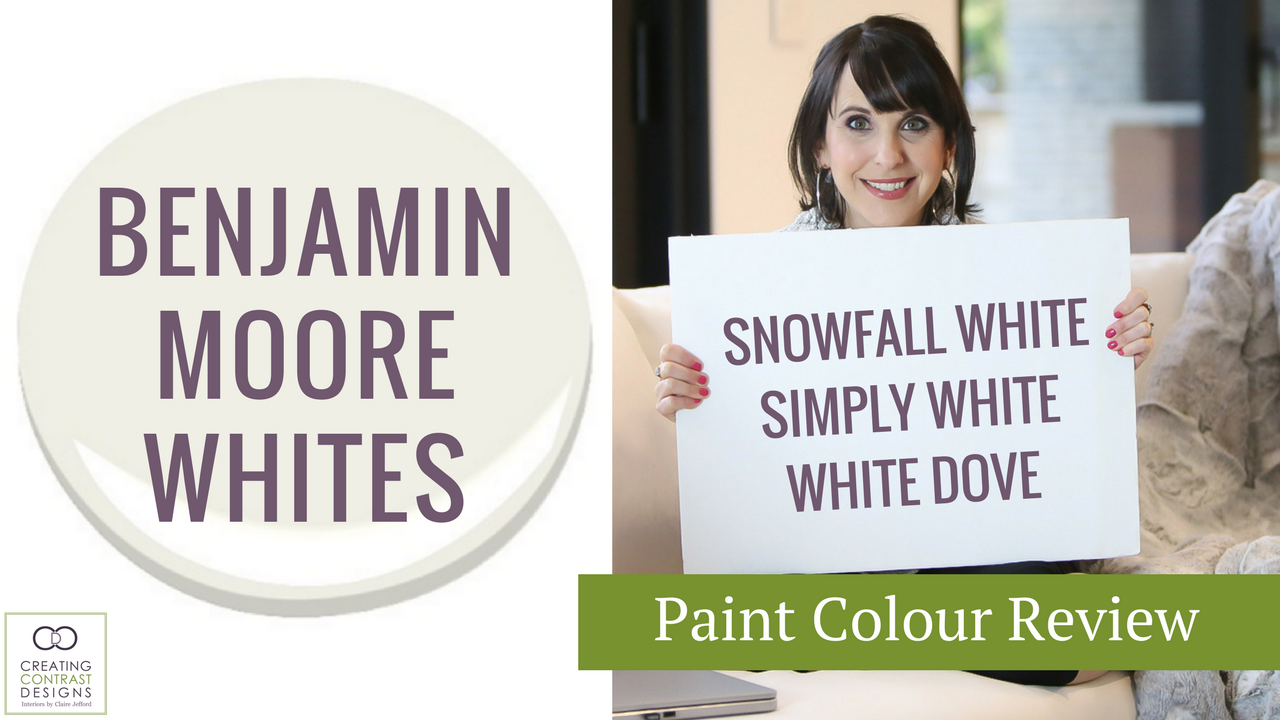
Grays move over, whites are where it’s at!! Have you noticed the shift? Well, it’s definitely happening.
Whites are quickly taking over as the most popular neutral and it’s no wonder, with the oh so popular Scandinavian design style that we see in all the magazines these days, not to mention the crisp, clean look that it offers which so many of us love.
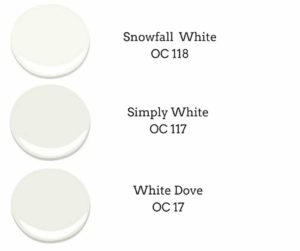
Today I’m comparing three popular whites by Benjamin Moore & sharing beautiful spaces where these whites have been used.
Watch the video below to learn more about using whites in your space and I’ll see you there!
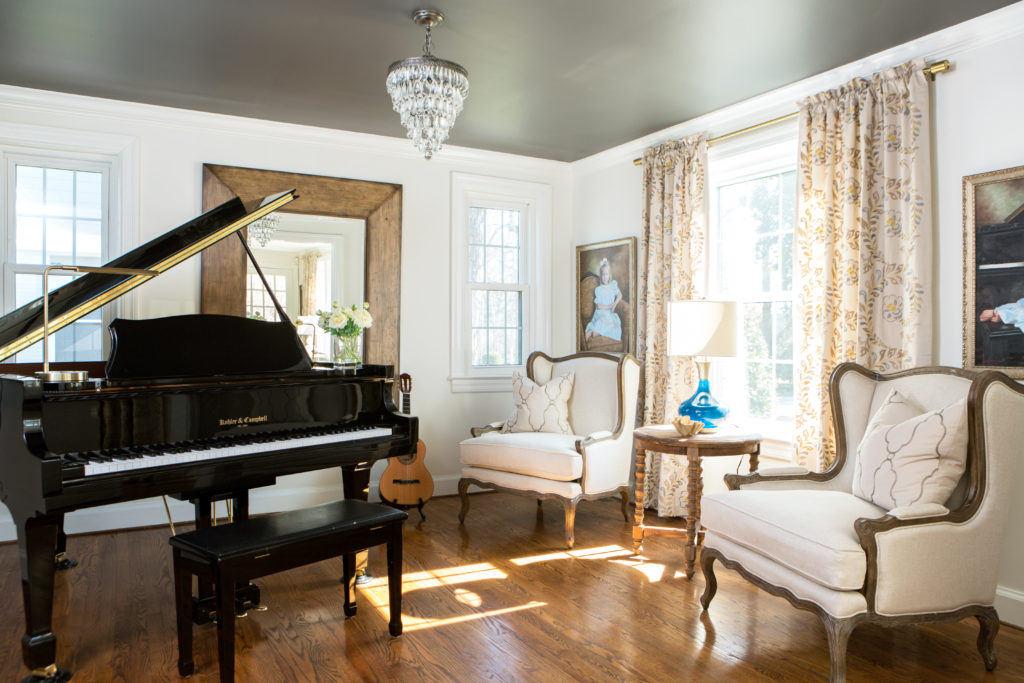
A special shout out to lovely fellow designers, Jil McDonald & Kristie Barnett who kindly agreed to let me use photographs of their gorgeous work in this blog post and video. I’m so blessed to work in the same field as these amazingly talented women!
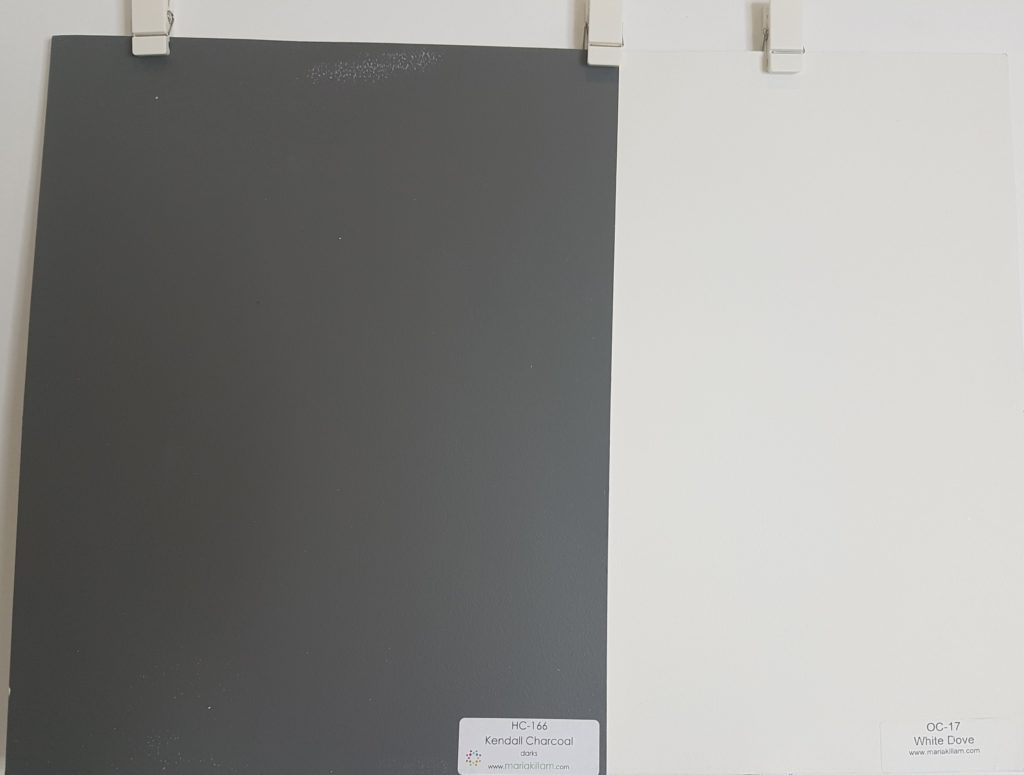
The ceiling in Kristie’s clients piano room is painted Kendall Charcoal HC-166, by Benjamin Moore. You can also see how nicely these two colours work together when shown side by side here on my large paint boards.
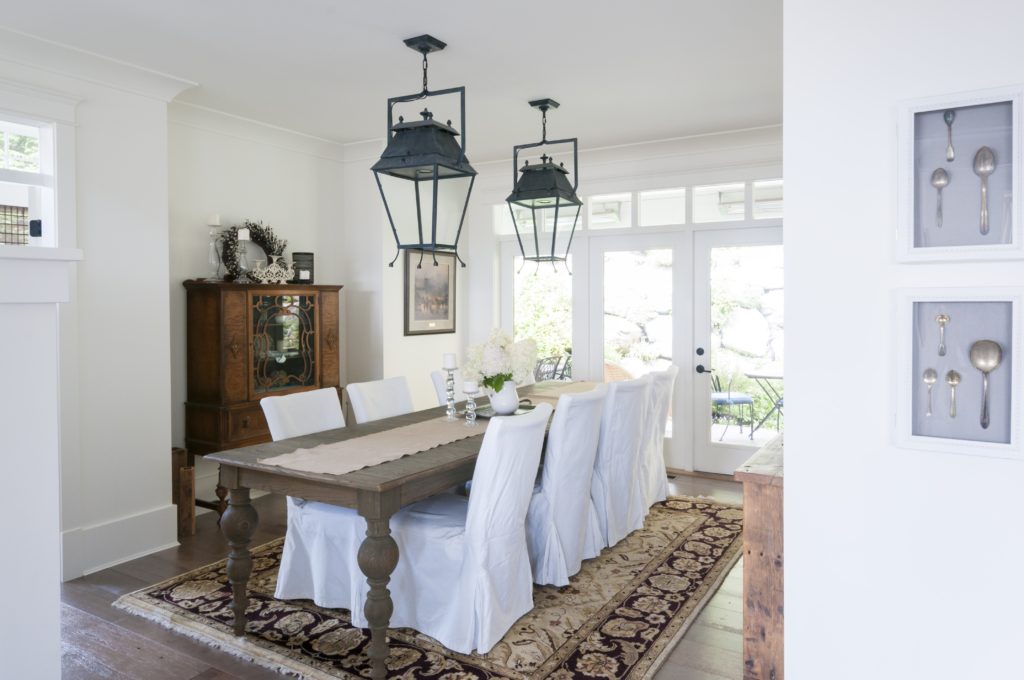
White Dove & Kendall Charcoal by Benjamin Moore.
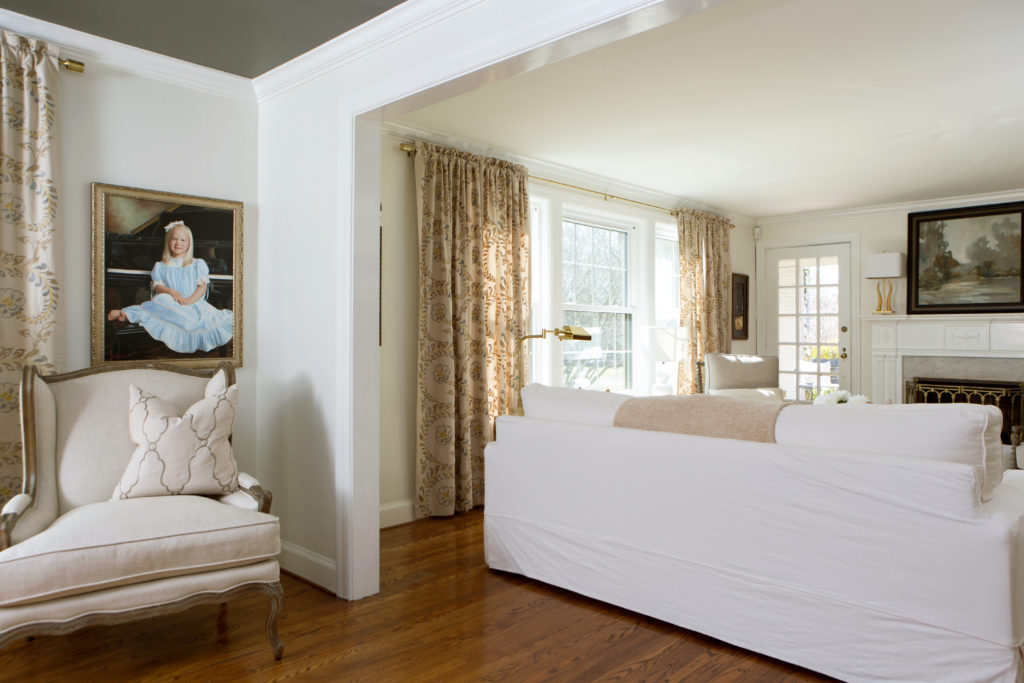
Although our clients dining room shown below, is not in the video, it is painted White Dove as well.
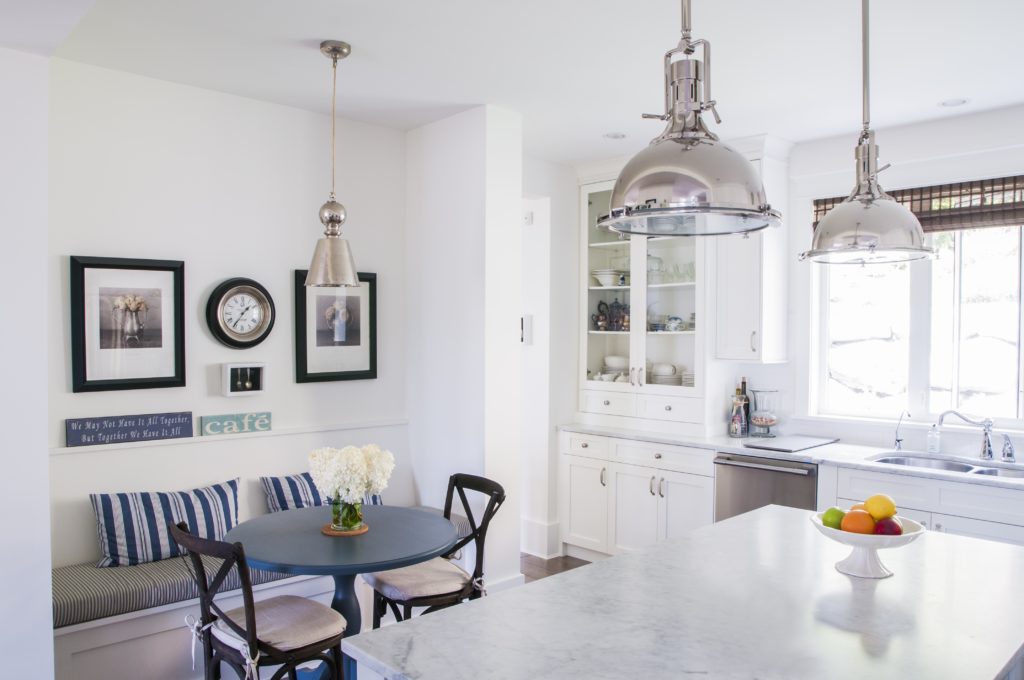
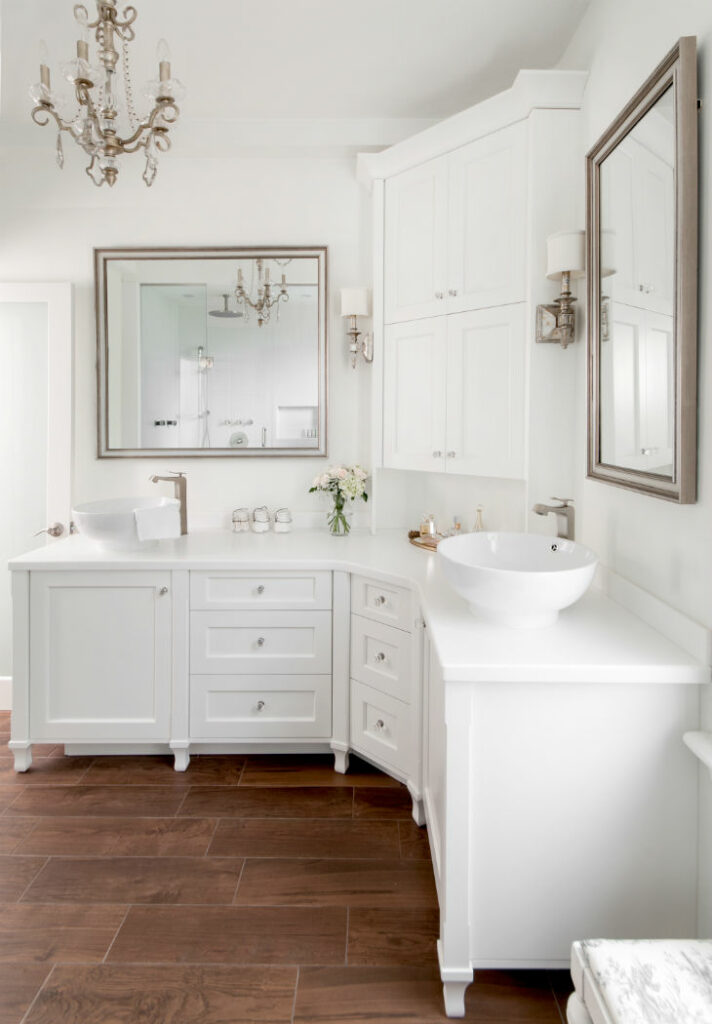
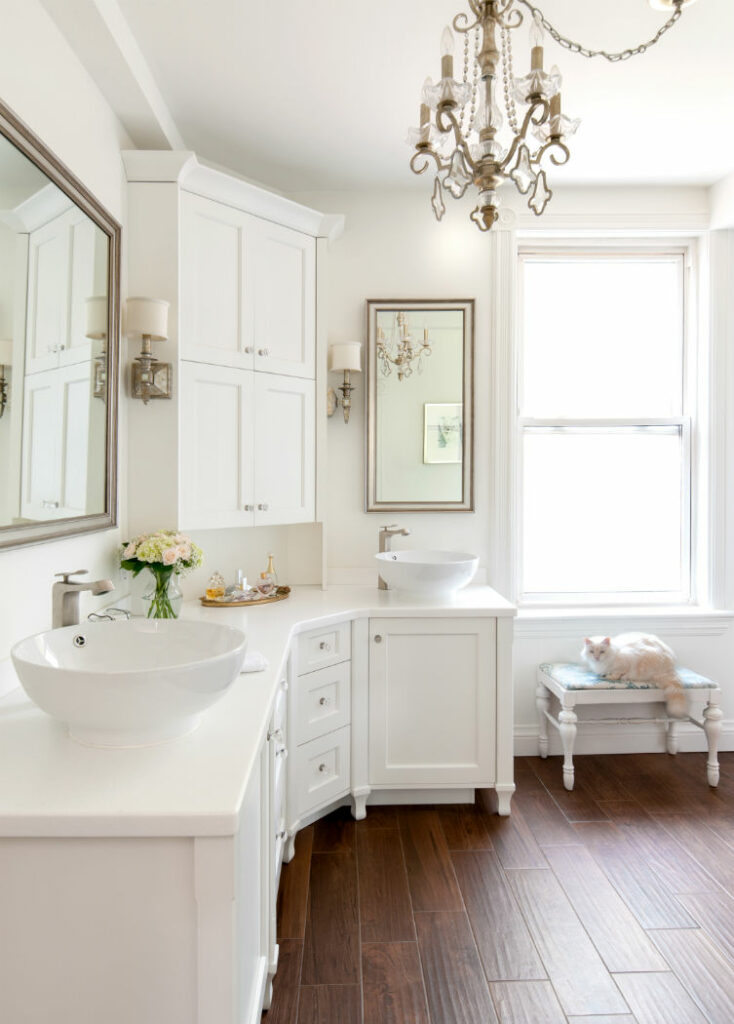
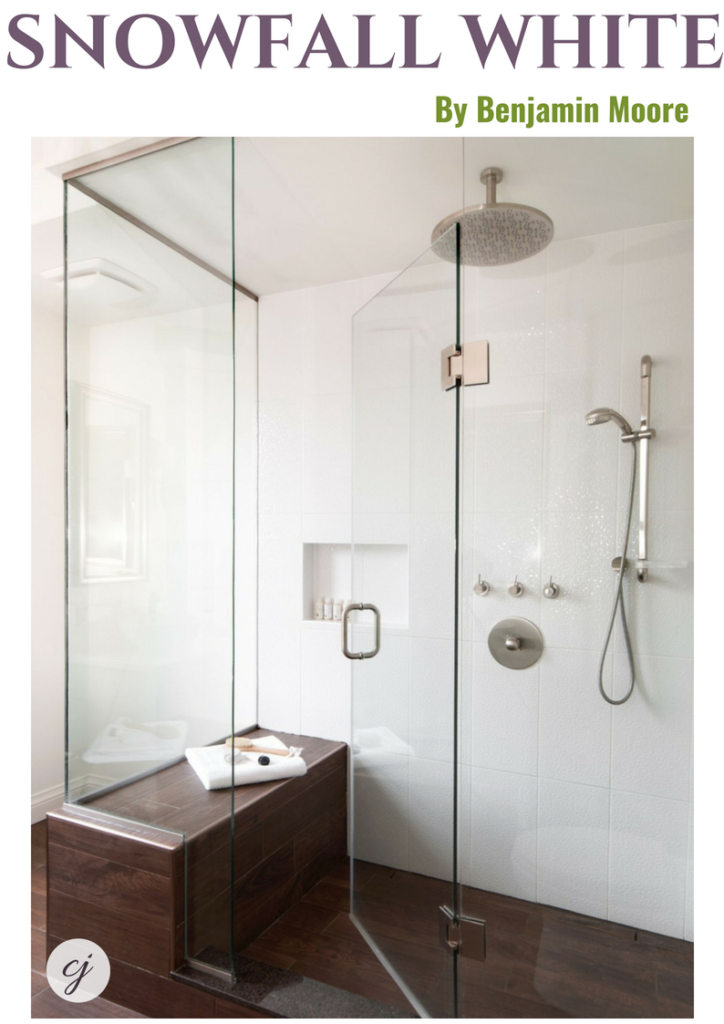
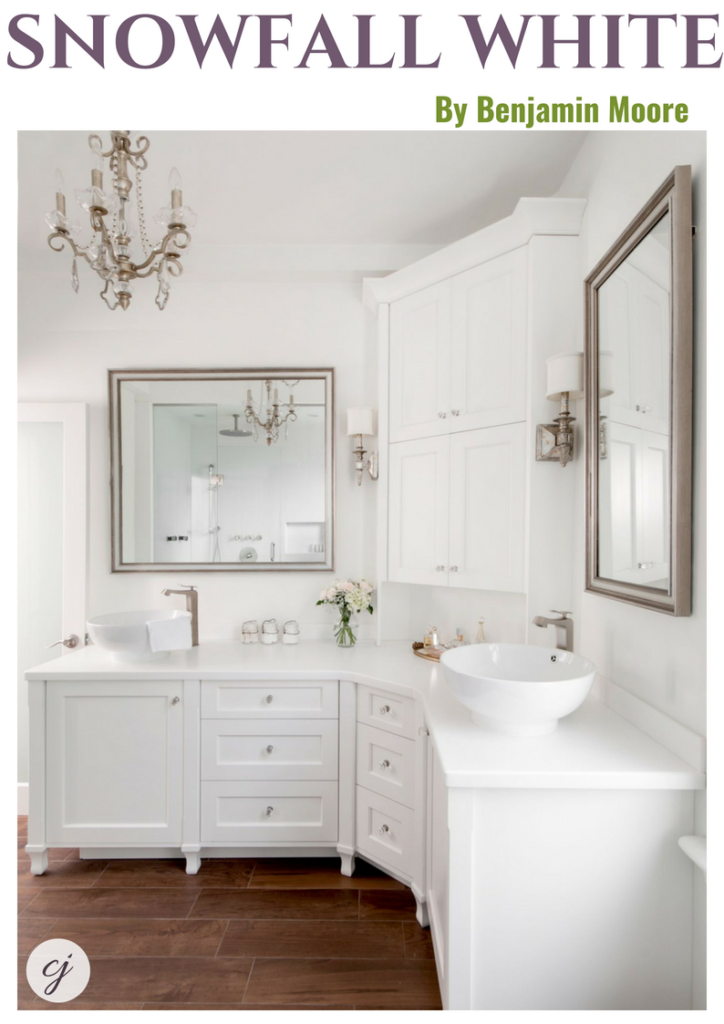
Snowfall White
Bathroom design by Claire Jefford, Burlington, Ontario.
Snowfall White, by Benjamin Moore. Follow me on Pinterest to see more wonderful white interiors.
Cabinetry & Walls in Snowfall White by BM.
Want to make sure you get the right white that works with the finishes in your home? Contact me, I have more than 25 large white paint boards to ensure I get the right white for my clients, everytime.
More fabulous tips for decorating your home is waiting! Subscribe to my blog here. Let’s do this!
Claire's Guide to Services & Pricing
FREE DOWNLOAD:
Interior Design Services and Rates Guide
This website uses cookies to improve your experience while you navigate through the website. Out of these cookies, the cookies that are categorized as necessary are stored on your browser as they are essential for the working of basic functionalities of the website. We also use third-party cookies that help us analyze and understand how you use this website. These cookies will be stored in your browser only with your consent. You also have the option to opt-out of these cookies. But opting out of some of these cookies may have an effect on your browsing experience.
Necessary cookies are absolutely essential for the website to function properly. This category only includes cookies that ensures basic functionalities and security features of the website. These cookies do not store any personal information.
Any cookies that may not be particularly necessary for the website to function and is used specifically to collect user personal data via analytics, ads, other embedded contents are termed as non-necessary cookies. It is mandatory to procure user consent prior to running these cookies on your website.